WALKTHROUGH MENU
- GENERAL TIPS
- PROLOGUE
- CHAPTER ONE
- CHAPTER TWO
- CHAPTER THREE
- CHAPTER FOUR
- CHAPTER FIVE
- CHAPTER SIX
- CHAPTER SEVEN
- CHAPTER EIGHT
- CHAPTER NINE
- CHAPTER TEN
- CHAPTER ELEVEN
- CHAPTER TWELVE
General Tips & Information
- There are two modes of gameplay. The normal mode is timed and the relaxed mode is untimed. In both modes you will lose points for using hints and random clicks.
- Your score is important, as it determines which ending you will see. Deductions are made for using hints, random clicks, and skipping mini–games.
- Hints are unlimited, but have a short recharge time.
- Most navigation through the game is automatic. Selecting the menu button will allow you to pause the game, change options or go to the main menu. During the hidden object portion of a chapter, you will see a map with several locations. You can play these in any order.
Game Walkthrough
Please note that many of the levels are randomized. Your solutions may vary.Prologue – The Path to Damasca.
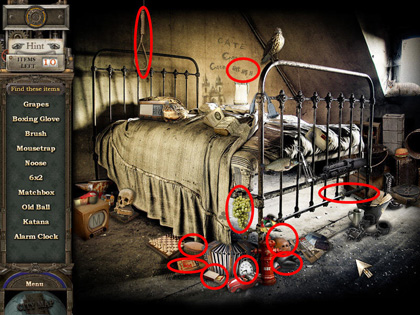
- Part One – Find the hidden objects on the list.
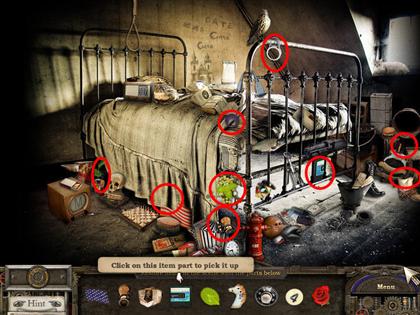
- Part Two – Restore the items in the scene with the pieces from the inventory.
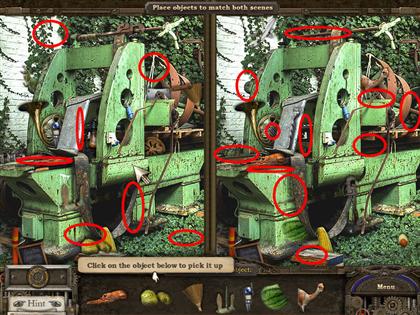
- Part Three – Take the objects from the inventory and match both sides of the picture.
Chapter One – Arshtat, the first Velvet Key
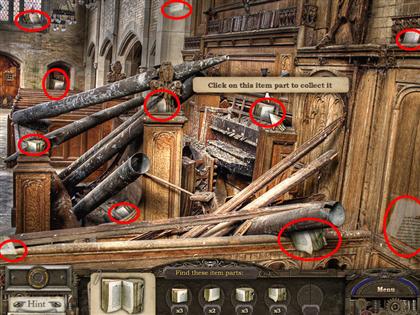
- Part One – Find the Aenigmata.
- Part Two – Find the hidden objects on the list at each of the two locations.
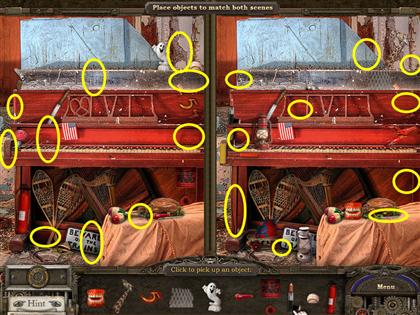
- Part Three – Take the objects from the inventory and match both sides of the picture.
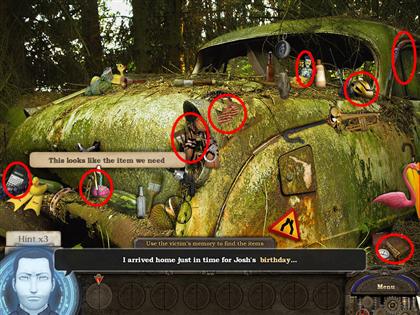
- Part Four – Use the clues from the victim’s memory to determine the necessary item.
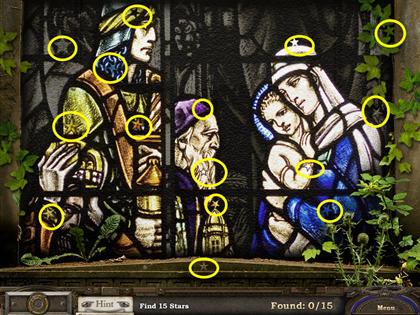
- Part Five – Locate the 15 stars.
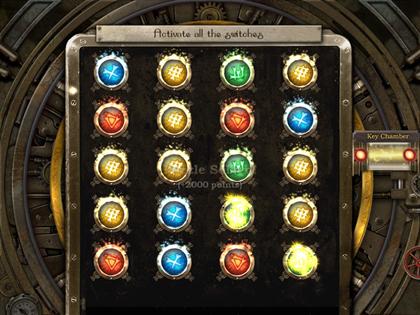
- Part Six – Activate the Ossuary by matching pairs of symbols.
Chapter Two – Erethe, the second Velvet Key
- Part One – Locate all the pistol pieces.
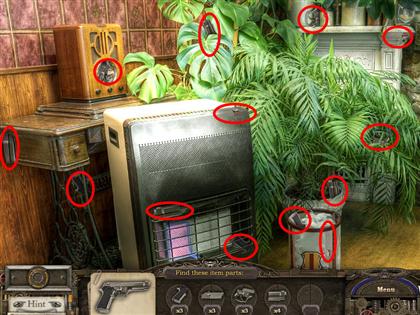
- Part Two – Find the hidden objects on the list at each of the three locations.
- Part Three – Take the objects from the inventory and match both sides of the picture.
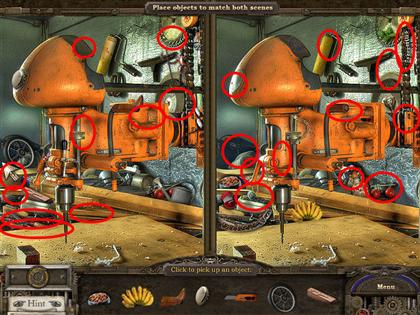
- Part Four – Identify the victim’s items using partial pictures. The solution is: alarm clock, accordion, lighter, baseball, sneaker, belt, camera, and microscope.
- Part Five – Match pieces of the victim’s items from the top of the picture with pieces on the bottom of the picture.
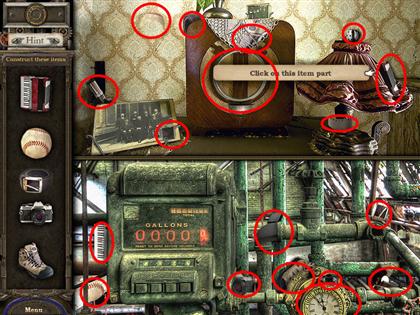
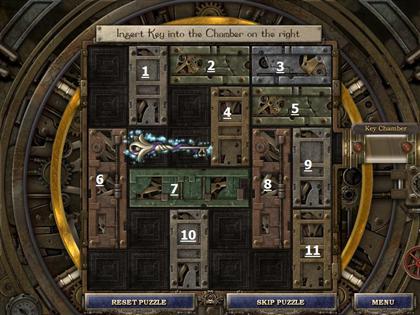
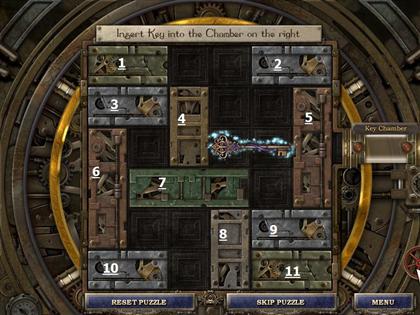
- Part Six – Activate the Ossuary by solving the slider mini–game. Numbering the sliders 1–11, make the following moves: 8 down, 6 up, 7 left, 4 down, key right, 1 down, 2 left, 3 left, 5 left, 9 up, key right and out.
Chapter Three – Darhmer, the third Velvet Key
- Part One – Find the hidden objects on the list at each of the four locations.
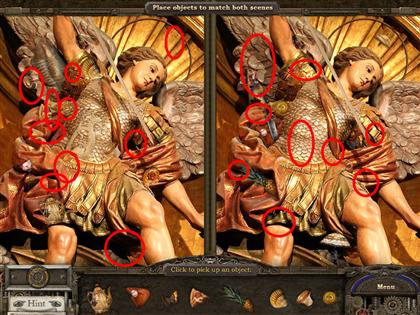
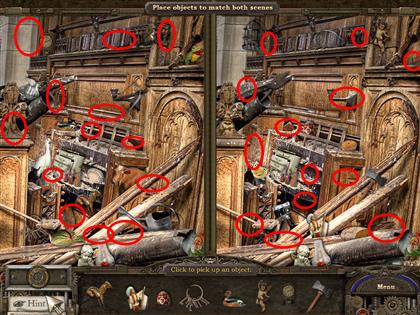
- Part Two – Take the objects from the inventory and match both sides of the picture.
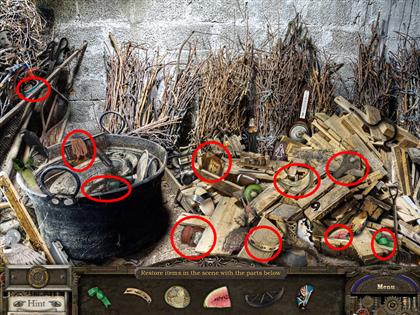
- Part Three – Restore the items in the scene with the pieces from the inventory.
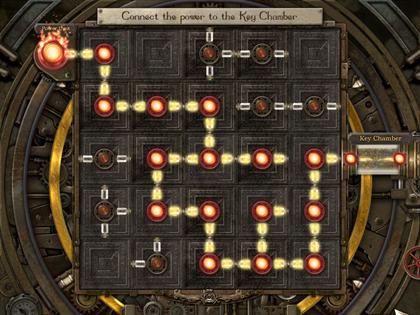
- Part Four – Activate the Ossuary by completing the circuits is this mini–game.
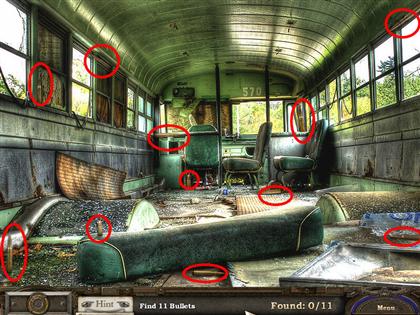
- Part Five – Locate the eleven bullets.
Chapter Four – Haptoringa, the fourth Velvet Key
- Part One – Find the hidden objects on the list at each of the four locations.
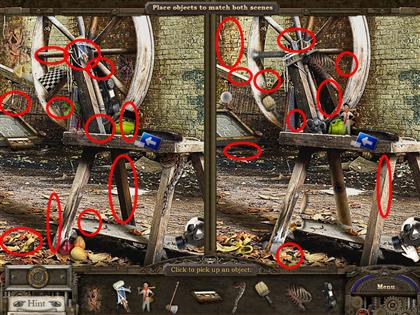
- Part Two – Take the objects from the inventory and match both sides of the picture.
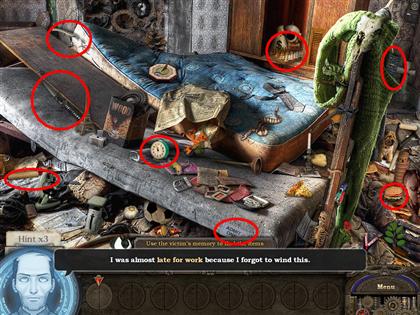
- Part Three – Use the clues from the victim’s memory to determine the necessary item.
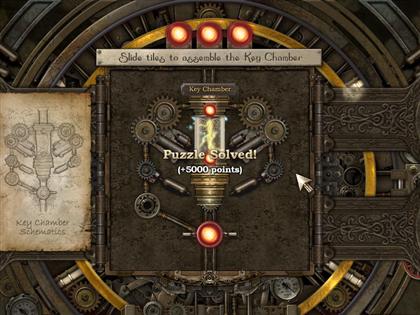
- Part Four – Activate the Ossuary by moving the tiles to match the diagram.
Chapter Five – Moghidev, the fifth Velvet Key
- Part One – Find the hidden objects on the list at each of the five locations.
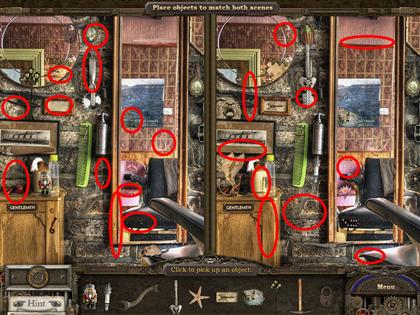
- Part Two – Take the objects from the inventory and match both sides of the picture.
- Part Three – Identify the victim’s items using partial pictures. The solution is: baseball glove, harmonica, cassette tape, padlock, whistle, lantern, matchbook, toaster, and binoculars.
- Part Four – Match pieces of the victim’s items from the top with pieces on the bottom of the picture.
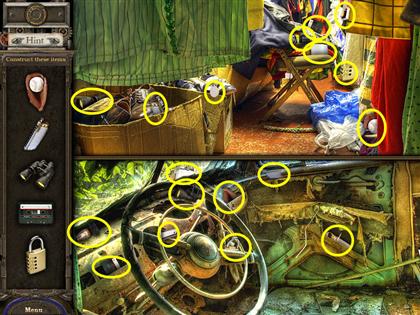
- Part Five – Activate the Ossuary by solving the slider mini–game. Numbering the sliders 1–11, make the following moves: 2 left one space, 5 up, 7 right, 4 down, 1 right, 3 right, 6 up, 7 left, key left, 3 left, 8 up, 9 left, 11 left, 5 down, 2 right, 8 up, key right and out.
Chapter Six – Parendi, the sixth Velvet Key
- Part One – Find the hidden objects on the list at each of the five locations.
- Part Two – Take the objects from the inventory and match both sides of the picture.
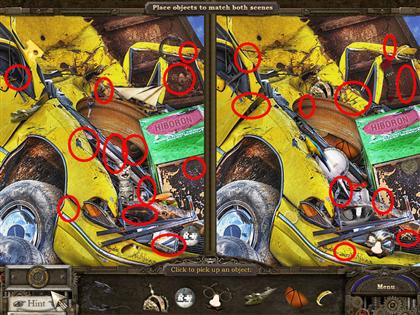
- Part Three – Restore the items in the scene with the pieces from the inventory.
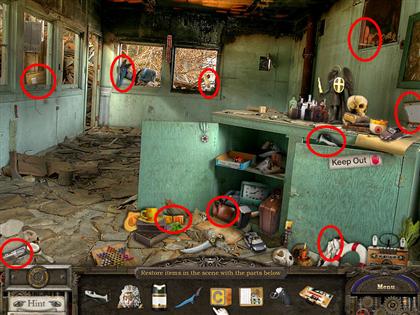
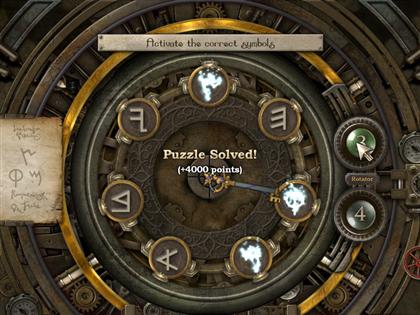
- Part Four – Activate the Ossuary by rotating the key and activate the three symbols shown on the left. Press the 4 button, and then press the 3 button, four times.
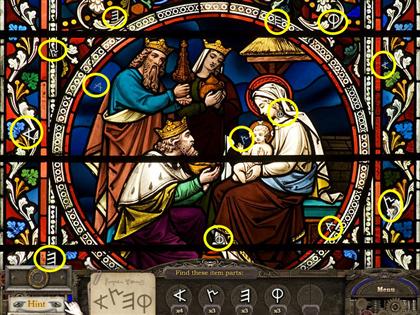
- Part Five – Locate all the symbols.
Chapter Seven – Rapithwin, the seventh Velvet Key
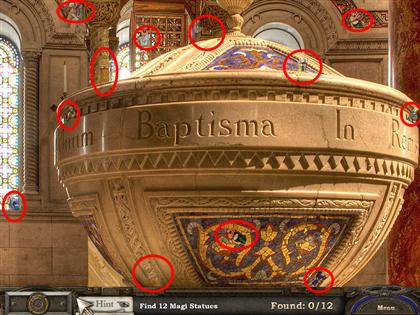
- Part One – Find the 12 Magi statues.
- Part Two – Find the hidden objects on the list at each of the five locations.
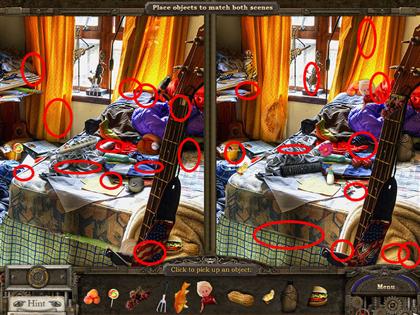
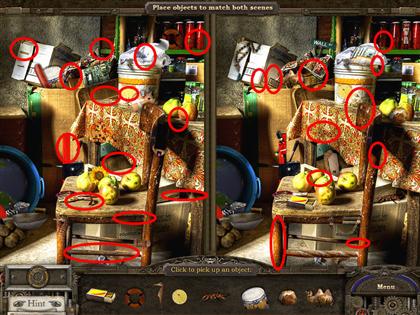
- Part Three – Take the objects from the inventory and match both sides of the picture.
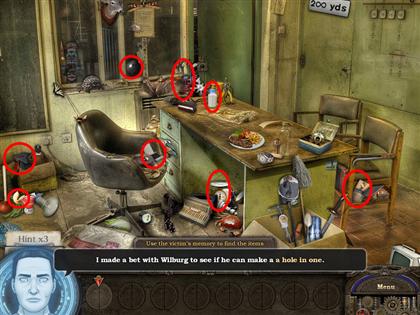
- Part Four – Use the clues from the victim’s memory to determine the necessary item.
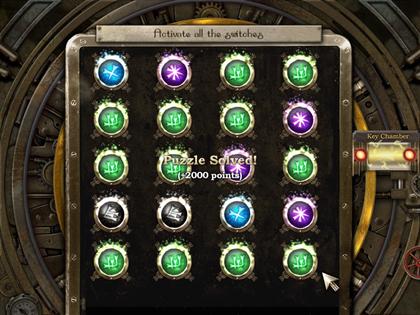
- Part Five – Activate the Ossuary by matching pairs of symbols.
Chapter Eight – Stavanisa, the eighth Velvet Key
- Part One – Find the hidden objects on the list at each of the five locations.
- Part Two – Take the objects from the inventory and match both sides of the picture.
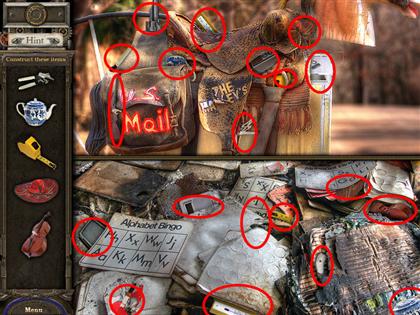
- Part Three – Identify the victim’s items using partial pictures. The solution is: teapot, utility knife, violin, can opener, sombrero, tape measure, safe, thermometer, revolver, and TV.
- Part Four – Match pieces of the victim’s items from the top of the picture with pieces on the bottom of the picture.
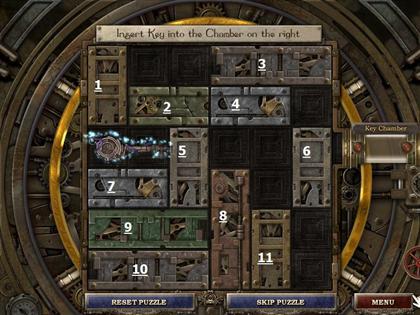
- Part Five – Activate the Ossuary by solving the slider mini–game. Numbering the sliders 1–11, make the following moves: 4 right, 8 up, 11 up, 9 right, 10 right, 5 down, 7 right, key right, 1 down, 3 left, 2 left, key left, 7 left, 3 right, 5 up, key right, 7 right, 1 up, 9 left, 10 left, 8 down, 11 down, 6 down, key right and out.
Chapter Nine – Tarosha, the ninth Velvet Key
- Part One – Find the hidden objects on the list at each of the five locations.
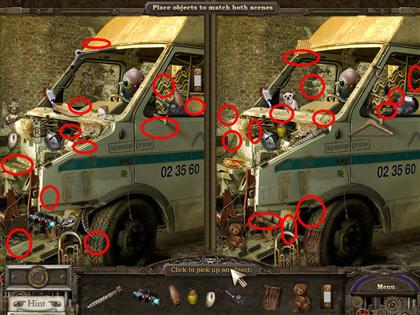
- Part Two – Take the objects from the inventory and match both sides of the picture.
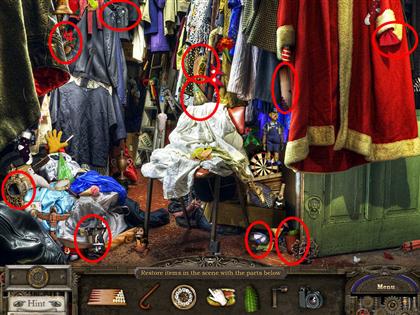
- Part Three – Restore the items in the scene with the pieces from the inventory.
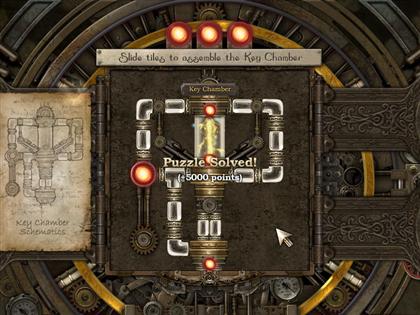
- Part Four – Activate the Ossuary by moving the tiles to match the diagram.
Chapter Ten – Uzerin, the tenth Velvet Key
- Part One – Find the hidden objects on the list at each of the six locations.
- Part Two – Take the objects from the inventory and match both sides of the picture.
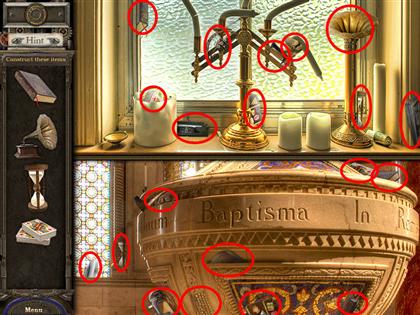
- Part Three – Identify the victim’s items using partial pictures. The solution is: bell, suitcase, playing card, gramophone, iron, typewriter, hourglass, bible, sewing machine, and French horn.
- Part Four – Match pieces of the victim’s items from the top of the picture with pieces on the bottom of the picture.
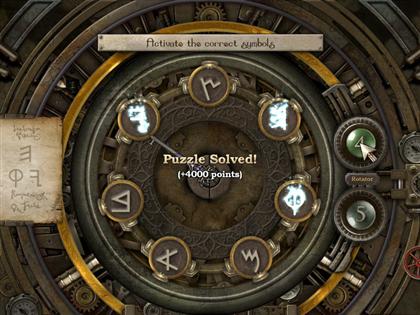
- Part Five – Activate the Ossuary by rotating the key and activate the three symbols shown on the left. Press the 4 button five times to solve.
Chapter Eleven – Vanant, the eleventh Velvet Key
- Part One – Find the hidden objects on the list at each of the six locations.
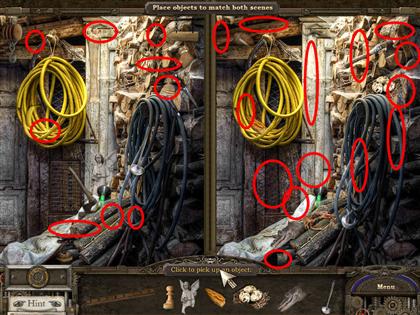
- Part Two – Take the objects from the inventory and match both sides of the picture.
- Part Three – Use the clues from the victim’s memory to determine the necessary item.
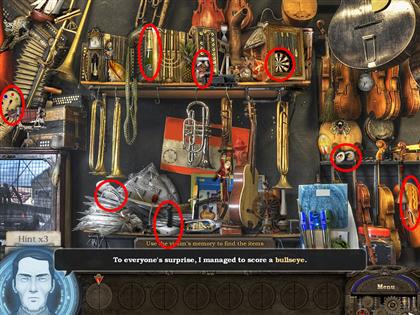
- Part Four – Activate the Ossuary by moving the tiles to match the diagram.
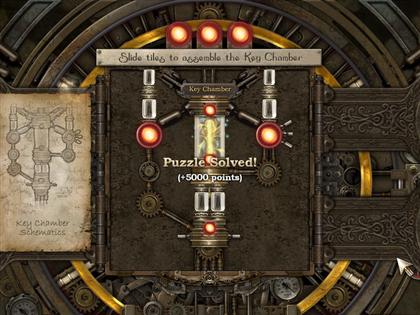
Chapter Twelve – Wayu, the twelfth Velvet Key
- Part One – Locate all the hidden objects. There are six locations in this level.
- Part Two – Take the objects from the inventory and match both sides of the picture.
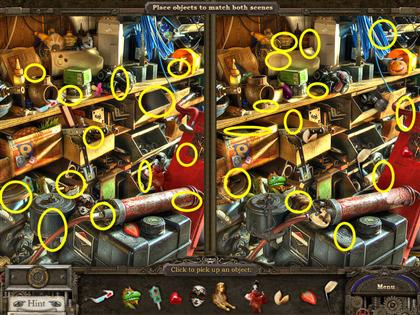
- Part Three – Restore the items in the scene with the pieces from the inventory.
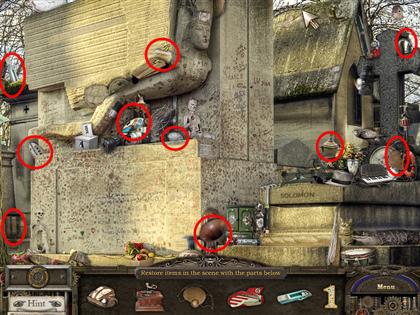
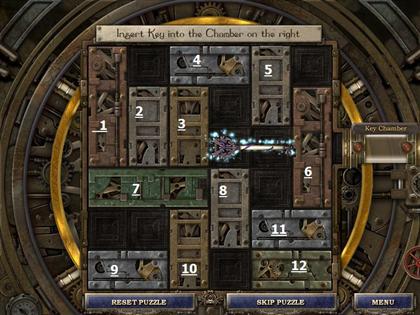
- Part Four – Activate the Ossuary by solving the slider mini–game. Numbering the sliders 1–12, make the following moves: 8 down, 6 up, 7 right, 1 down, 4 left, 3 up, 2 down, 10 up one space, 9 right, 1 down, key left, 3 down, 5 down, 4 right, 3 up, key right, 1 up, 2 up, 9 left, 10 down, 7 left, key left, 8 up, 11 left, 12 left, 6 down, 7 right, 1 down, 4 right, 8, up, key right, 2 down, key left, 5 down, 4 left, 6 up, 7 right, 10 up, 9 right, 1 down, key left, 3 down, 4 left, 2 up, 3 up, 8 up, key right, 1 up, 2 up, 9 left, 10 down, 7 left, 6 down, key right and out.
Created at: 2009-04-24

