Walkthrough Menu
- General Tips
- Chapter 1: The Maybard Estate
- Chapter 2: Emmett's Will
- Chapter 3: Dr. Pace
- Chapter 4: Dahlia
- Chapter 5: The Gardens
- Chapter 6: The Killer
General Tips
- This is the official guide for Cursed Cases: Murder at the Maybard Estate.
- This guide will not show when you have to zoom into a location; the screenshots will show each zoom scene.
- Hidden-object puzzles are referred to as HOPs. This guide will not show screenshots of the HOPs, however, it will mention when an HOP is available and the inventory item you'll collect from it.
- Use the Map to fast travel to a location.
Chapter 1: The Maybard Estate
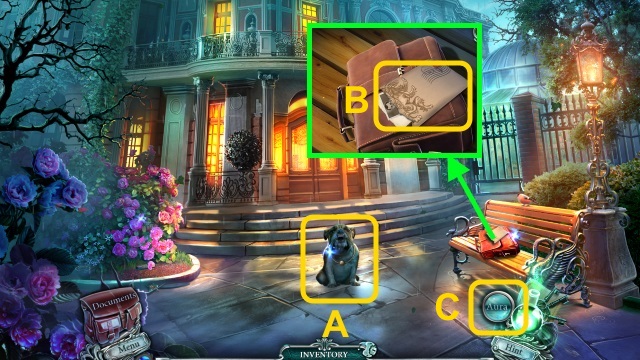
- Examine the dog (A).
- Examine the letter (B); use the Aura for a mini-game (C).
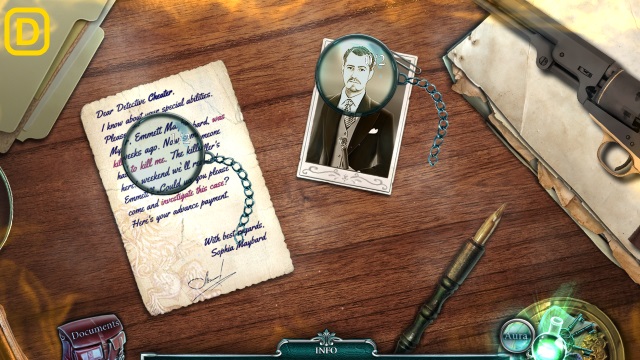
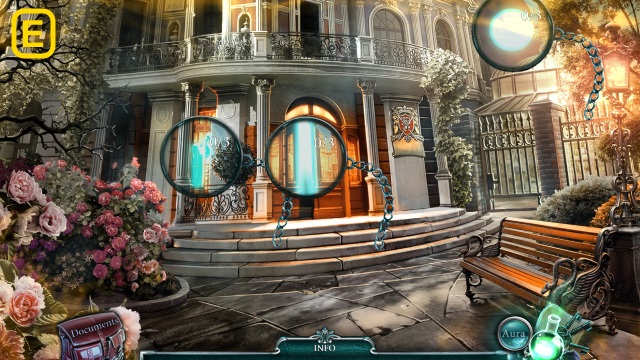
- Solution (D-E).
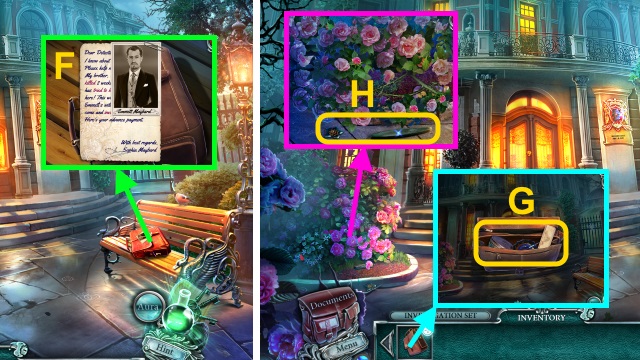
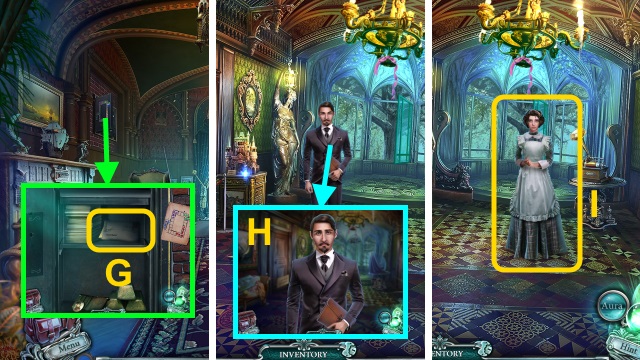
- Take the letter and BAG (F).
- Open the BAG; take the Map, SCREWDRIVER, DETECTIVE BADGE, and Powder with Brush (G).
- Take the FLOWER BUTTON (1/2) and WHETSTONE (H).
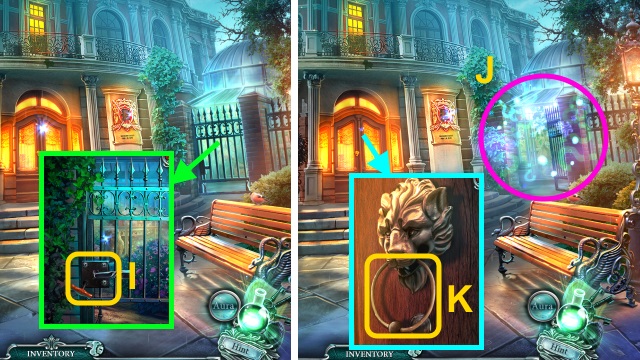
- Take the CORKSCREW (I); use the SCREWDRIVER.
- Play the HOP; receive the DOOR KNOCKER (J).
- Use the DOOR KNOCKER (K).
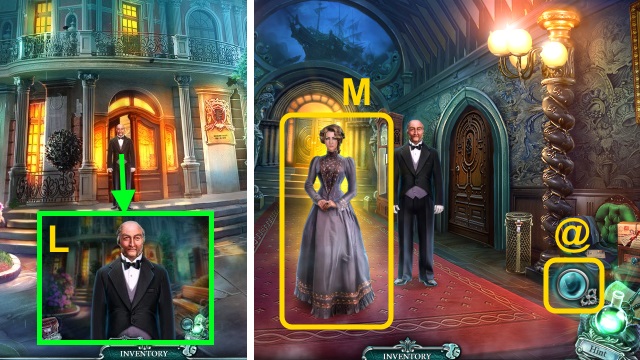
- Give the DETECTIVE BADGE (L).
- Walk forward.
- Talk to Sophia (M); use the Aura for a mini-game (@).
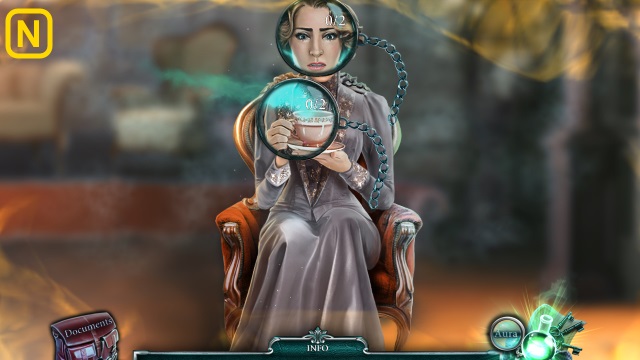
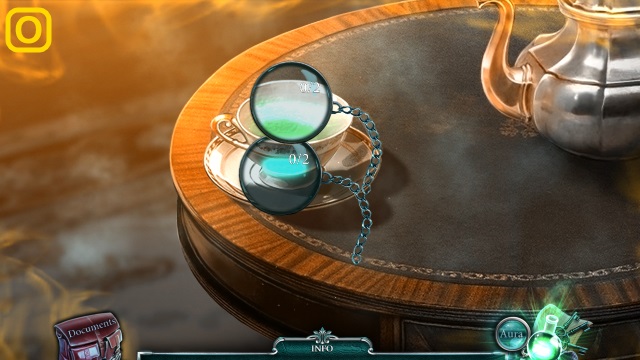
- Solution (N-O).
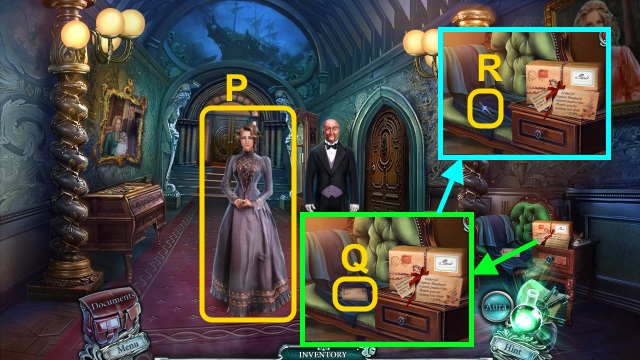
- Talk to Sophia (P).
- Read the letter (Q).
- Take the TWEEZERS (R).
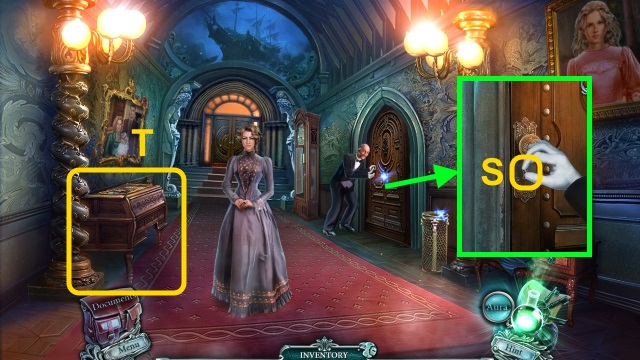
- Use the TWEEZERS (S).
- Examine the desk for a mini-game (T).
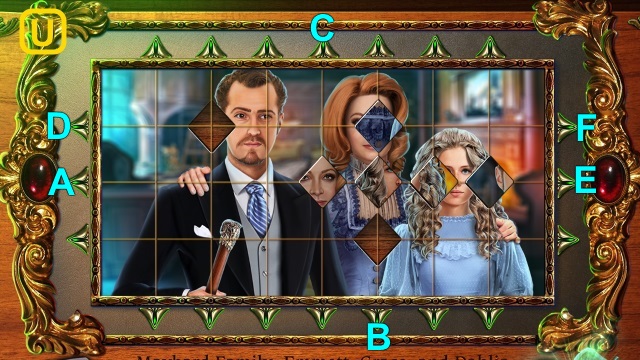
- Solution (U): Ax3-Bx2-C-Dx3-Ex3-C-F-E.
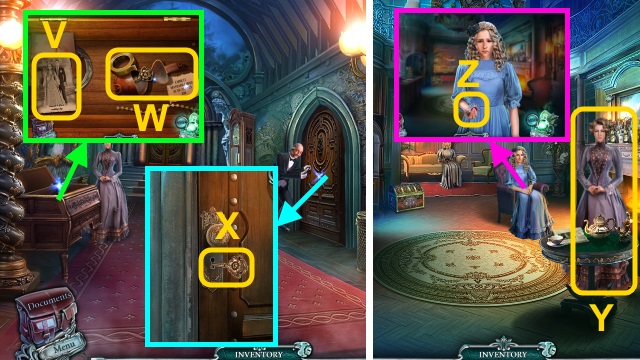
- Take the photo (V), Tape, SPARE KEY, and NEWSPAPER CLIPPING (W).
- Use the SPARE KEY (X).
- Walk right.
- Talk to Sophia (Y).
- Talk to Dahlia; take the MEDALLION (Z).
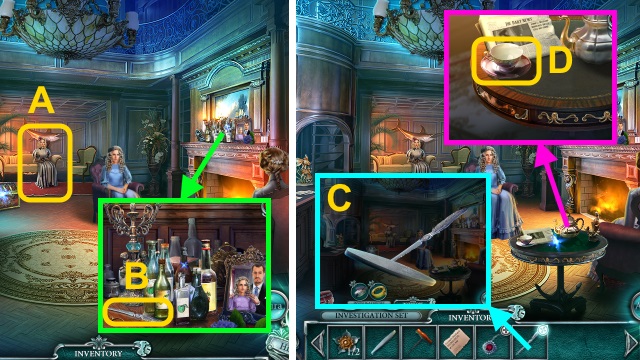
- Talk to Isobel (A).
- Take the KNIFE (B).
- Combine the KNIFE and WHETSTONE (C); receive the SHARP KNIFE.
- Take the CUP WITH FINGERPRINTS (D).
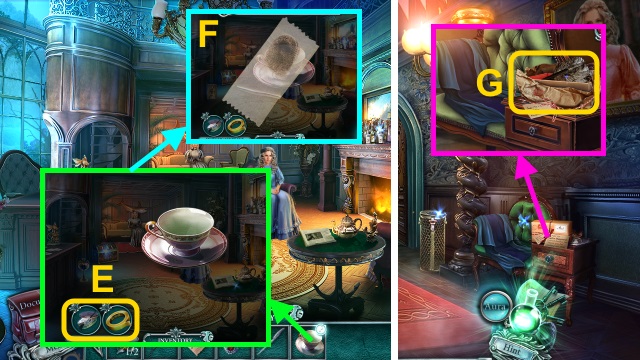
- Examine the CUP WITH FINGERPRINTS; use the Powder with Brush and Tape (E).
- Take the FINGERPRINTS (1/2) and CUP (F).
- Walk down.
- Use the SHARP KNIFE; open the package. Take the FAN (G).
- Walk right.
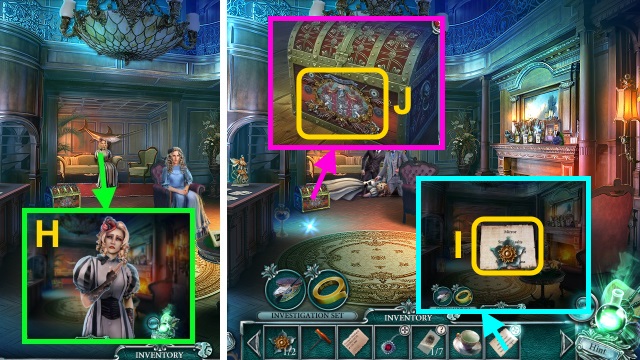
- Give the FAN (H); receive the DOCTOR'S LIST.
- Examine the DOCTOR'S LIST; take the FLOWER BUTTON (2/2) (I).
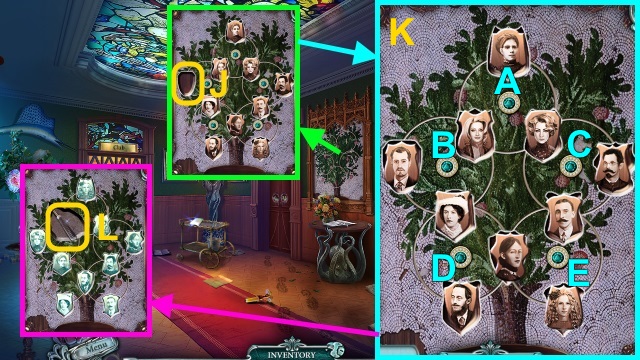
- Place the FLOWER BUTTON (2/2) for a mini-game (J).
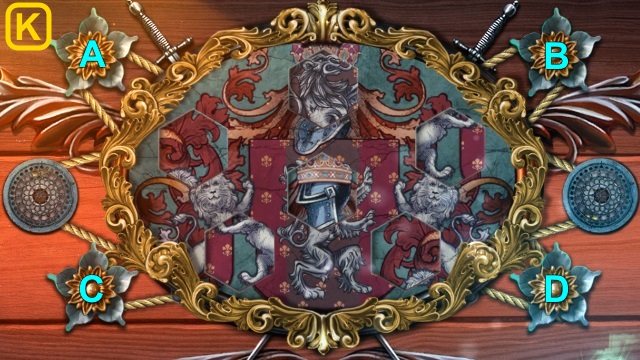
- Solution (K): B-C-Dx2-C-Dx2-Cx2.
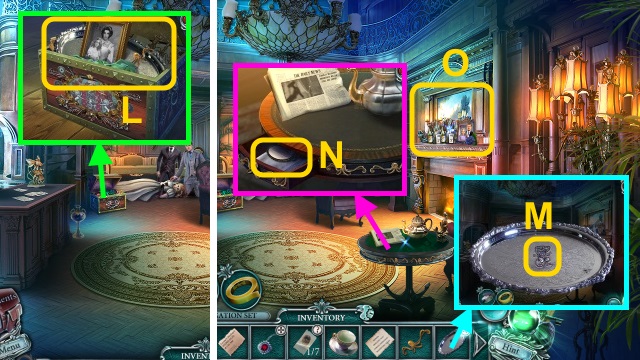
- Take the picture, TABLE HANDLE, and TRAY (L).
- Examine the TRAY; take the LION (M).
- Place the TABLE HANDLE; take the MIRROR and HANDKERCHIEF (N).
- Examine the mantle for a mini-game (O).
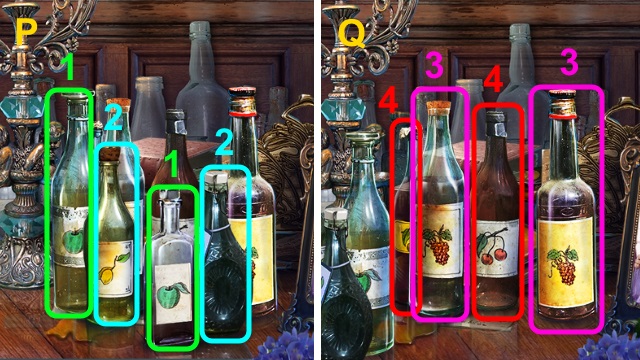
- Solution (P-Q).
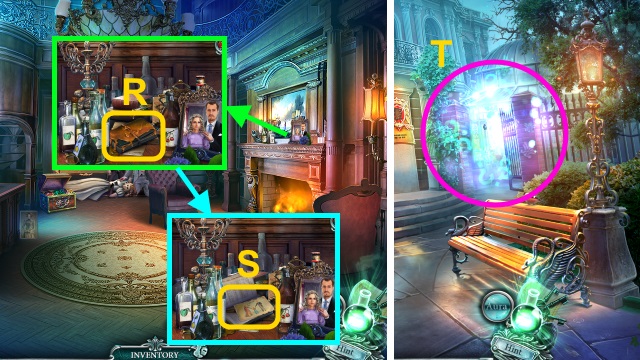
- Use the HANDKERCHIEF (R).
- Take the drawing and MAGNIFYING GLASS (S).
- Walk down twice.
- Play the HOP; receive the BAG (T).
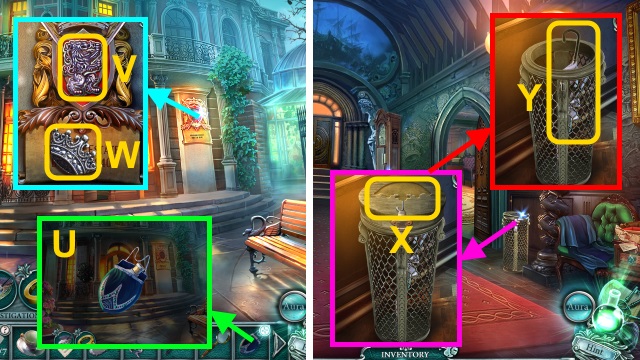
- Examine the BAG 3x; receive the SMELLING SALTS (U).
- Place the LION (V); take the UMBRELLA KEY (W).
- Walk forward.
- Place the UMBRELLA KEY (X); take the CLOSED UMBRELLA (Y).
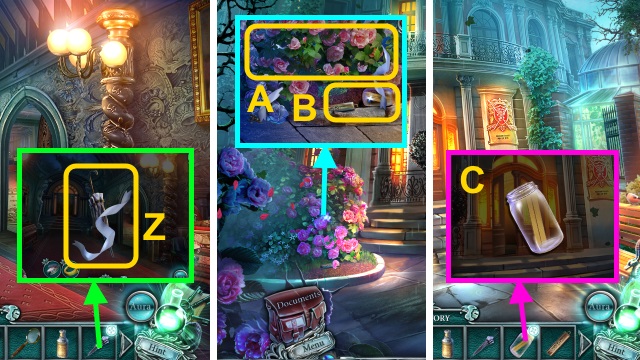
- Examine the CLOSED UMBRELLA; take the RIBBON and LONG UMBRELLA (Z).
- Walk down.
- Use the RIBBON (A); take the WEIGHT and JAR (B).
- Open the JAR (C); take the TONGUE DEPRESSOR.
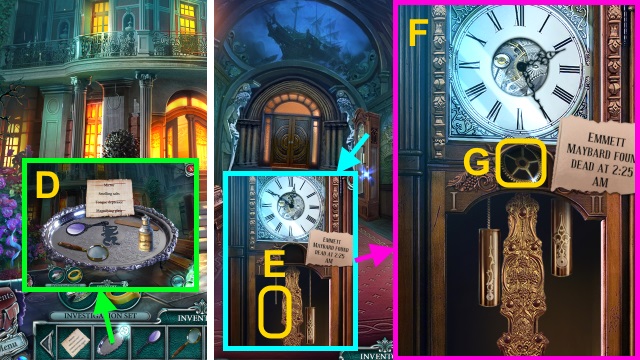
- Examine the TRAY; place the DOCTOR'S LIST, MIRROR, MAGNIFYING GLASS, SMELLING SALTS, and TONUGE DEPRESSOR (D). Receive the MEDICAL SUPPLIES.
- Walk forward.
- Place the WEIGHT for a mini-game (E).
- Solution (F); take the GEAR (1/2) (G).
- Walk right.
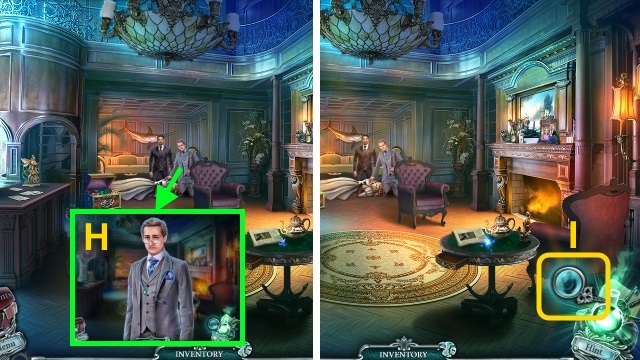
- Give the MEDICAL SUPPLIES (H).
- Use the Aura for a mini-game (I).
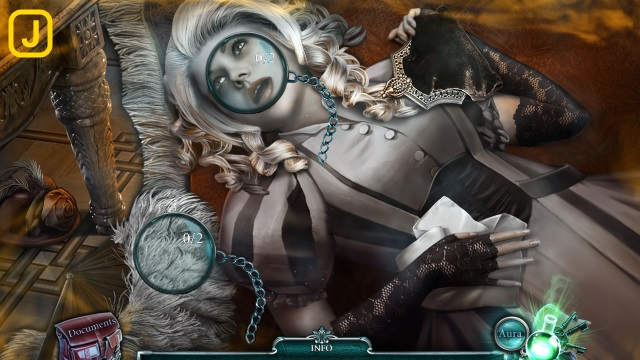
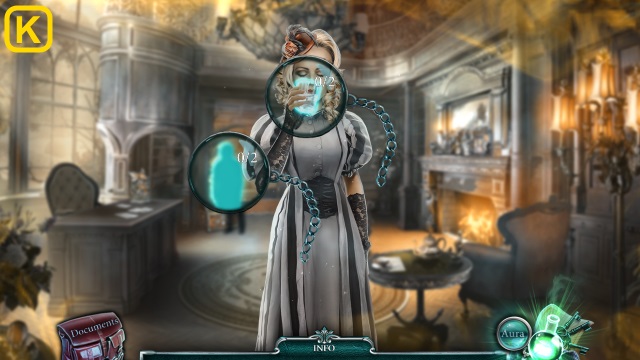
- Solution (J-K).
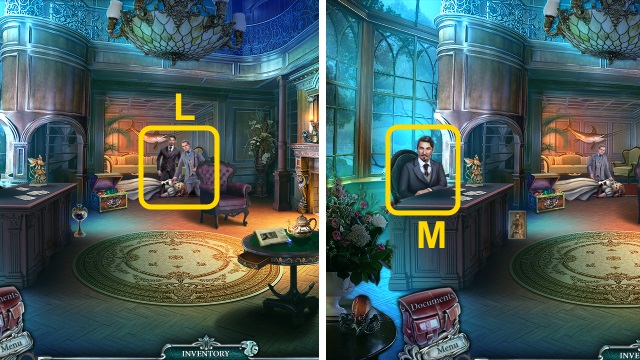
- Talk to Dr. Pace (L).
- Talk to Mr. Murphy (M).
Chapter 2: Emmett's Will
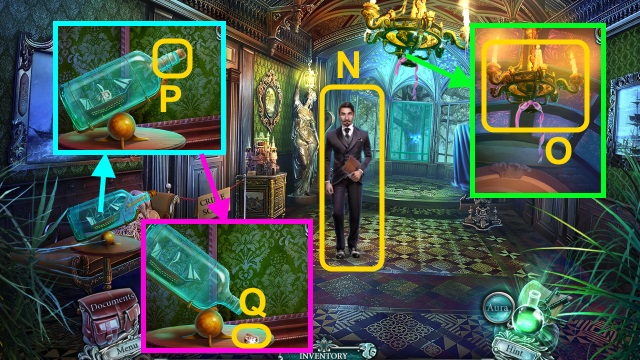
- Talk to Mr. Murphy (N).
- Use the LONG UMBRELLA (O); receive the CANDLE.
- Use the CORKSCREW (P); examine the bottle.
- Take the PORTRAIT (Q).
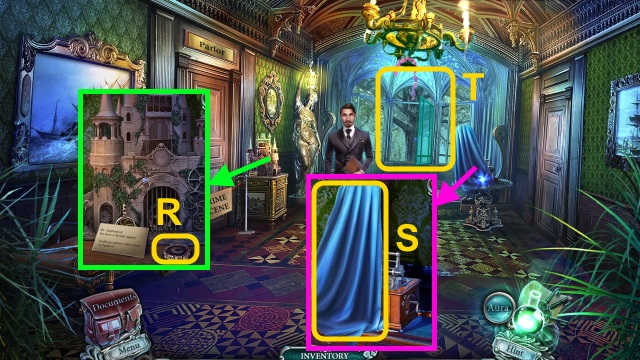
- Take the CODE LOCK PIECE (R).
- Take the CURTAIN (S).
- Examine the window for a mini-game (T).
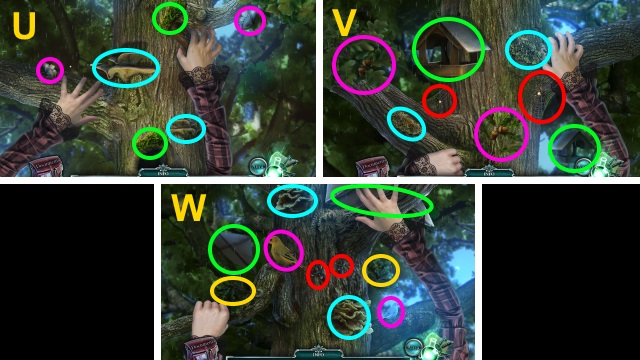
- Solution (U-W).
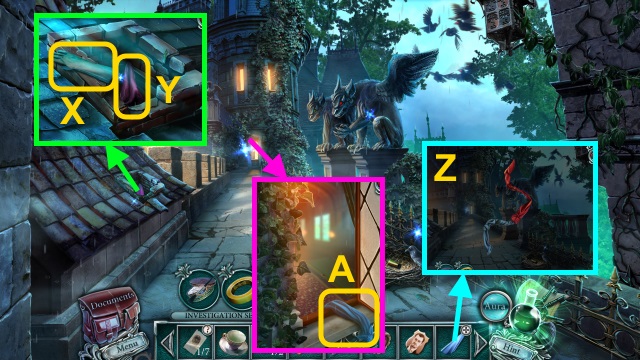
- Take the GLOVE (X). Use the LONG UMBRELLA (Y); receive the CURTAIN.
- Combine the 2 CURTAINS (Z); receive the ROPE.
- Open the window; use the ROPE (A).
- Walk forward.
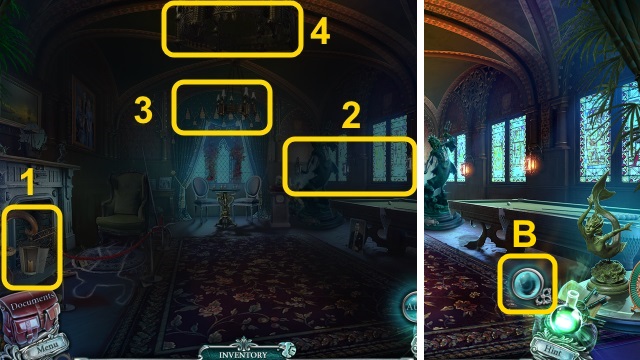
- Use the CANDLE 4x (1-4).
- Use the Aura for a mini-game (B).
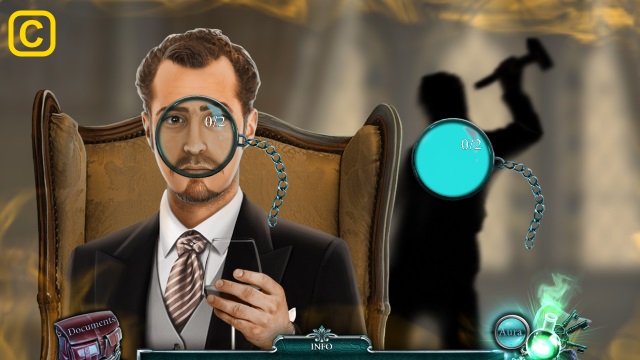
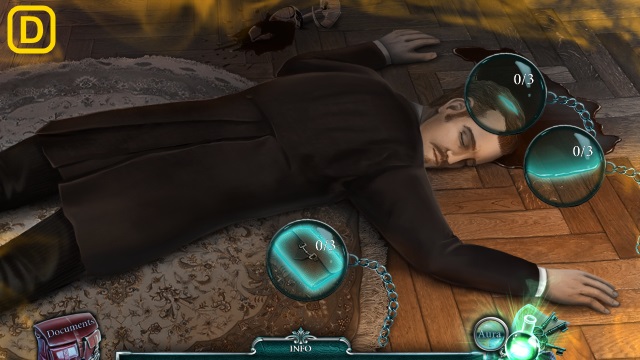
- Solution (C-D).
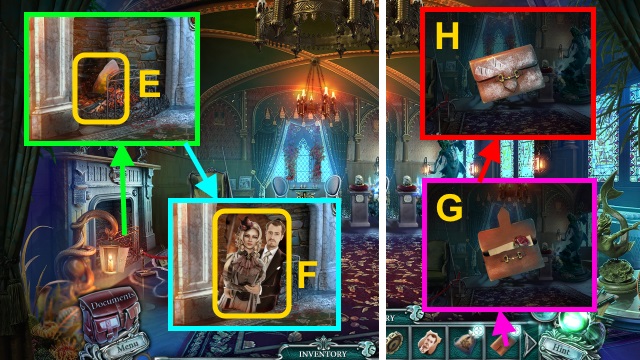
- Use the GLOVE (E); receive the SEED and WALLET.
- Take the photo (F).
- Open the WALLET; read the letter (G).
- Use the Powder with Brush and Tape; take the FINGERPRINTS (2/7) (H).
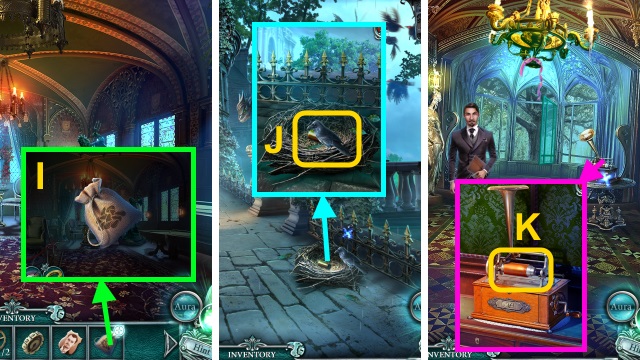
- Examine the SEED (I); receive the SEEDS.
- Walk down.
- Give the SEEDS (J); take the PHONOGRAPH CYLINDER.
- Walk down.
- Examine the phonograph; place the PHONOGRAPH CYLINDER (K). Examine the phonograph 3x for a mini-game.
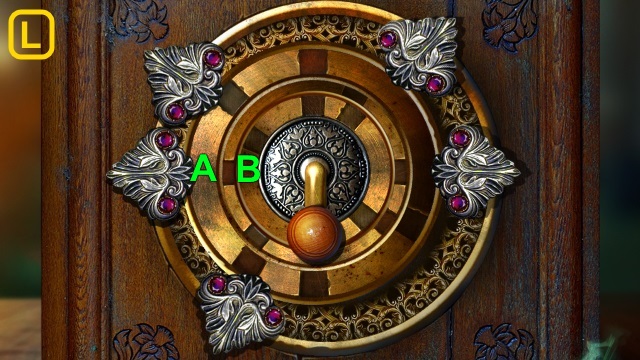
- Solution (L): A-Bx2.
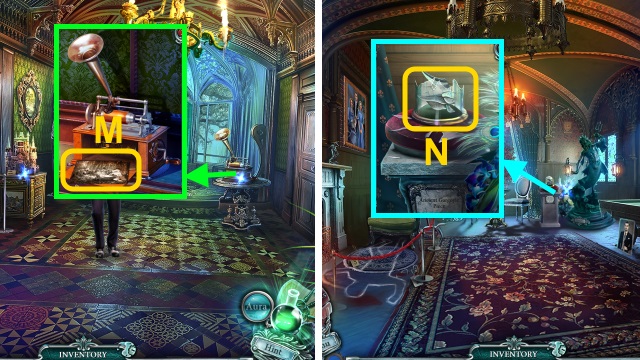
- Take the PICTURE and TUNING FORK (M).
- Walk forward twice.
- Use the TUNING FORK; take the GARGOYLE FRAGMENT (N).
- Walk down.
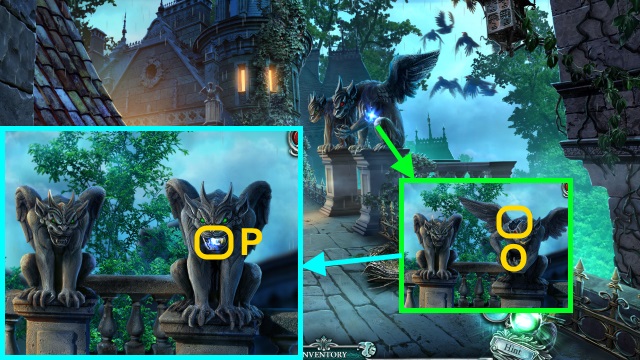
- Place the GARGOYLE FRAGMENT (O).
- Pose the gargoyle; take the CHECKER (P).
- Walk forward.
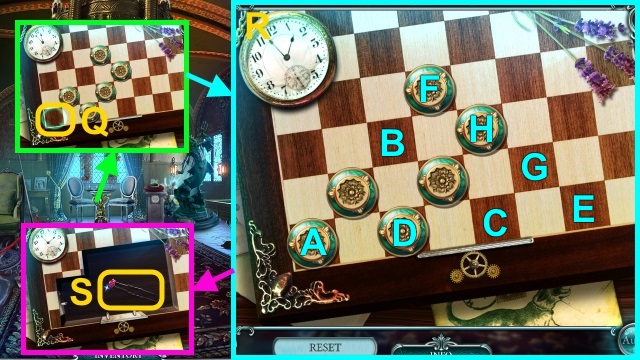
- Place the CHECKER for a mini-game (Q).
- Solution (R): (A-B)-(B-C)-(D-E)-(F-G)-(E-H).
- Take the picture and HAIRPIN (S).
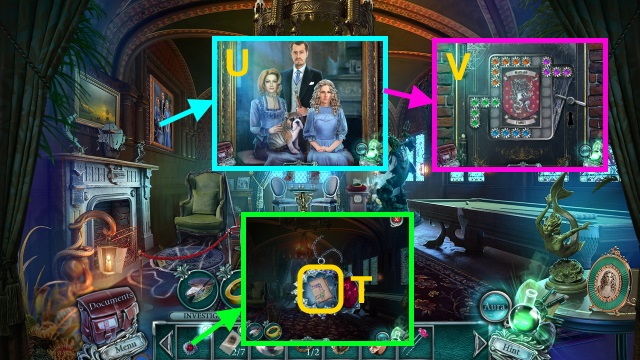
- Combine the MEDALLION and HAIRPIN; take the CODE (T).
- Move the portrait (U).
- Place the CODE for a mini-game (V).
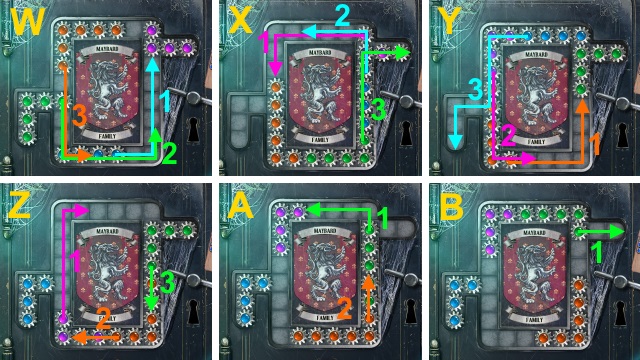
- Solution (W-B).
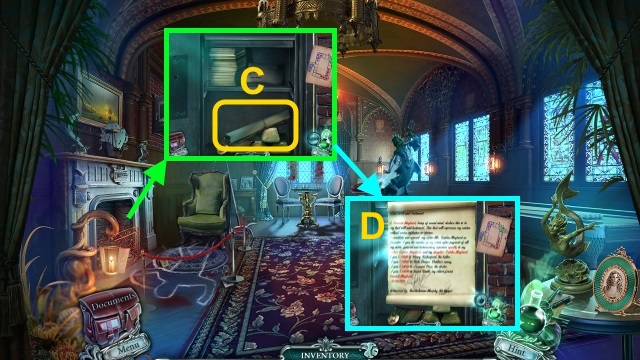
- Read the will (C).
- Use the Aura for a mini-game (D).
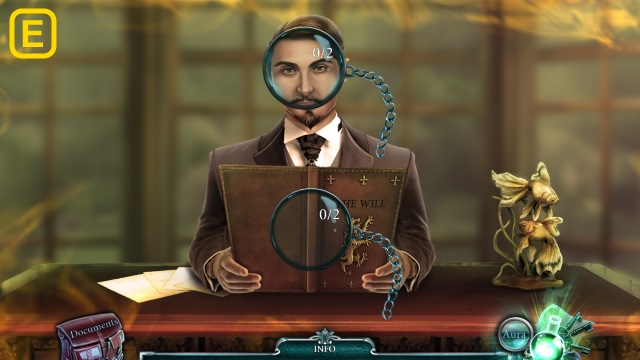
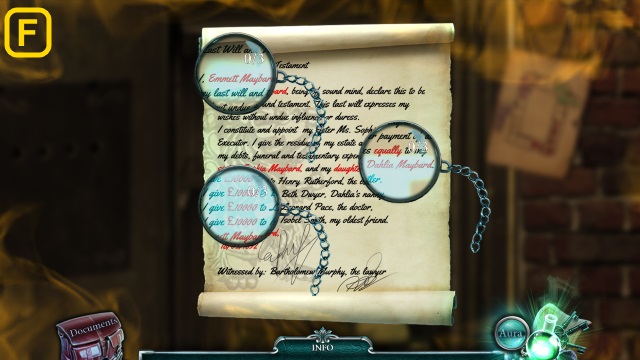
- Solution (E-F).
- Take the will and MURPHY'S DOCUMENT (G).
- Walk down twice.
- Give MURPHY'S DOCUMENT (H).
- Talk to Beth (I).
- Walk right.
- Place the PORTRAIT for a mini-game (J).
- Solution (K): Ex2-C-Ax2-C-Ex2-Cx2-Dx2-B.
- Take the LEVER (L).
- Take the SOLVENT (M).
- Walk down.
- Use the LEVER; take the GEAR (2/2) (N).
- Walk right.
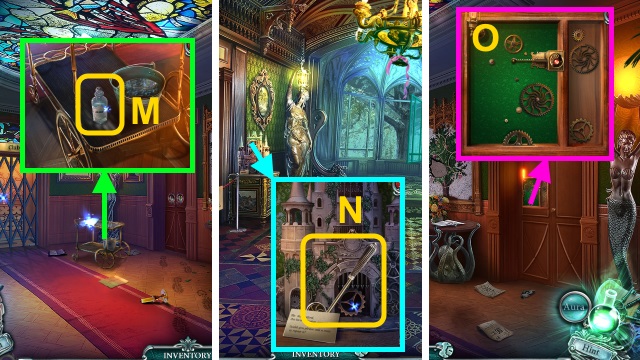
- Place the GEAR (2/2) for a mini-game (O).
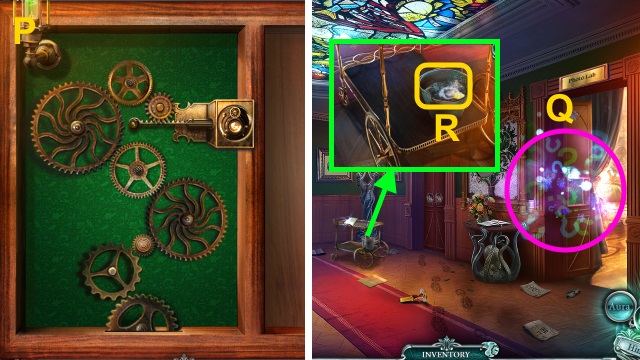
- Solution (P).
- Play the HOP; receive the DRY SPONGE (Q).
- Place the DRY SPONGE; receive the SPONGE (R).
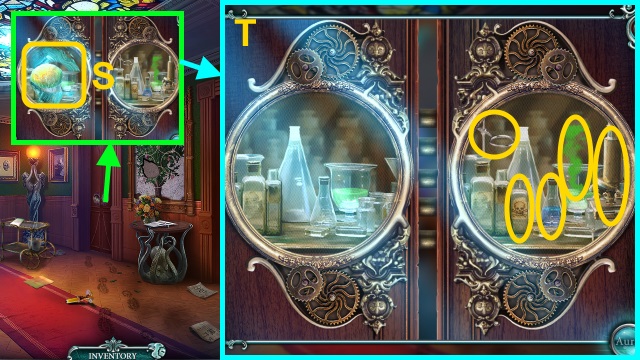
- Use the SOLVENT and SPONGE; wipe the glass for a mini-game (S).
- Solution (T).
- Walk forward.
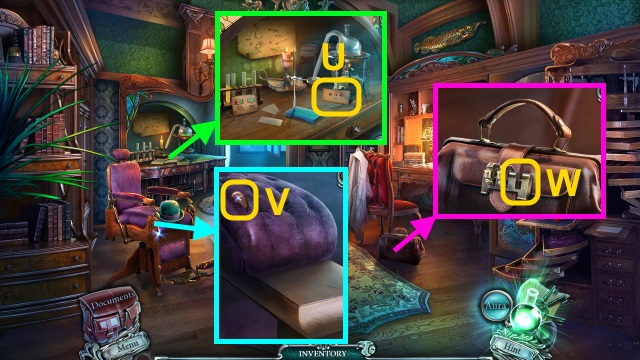
- Take the CODE (U).
- Use the HAIRPIN; take the BUTTON (1/2) (V).
- Place the CODE LOCK PIECE and CODE (W).
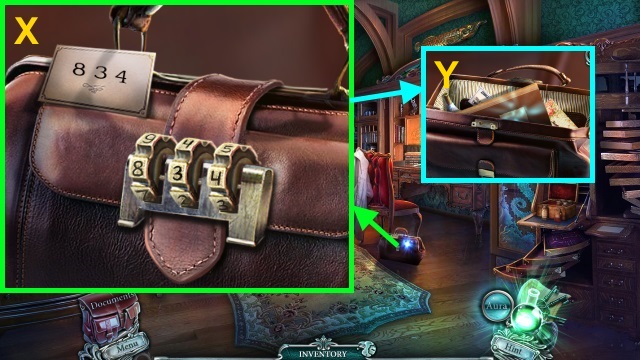
- Enter the code (X).
- Use the Aura for a mini-game (Y).
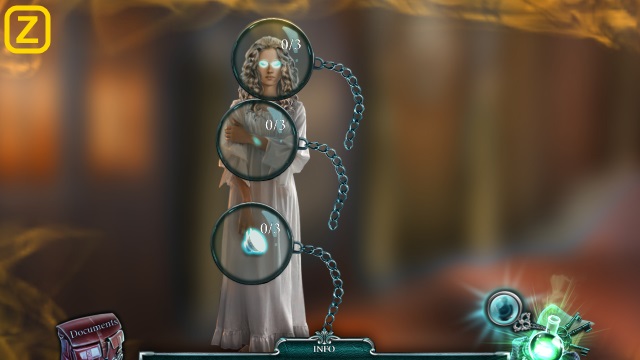
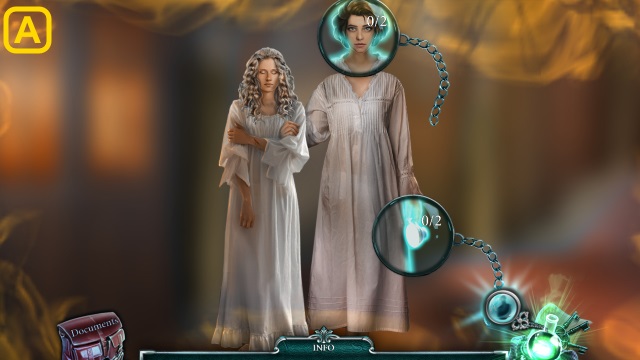
- Solution (Z-A).
Chapter 3: Dr. Pace
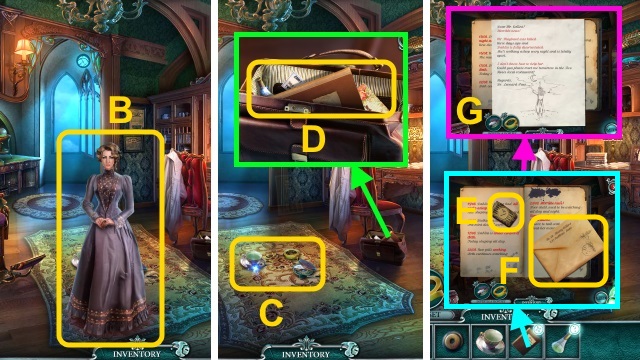
- Talk to Sophia (B); receive the ELEVATOR BUTTON.
- Take the Powder with Brush, Tape, and CUP (C).
- Take the NOTEBOOK, letter, ticket, and SUSPICIOUS BOTTLE WITH FINGERPRINTS (D).
- Open the NOTEBOOK. Take the MATCHES (E); open the envelope (F).
- Read the letter (G); take the notebook.
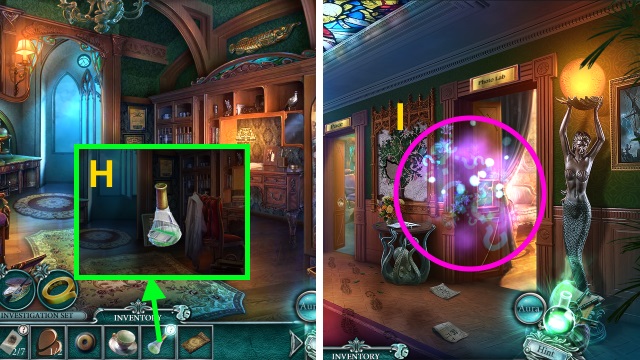
- Examine the SUSPICIOUS BOTTLE WITH FINGERPRINTS; use the POWDER WITH BRUSH and TAPE (H). Take the FINGERPRINTS (3/7) and SUSPICIOUS BOTTLE.
- Walk down.
- Play the HOP; receive the YARN (I).
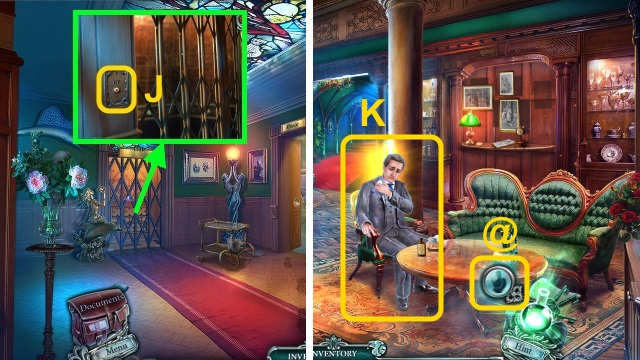
- Place the ELEVATOR BUTTON; press it (J).
- Walk left.
- Talk to Dr. Pace (K); receive the ATTIC KEY.
- Use the Aura for a mini-game (@).
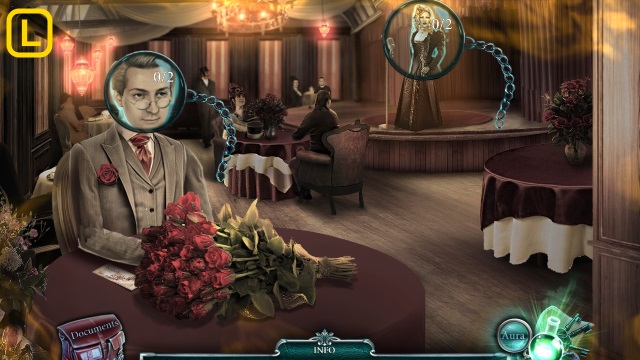
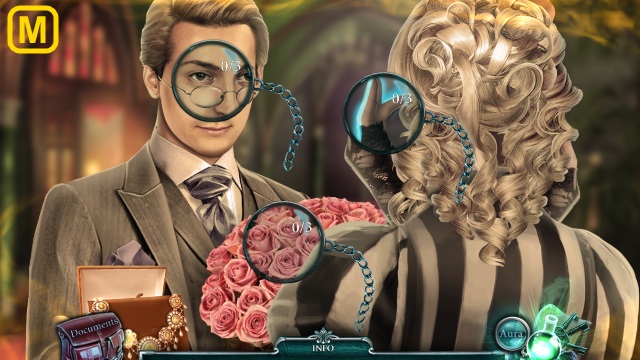
- Solution (L-M).
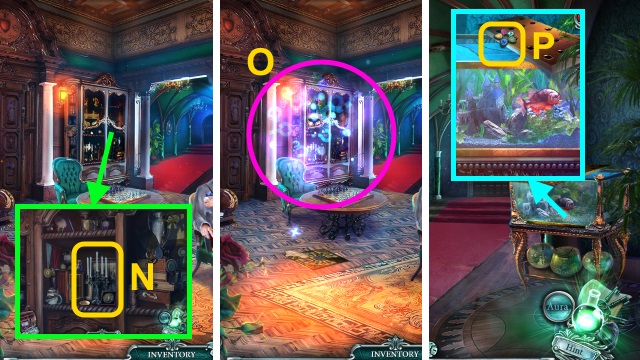
- Use the MATCHES (N).
- Play the HOP; receive the LABORATORY CUP (O).
- Walk forward.
- Examine the flower. Use the CUP; receive the POISONED CUP WITH WATER (P).
- Go to the Doctor's Lab.
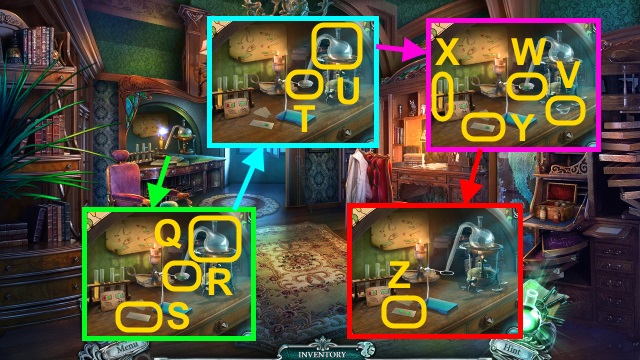
- Pour the SUSPICIOUS BOTTLE (Q); pour the liquid (R) on the slide (S).
- Place the LABORATORY CUP (T); use the POISONED CUP WITH WATER (U).
- Take the GLASS SHARD (V); pour the liquid (W) and then the solution (X) on the slide (Y).
- Take the TESTED POISON (Z).
- Walk down, then left.
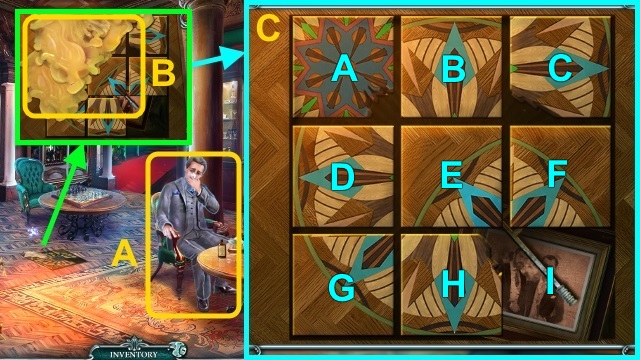
- Give the TESTED POISON (A); receive the BROKEN FLOWER.
- Use the GLASS SHARD for a mini-game (B).
- Solution (C): F-E-B-A-D-G-H-E-B-C-F-I-H.
- E-B-C-F-E-H-I-F-E-H-G-D-A-B-E-F-I.
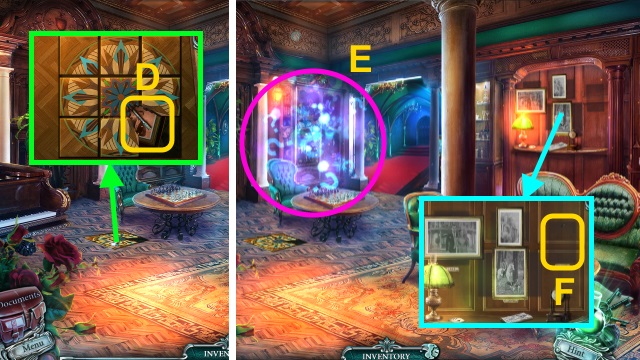
- Take the LOCKPICK and PICTURE (D).
- Play the HOP; receive the SHOVEL (E).
- Place the PICTURE for a mini-game (F).
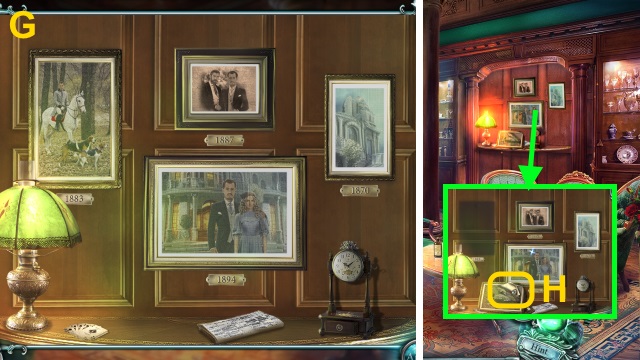
- Solution (G).
- Take the FLOWER (1/3) and letter (H).
- Walk forward.
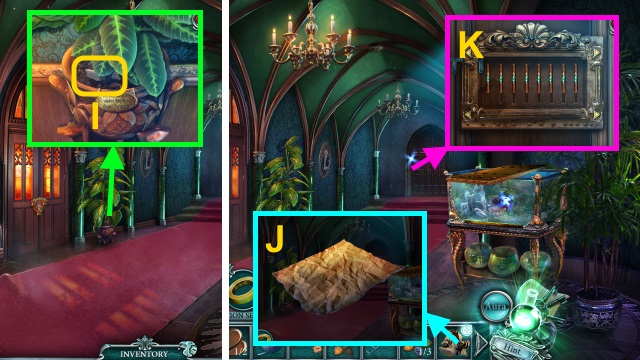
- Use the SHOVEL; take the PAPER (I).
- Open the PAPER (J); take the PAPER WITH INVISIBLE INK.
- Use the LOCKPICK for a mini-game (K).
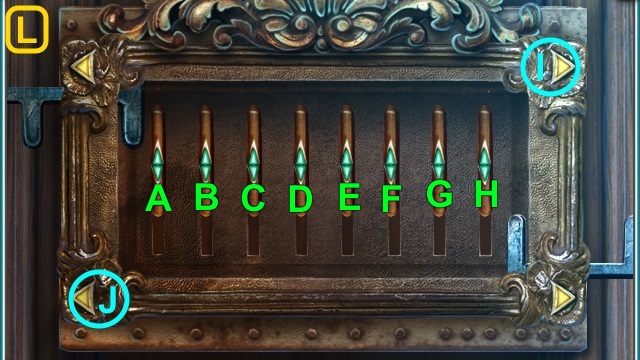
- Solution (L): A-B-C-D-E-F-G-H-Ix16-A-B-C-D-E-F-G-H-Jx16.
- Walk forward for a mini-game.
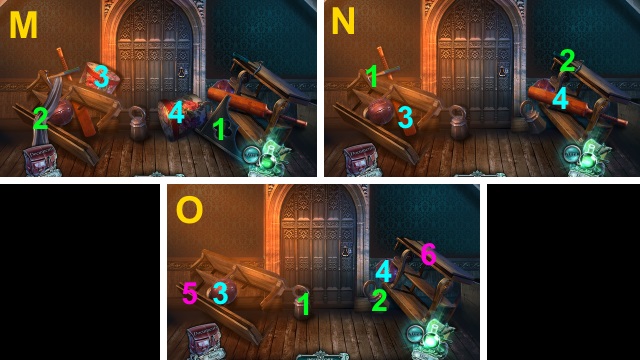
- Solution (M-O).
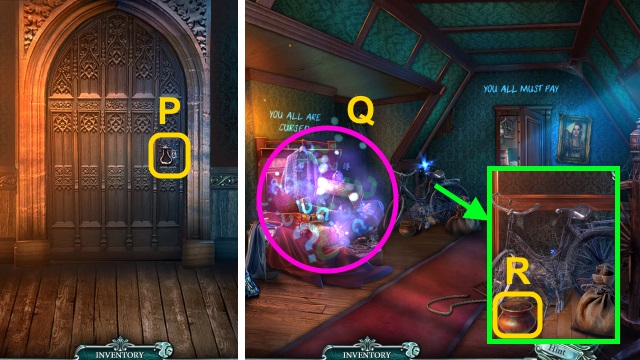
- Use the ATTIC KEY (P).
- Move the cloth. Play the HOP; receive the VALVE (Q).
- Take the POT WITH COALS (R).
- Walk forward.
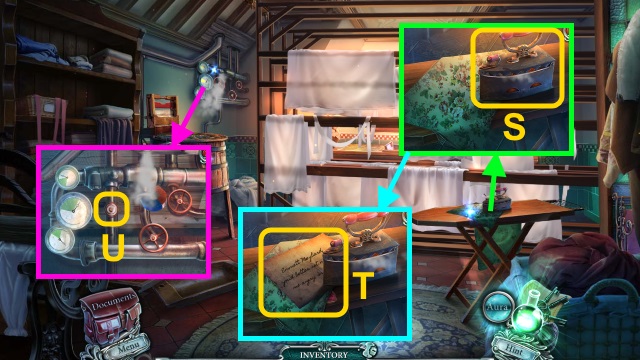
- Use the POT WITH COALS and PAPER WITH INVISIBLE INK (S); iron the paper.
- Take the SUSPICIOUS NOTE and PART FROM FLOWER (1/2) (T).
- Place the VALVE for a mini-game (U).
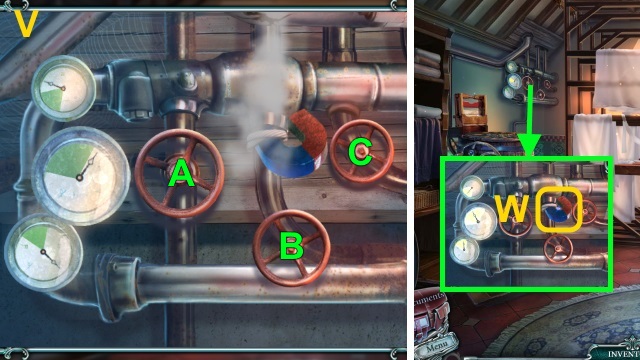
- Solution (V): Ax3-B-Cx3.
- Take the MAGNET (W).
- Walk down.
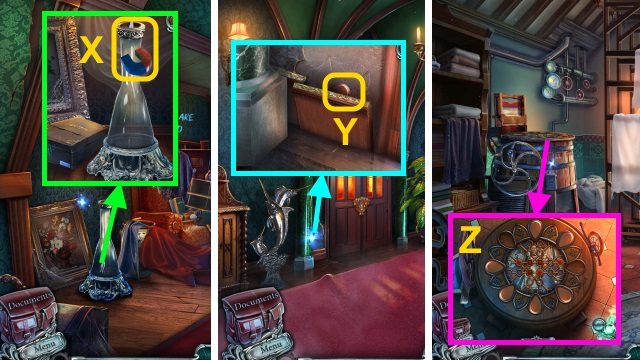
- Use the MAGNET; drag it up (X). Receive the FORK.
- Walk down.
- Use the FORK; take the BUTTON (2/2) (Y).
- Walk forward twice.
- Place the BUTTON (2/2) for a mini-game (Z).
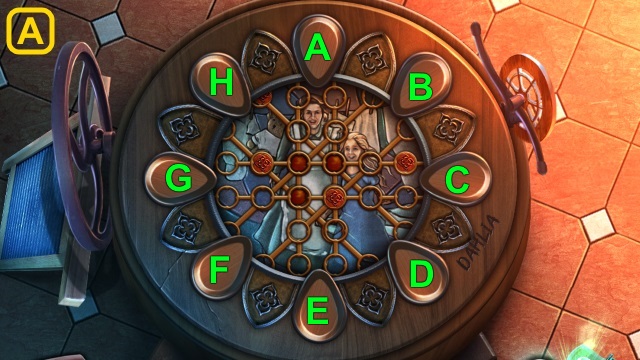
- Solution (A): D-B-D-A-G-F.
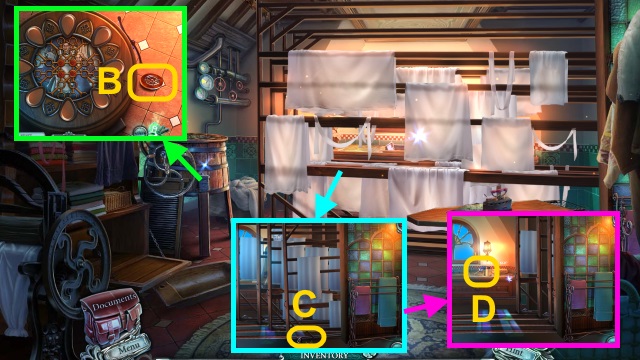
- Take the WHEEL (B).
- Place the WHEEL (C); move the racks.
- Take the CRAYONS and DUSTER (D).
- Walk down.
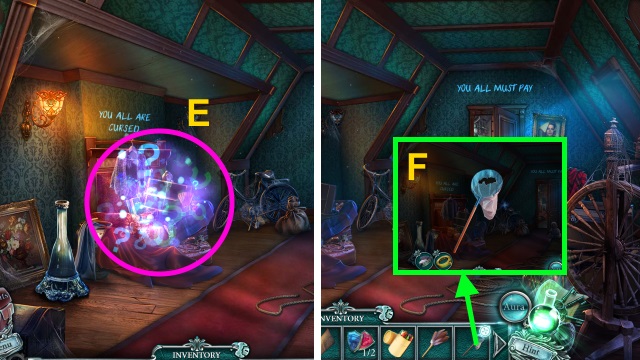
- Play the HOP; receive the RIPPED NET (E).
- Combine the RIPPED NET and YARN (F); receive the NET.
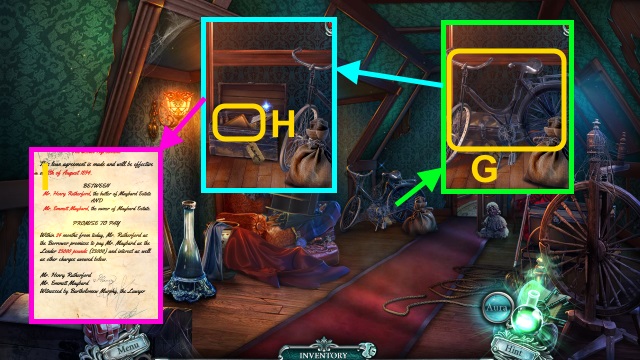
- Use the DUSTER; move the bike (G).
- Open the trunk; open the folder (H).
- Read the documents; use the Aura for a mini-game (I).
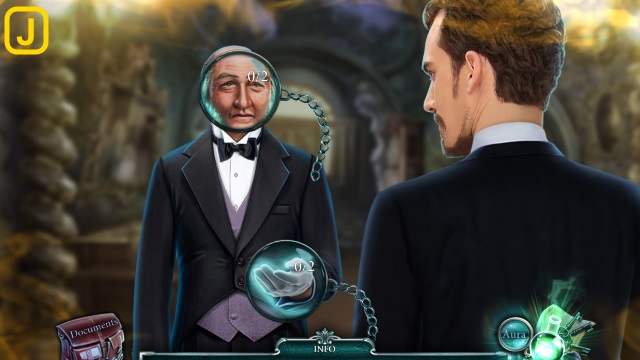
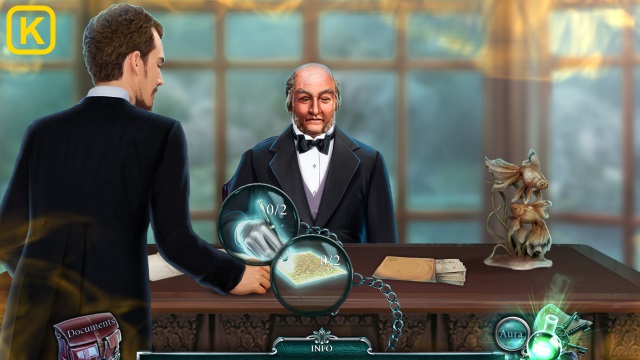
- Solution (J-K).
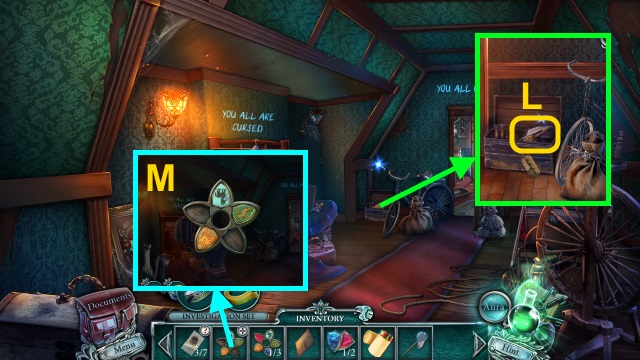
- Take the document, SPATULA and PART FROM FLOWER (2/2) (L).
- Combine the BROKEN FLOWER and PART FROM FLOWER (2/2) (M); receive the FLOWER (2/3).
- Walk down.
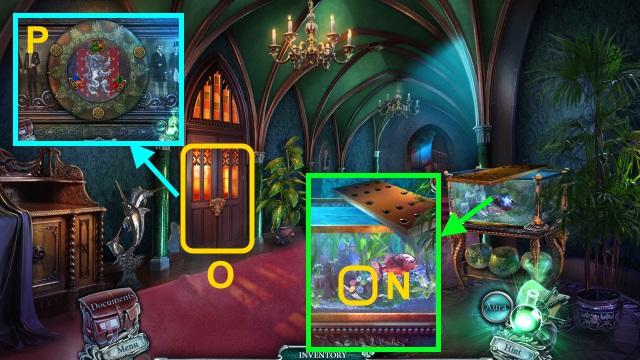
- Use the NET; receive the FLOWER (3/3) (N).
- Examine the door (O).
- Place the FLOWER (3/3) for a mini-game (P).
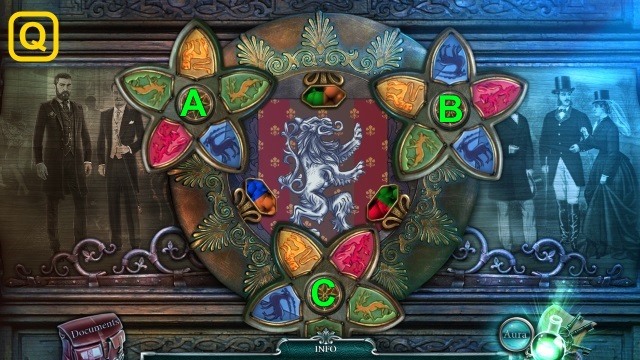
- Solution (Q): Cx2-B.
- Walk left.
Chapter 4: Dahlia
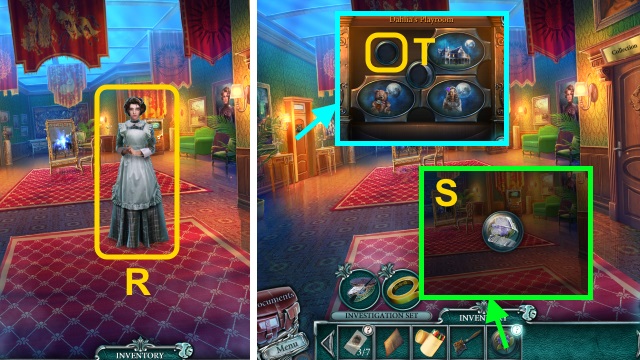
- Talk to Beth (R); receive the DOOR BUTTON WITH FINGERPRINTS.
- Examine the DOOR BUTTON WITH FINGERPRINTS; use the Powder with Brush and Tape (S). Take the FINGERPRINTS (4/7) and DOOR BUTTON.
- Place the DOOR BUTTON for a mini-game (T).
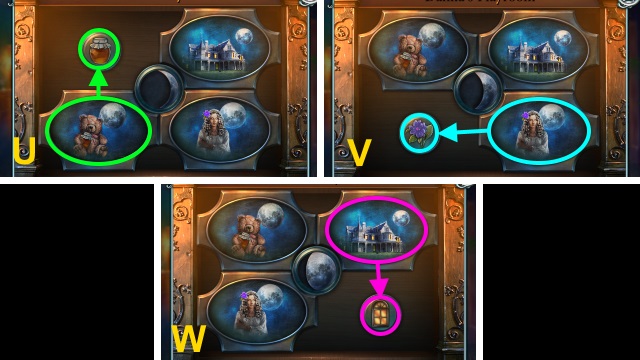
- Solution (U-W).
- Walk left.
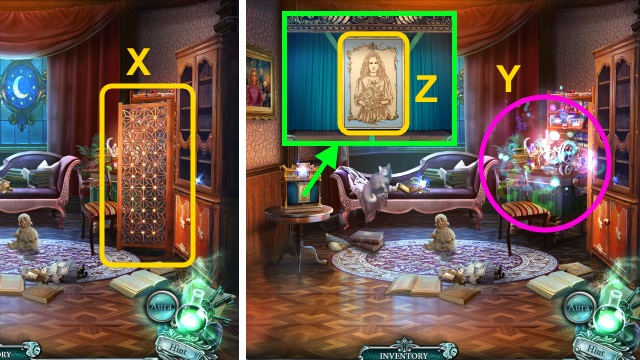
- Move the screen (X).
- Play the HOP; receive the MOON (Y).
- Use the CRAYONS for a mini-game (Z).
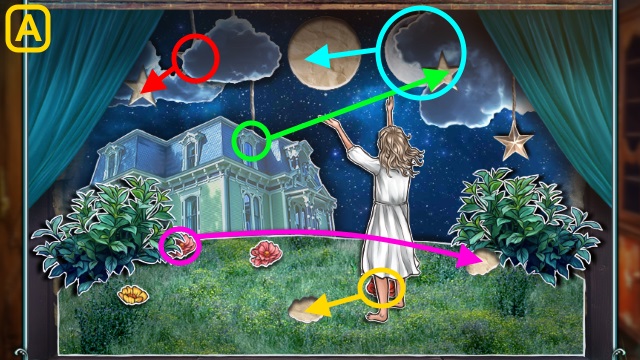
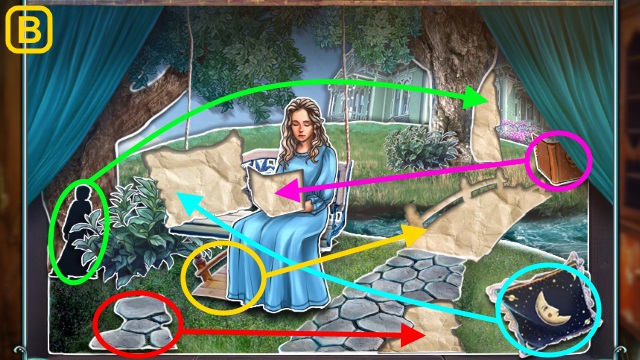
- Solution (A-B).
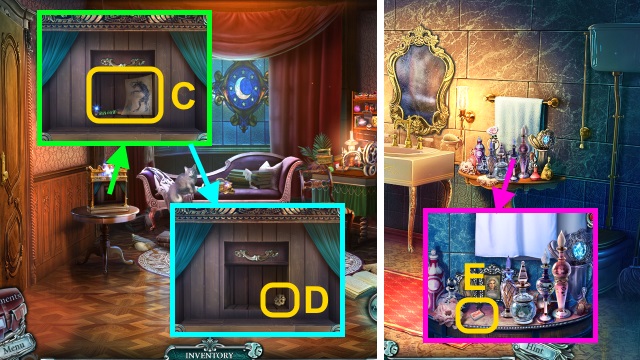
- Open the door; take the drawing and TAPESTRY THREAD (C).
- Take the TABLE PART (D).
- Walk left.
- Take the WRAPPED GUM for a mini-game (E).
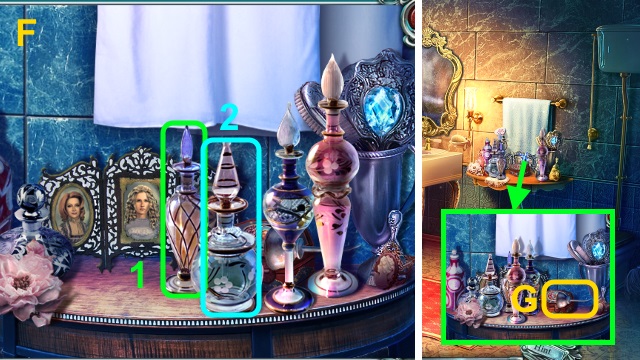
- Solution (F).
- Take the OILER (G).
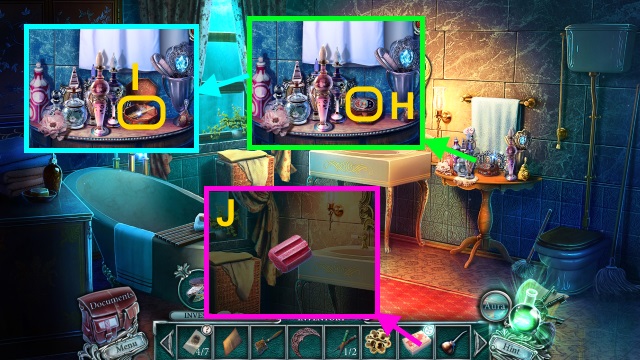
- Place the MOON (H); take the RULER (I).
- Examine the WRAPPED GUM 2x (J); receive the CHEWED GUM.
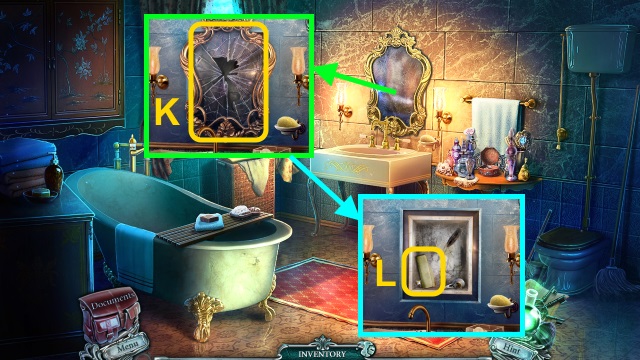
- Examine the mirror; use the SPATULA (K).
- Take the note and WINDUP KEY (L).
- Walk down.
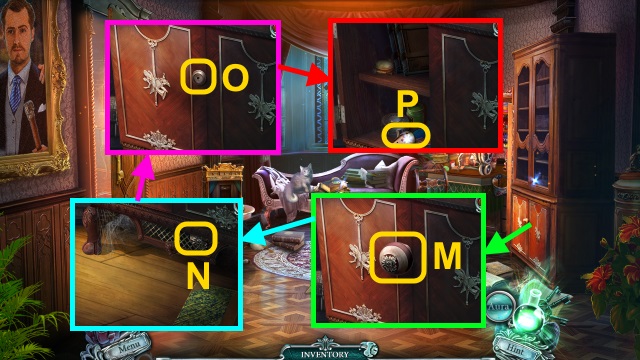
- Examine the handle (M).
- Use the RULER (N); receive the HANDLE.
- Place the HANDLE (O).
- Take the TOY MOUSE (P).
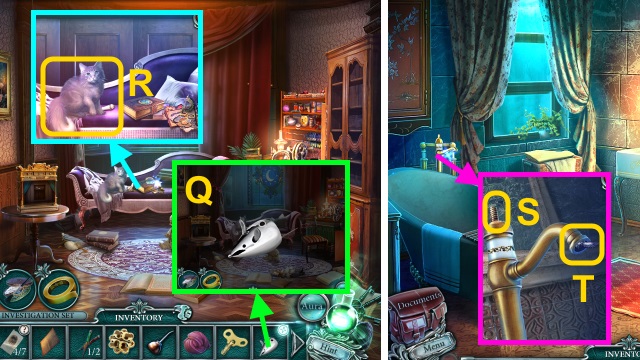
- Combine the TOY MOUSE and WINDUP KEY (Q); receive the WINDUP MOUSE.
- Use the WINDUP MOUSE; take the BATH HANDLE (R).
- Walk left.
- Use the BATH HANDLE (S); take the OWL (T).
- Walk down.
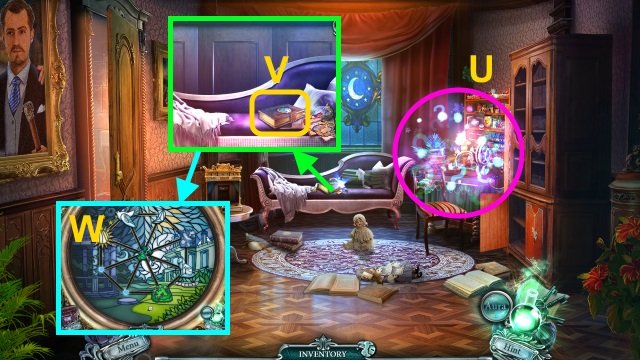
- Play the HOP; receive EMMETT'S FIGURINE (U).
- Examine the book (V); place the OWL for a mini-game (W).
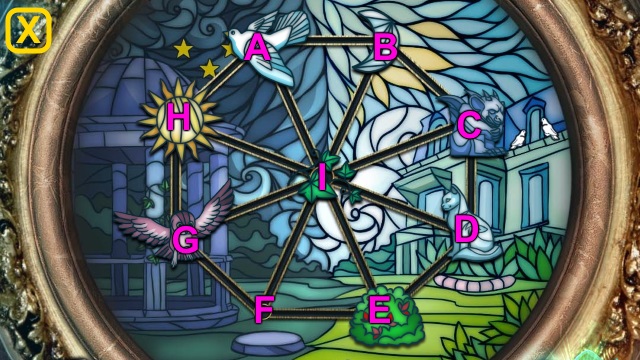
- Solution (X): (I-F)-(B-I)-(A-B)-(H-A)-(I-H)-(C-I).
- (D-C)-(E-D)-(I-E)-(C-I)-(D-C)-(I-D)-(B-I)-(A-B).
- (H-A)-(G-H)-(F-G)-(E-F)-(D-E)-(C-D)-(I-C).
- Receive DAHLIA'S DIARY.
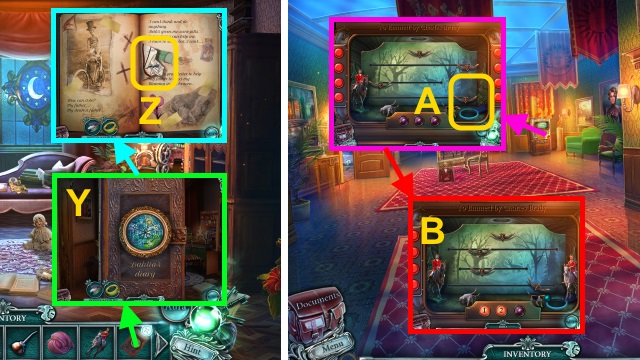
- Read DAHLIA'S DIARY (Y); take the MAP PART (Z) and diary.
- Walk down.
- Place EMMETT'S FIGURINE for a mini-game (A).
- Solution (B): drop three balls into the hole.
- Walk forward.
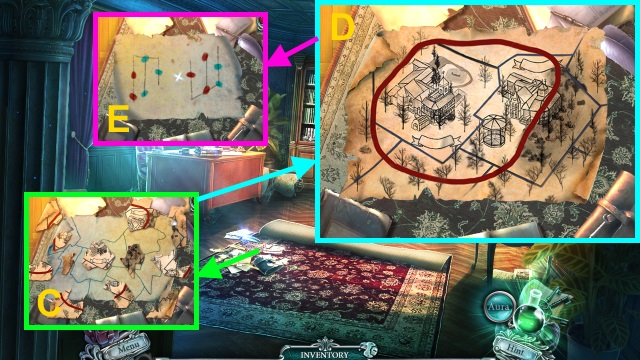
- Place the MAP PART (C); arrange the parts (D).
- Flip the paper; take the PAPER WITH CODE (E).
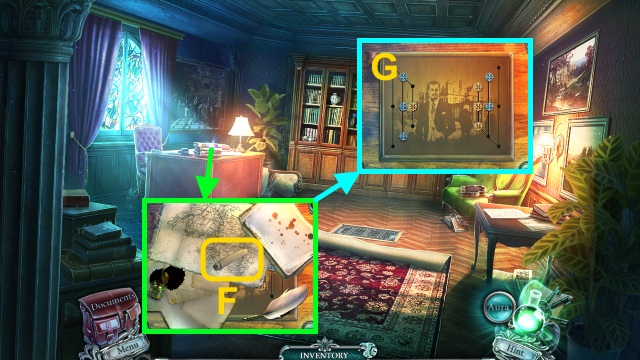
- Read the note (F); move the papers.
- Place the TABLE PART and PAPER WITH CODE for a mini-game (G).
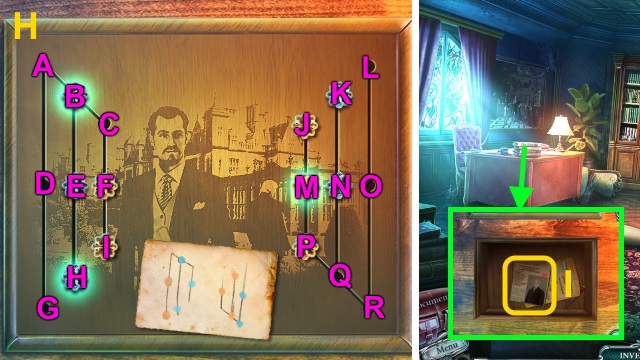
- Solution (H): (N-Q-R-O)-(K-N-Q-R)-(P-Q-N-K).
- (M-P-Q)-(J-M)-(B-A-D-G)-(F-C-B-A-D)-(I-F-C-B-A).
- (E-B-C-F-I)-(A-B-C-F)-(D-A-B-C)-(G-D-A-B-E).
- (C-B-A-D-G)-(F-C-B-A-D)-(E-B)-(I-F).
- Examine the paper; use the Aura for a mini-game (I).
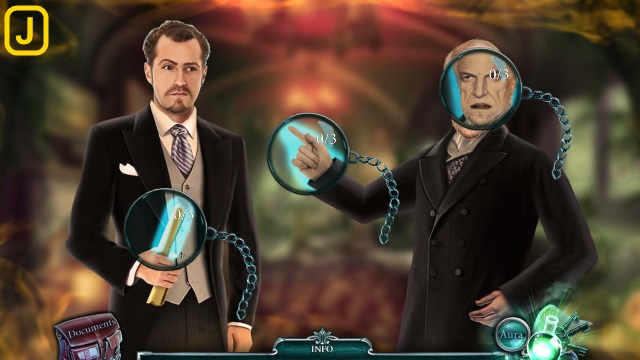
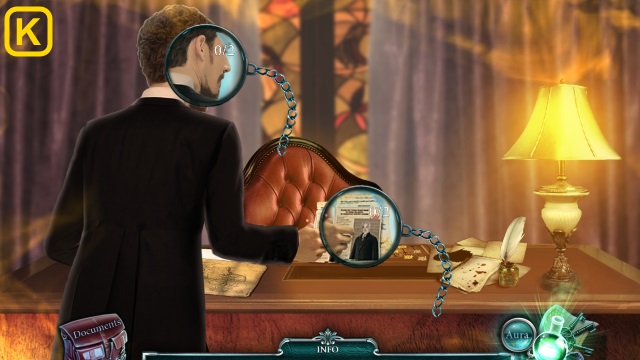
- Solution (J-K).
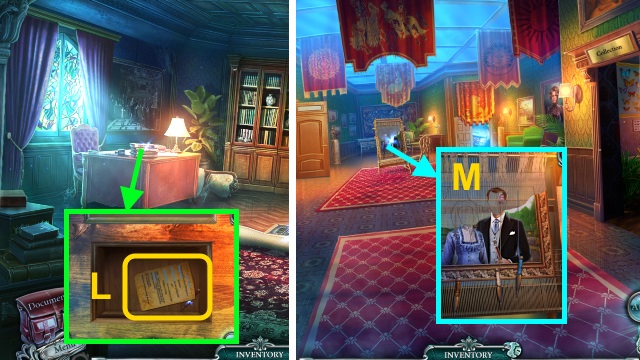
- Read the letter; take the TAPESTRY THREAD (2/2) (L).
- Walk down.
- Place the TAPESTRY THREAD (2/2) for a mini-game (M).
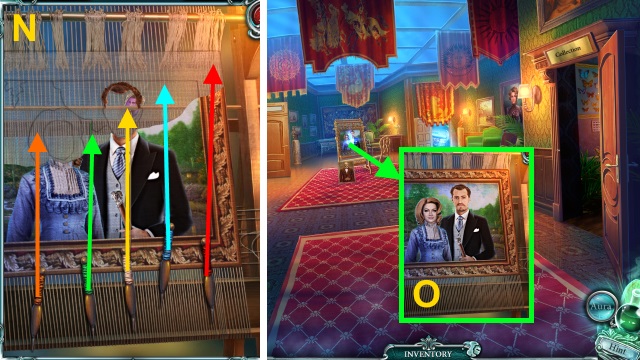
- Solution (N).
- Examine the tapestry; use the Aura for a mini-game (O).
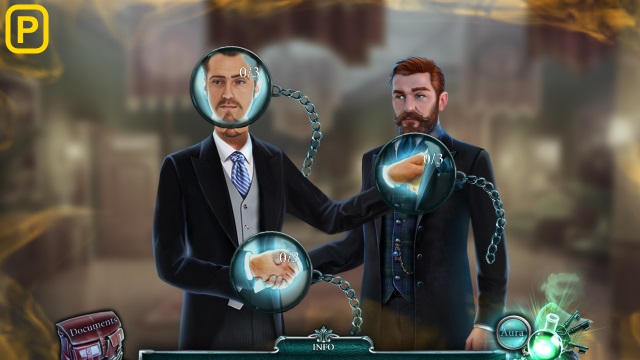
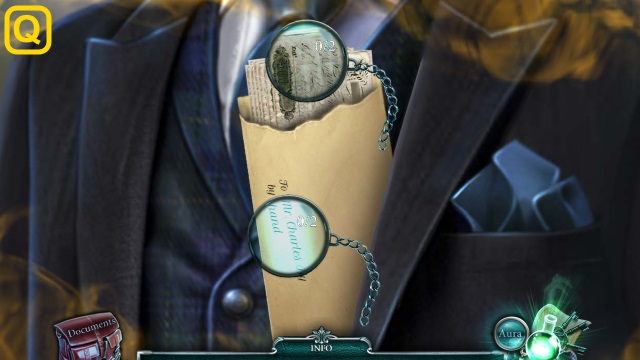
- Solution (P-Q).
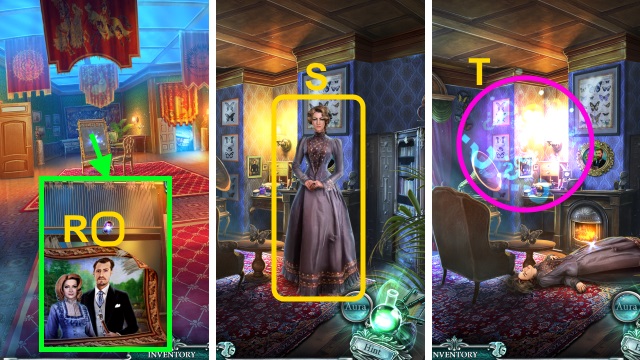
- Take the PORTRAITS (1/3) (R).
- Walk right.
- Talk to Sophia (S).
- Play the HOP; receive the KNOB (T).
- Walk down, then forward.
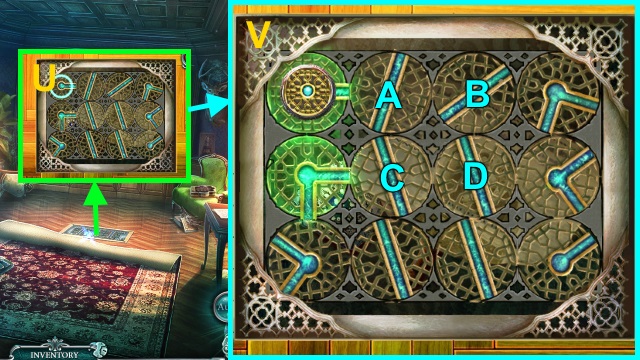
- Place the KNOB for a mini-game (U).
- Solution (V): A-Bx3-Dx4-Cx4.
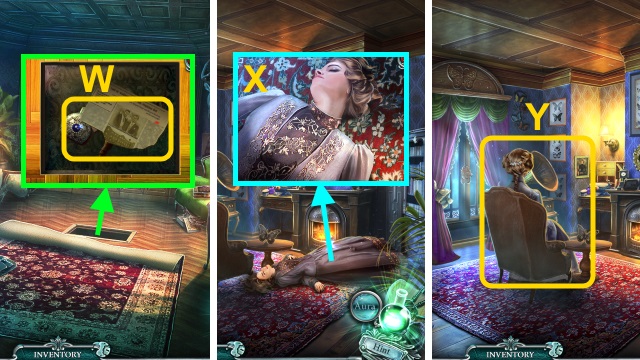
- Take the newspaper, CROCHET HOOK, and SMELLING SALTS (W).
- Walk down, then right.
- Use the SMELLING SALTS (X).
- Talk to Sophia (Y); receive the RING.
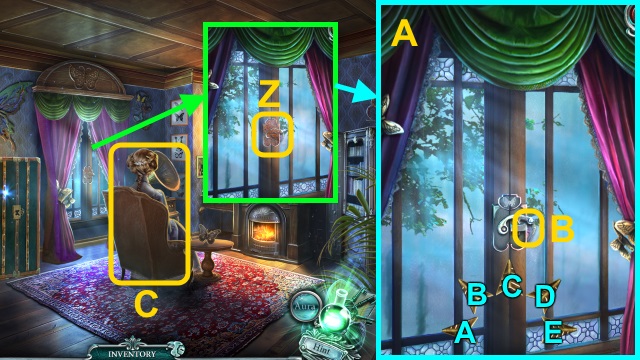
- Use the OILER for a mini-game (Z).
- Solution (A): (E-C)-(B-A-D)-(E-C-D-B-A).
- Take the PORTRAITS (2/3) (B).
- Give the SUSPICIOUS NOTE (C); receive the HOUSE.
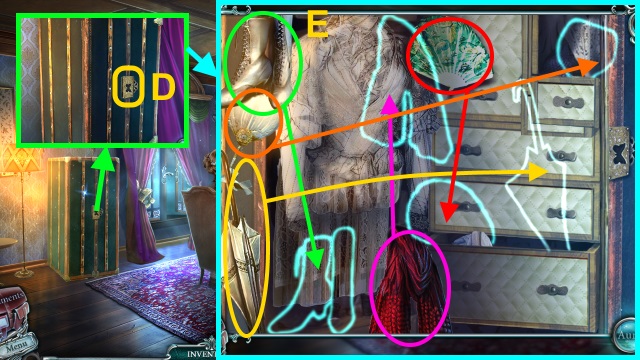
- Use the RING for a mini-game (D).
- Solution (E).
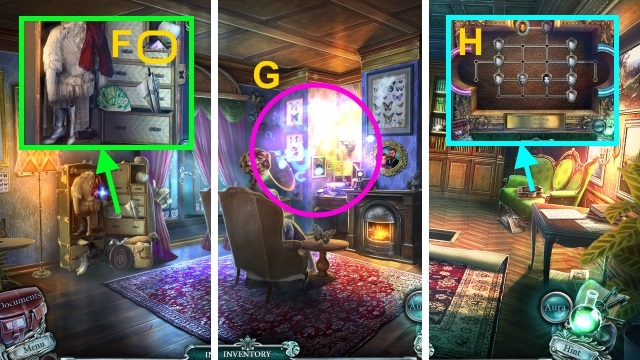
- Take the letter and PORTRAITS (3/3) (F).
- Play the HOP; receive the BOX PART (G).
- Walk down, then forward.
- Place the PORTRAITS (3/3) for a mini-game (H).
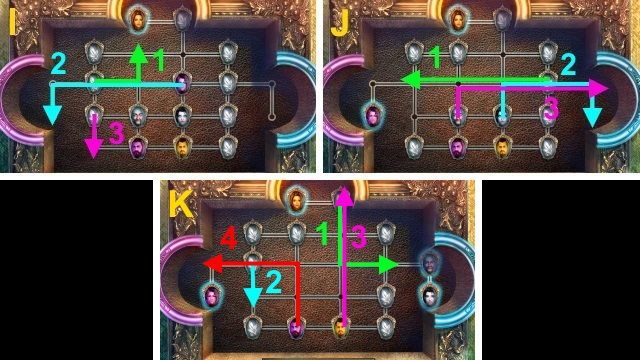
- Solution (I-K).
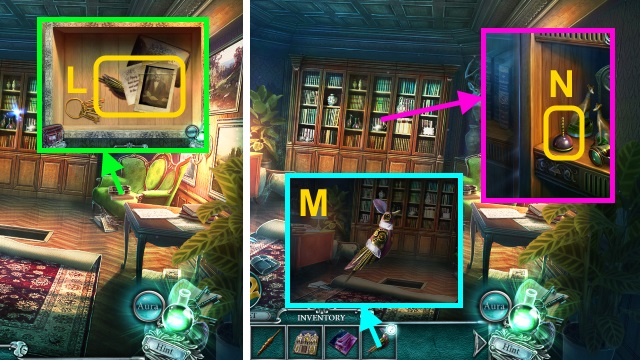
- Read the note; take the BIRD FIGURINE WITH FINGERPRINTS (L).
- Combine the BIRD WITH FINGERPRINGS, Powder with Brush, and Tape (M). Take the FINGERPRINTS (5/7) and BIRD FIGURINE.
- Place the BIRD FIGURINE (N).
- Walk forward.
Chapter 5: The Gardens
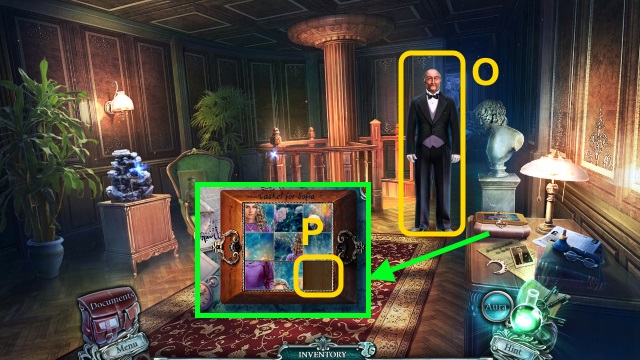
- Talk to the butler (O); receive the PAPER.
- Place the BOX PART for a mini-game (P).
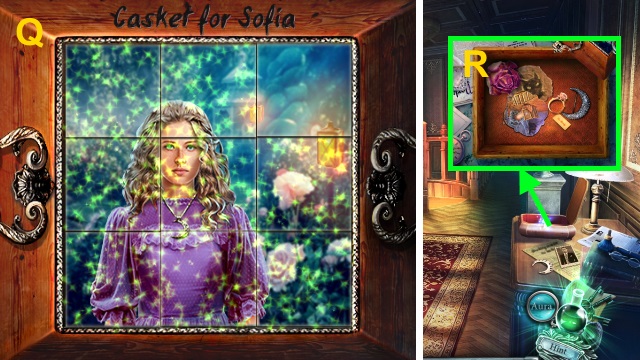
- Solution (Q).
- Use the Aura for a mini-game (R).
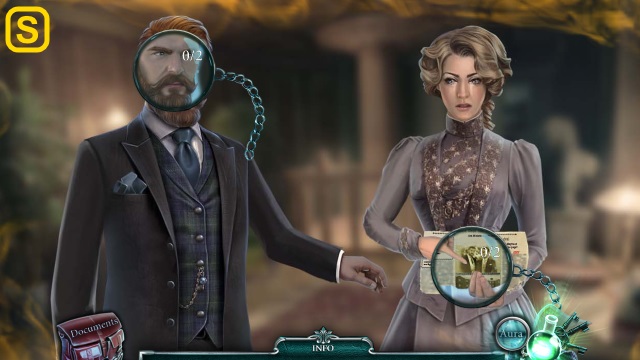
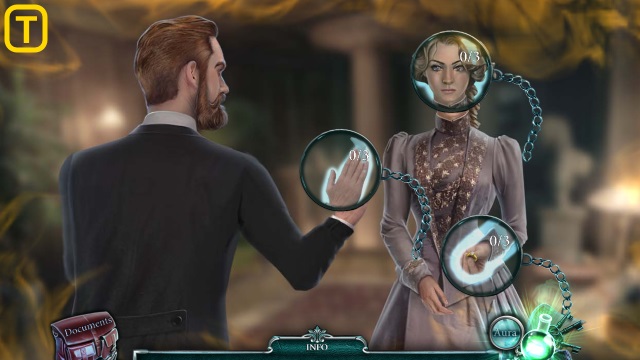
- Solution (S-T).
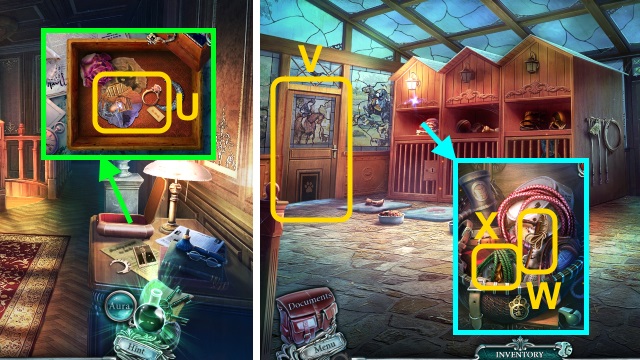
- Take the ring and PART FROM PICTURE (1/2) (U).
- Walk forward.
- Try to walk left (V).
- Take the BOLT (W); use the CROCHET HOOK for a mini-game (X).
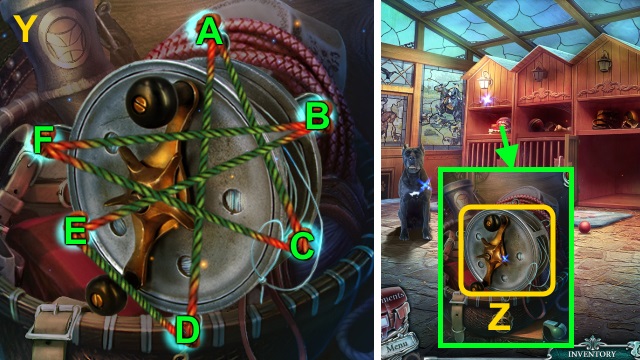
- Solution (Y): (F-B-F)-(A-C-B-A).
- Take the FISHING LINE (Z).
- Walk down.
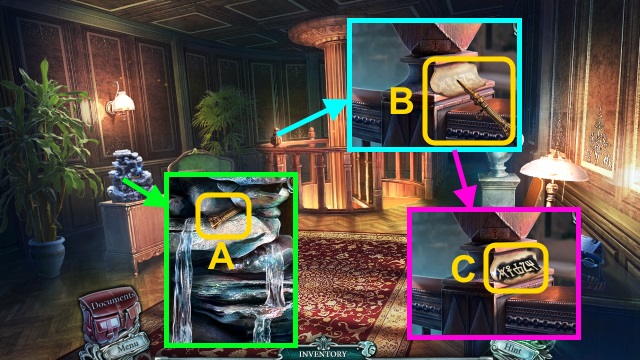
- Use the FISHING LINE (A); receive the PENCIL.
- Place the PAPER and PENCIL; drag the pencil (B).
- Take the PAPER WITH CODE (C).
- Walk forward.
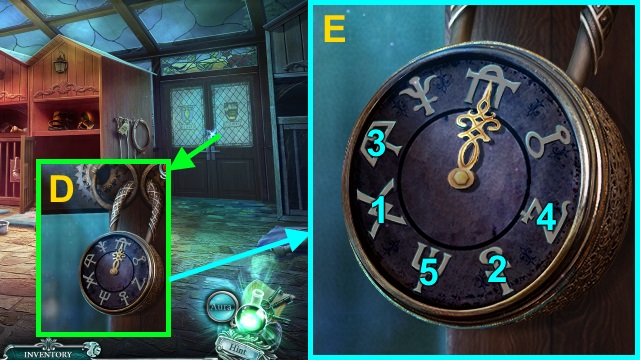
- Place the PAPER WITH CODE for a mini-game (D).
- Solution (E).
- Walk forward.
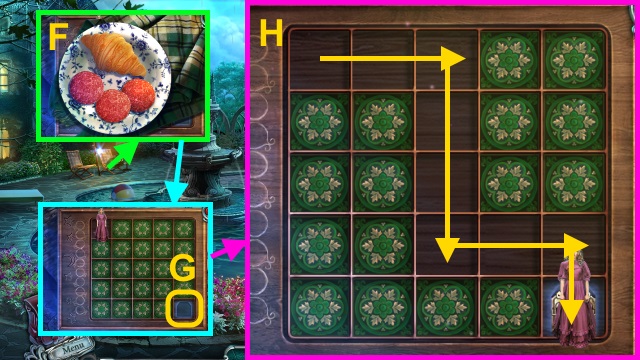
- Move the food (F); receive the MEAT.
- Move the cloth; place the HOUSE for a mini-game (G).
- Solution (H).
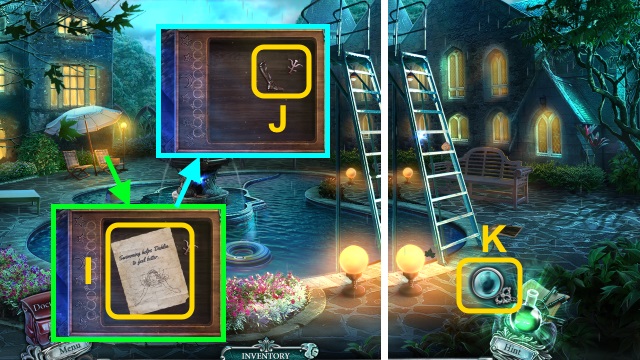
- Take the note (I); Take the STAIRS PART and FIGURE PART (1/2) (J).
- Use the Aura; for a mini-game (K).
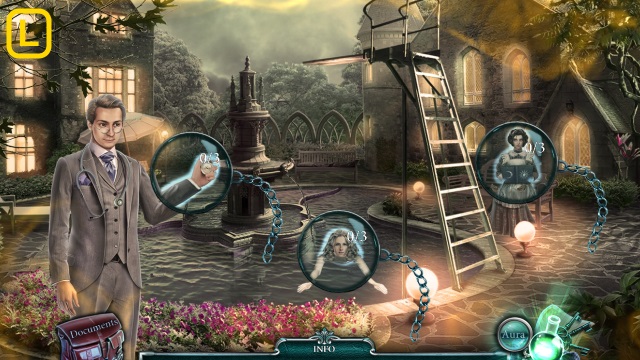
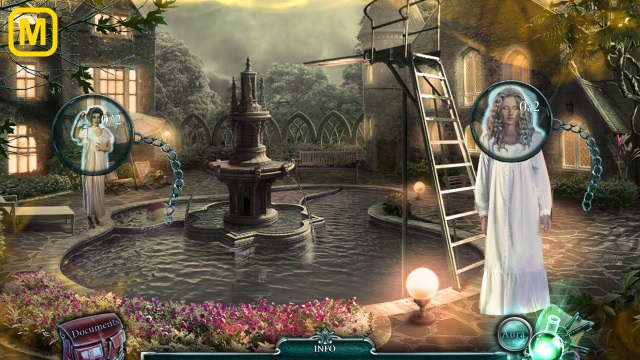
- Solution (L-M).
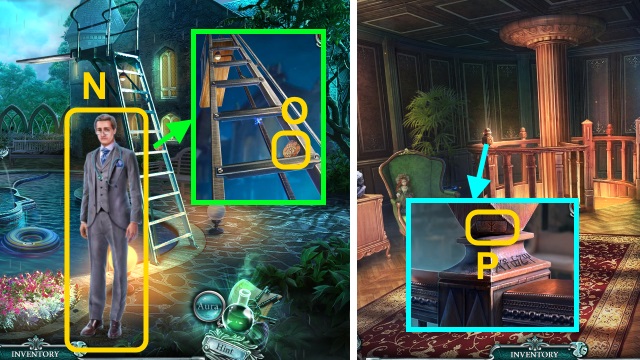
- Talk to the doctor (N); receive the SLEEPING POTION.
- Take the PART FROM PICTURE (2/2) (O).
- Walk down twice.
- Place the STAIRS PART (P); receive the CORKSCREW.
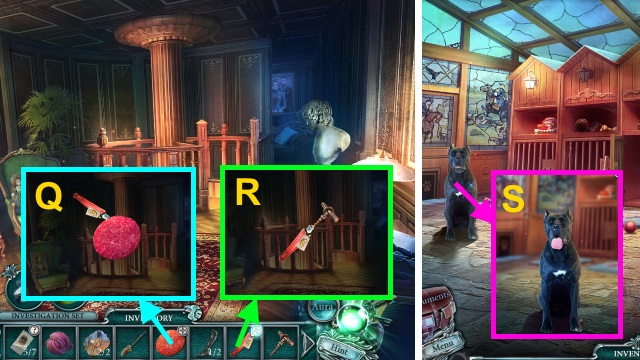
- Combine the SLEEPING POTION and CORKSCREW (Q); receive the OPENED POTION.
- Combine the MEAT and OPENED POTION (R); receive the DRUGGED MEAT.
- Walk forward.
- Give the DRUGGED MEAT (S).
- Walk left.
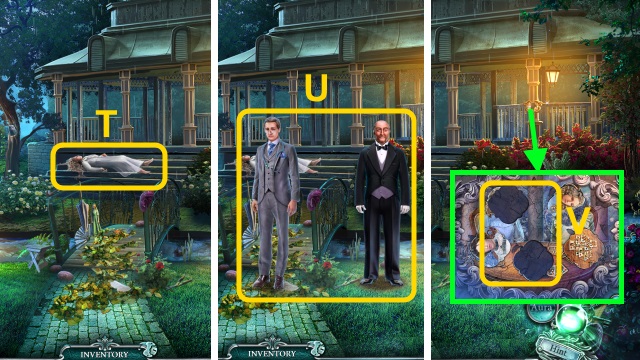
- Talk to Dahlia (T).
- Talk to Dr. Pace (U).
- Place the PART FROM PICTURE (2/2) for a mini-game (V).
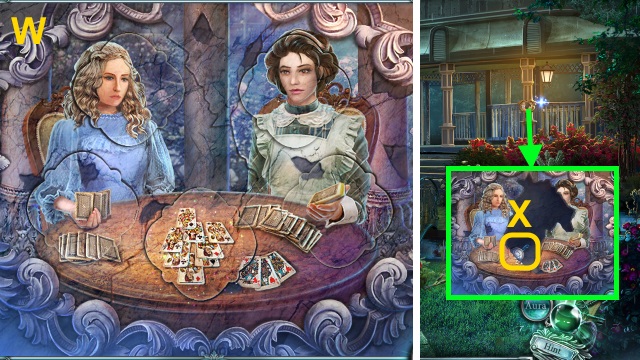
- Solution (W).
- Take the COIN and FIGURE PART (2/2) (X).
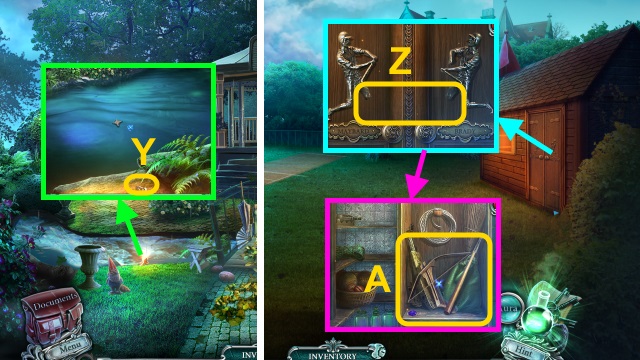
- Take the SCREWS (Y).
- Walk left.
- Place the FIGURE PART (2/2) (Z).
- Take the CRYSTAL (1/2), BOAT HOOK, and CROSSBOW (A).
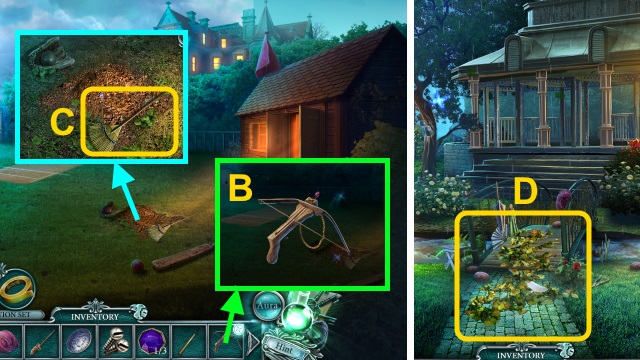
- Combine the CROSSBOW, BOLT, and CHEWED GUM (B); receive the LOADED CROSSBOW.
- Take the RAKE (C).
- Walk down.
- Use the RAKE (D).
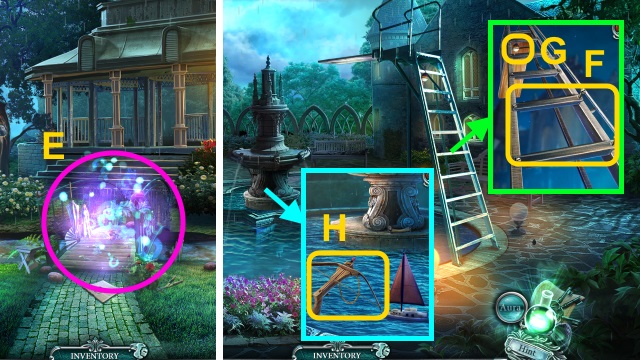
- Play the HOP; receive the GATE PART (E).
- Walk down, then right.
- Examine the ladder; use the SCREWS and COIN (F). Take the FLOAT AND HOOK (G).
- Use the LOADED CROSSBOW; examine it 2x (H). Receive the BONE.
- Walk down, then left twice.
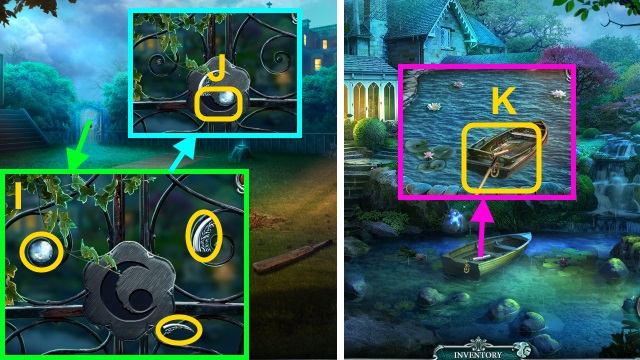
- Find the pieces (I); place the GATE PART (J).
- Walk forward.
- Use the BOAT HOOK; take the FISHING ROD and STAINED GLASS SHARD (K).
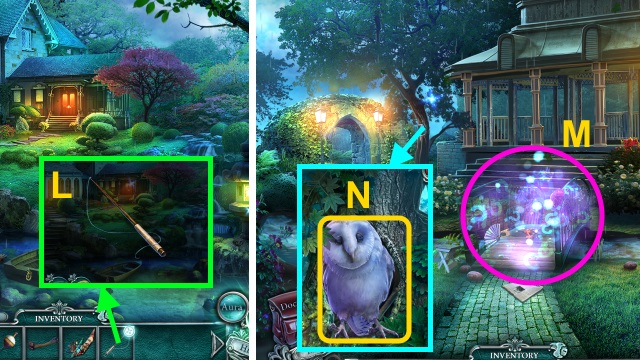
- Combine the FISHING ROD and FLOAT AND HOOK (L); receive the FINISHED FISHING ROD.
- Walk down twice.
- Play the HOP; receive the LAMP (M).
- Use the LAMP; take the SHOVEL (N).
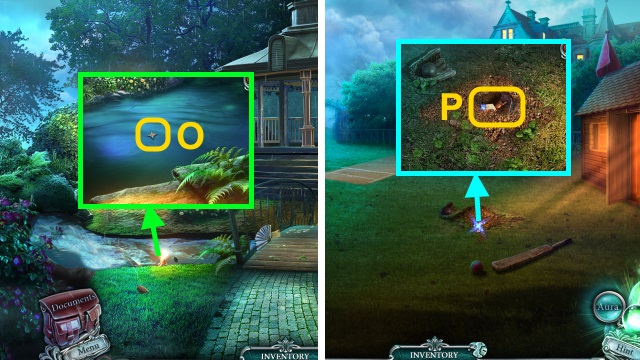
- Use the FINISHED FISHING ROD (O); receive the SHELF.
- Walk left.
- Use the SHOVEL; take the MOSAIC FRAGMENT (1/3) and HAMMER WITH FINGERPRINTS (P).
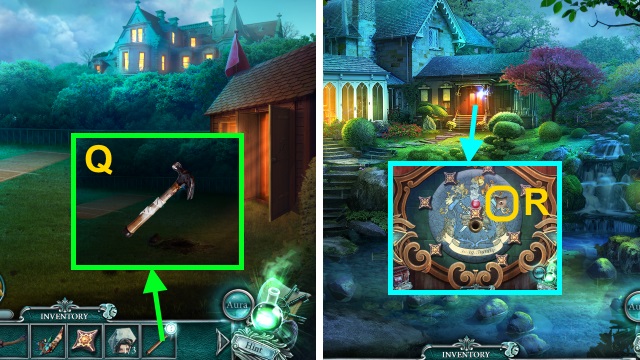
- Combine the HAMMER WITH FINGERPRINTS, Powder with Brush, and Tape (Q). Take the FINGERPRINTS (6/7) and MURDER WEAPON.
- Walk forward.
- Use the SHELF for a mini-game (R).
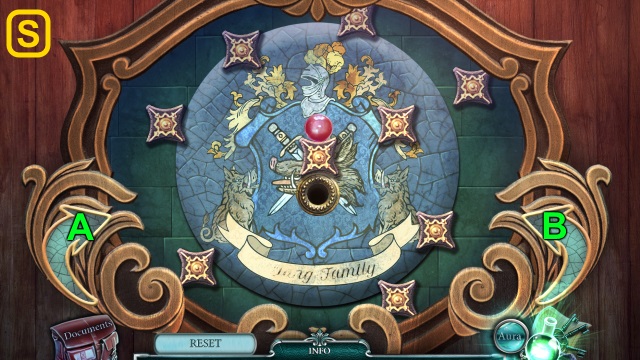
- Solution (S): B-Ax2-Bx6.
- Walk forward.
Chapter 6: The Killer
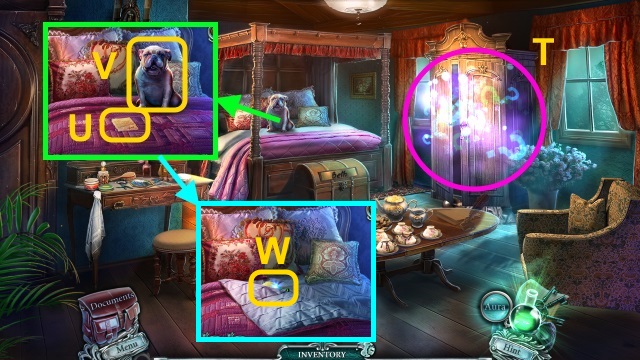
- Examine the cupboard. Play the HOP; receive the ATOMIZER (T).
- Read the note (U); give the BONE (V).
- Move the blanket; take the JAR OF THINNER (W).
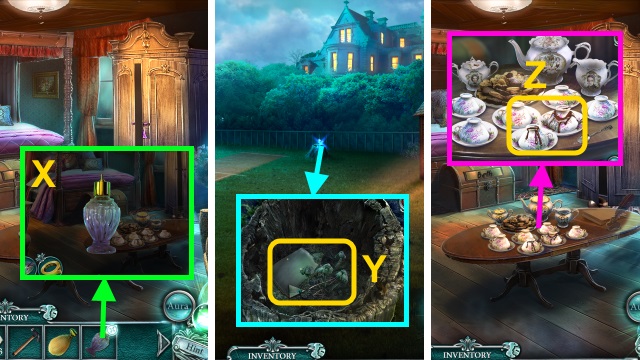
- Combine the JAR OF THINNER and ATOMIZER (X); receive the THINNER.
- Walk down twice.
- Use the THINNER; take the HANDKERCHIEF and PICTURE PART (1/2) (Y).
- Walk forward twice.
- Use the HANDKERCHIEF for a mini-game (Z).
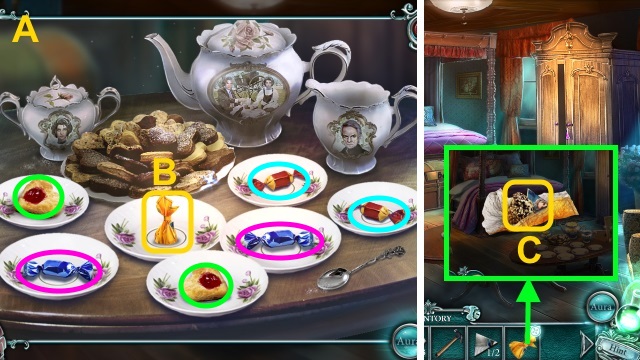
- Solution (A).
- Remove the cup; take the CANDY (B).
- Open the CANDY; take the candy and PICTURE PART (2/2) (C).
- Walk down.
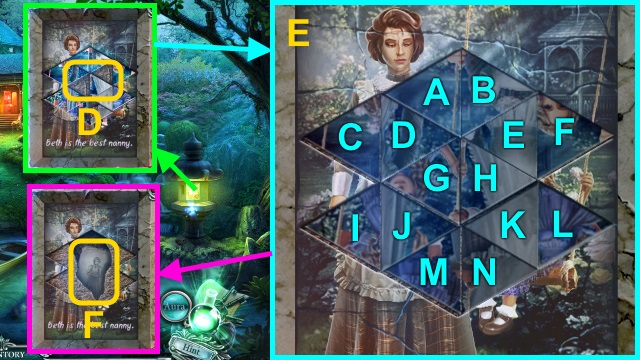
- Place the PICTURE PART for a mini-game (D).
- Solution (E): (B-A)-(C-D)-(D-G)-(G-H)-(H-E).
- (E-F)-(D-G)-(G-H)-(I-J)-(J-M)-(M-N)-(N-K)-(K-L).
- (D-G)-(J-M)-(M-N)-(J-M).
- Take the note and MOSAIC FRAGMENT (2/3) (F).
- Walk forward.
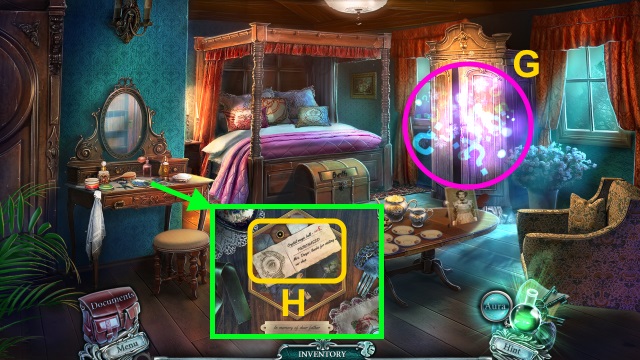
- Play the HOP; receive the MOSAIC FRAGMENT (3/3) (G).
- Read the note (H); place the MOSAIC FRAGMENT (3/3) for a mini-game.
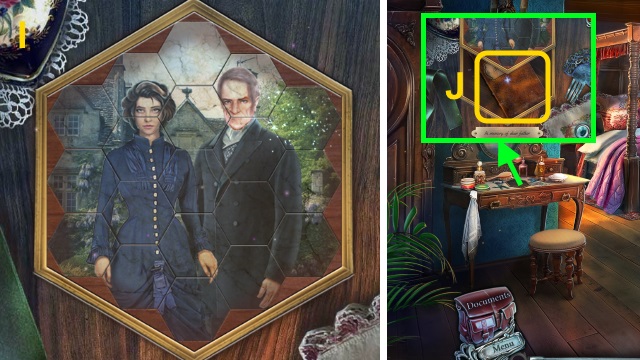
- Solution (I).
- Use the Aura for a mini-game (J).
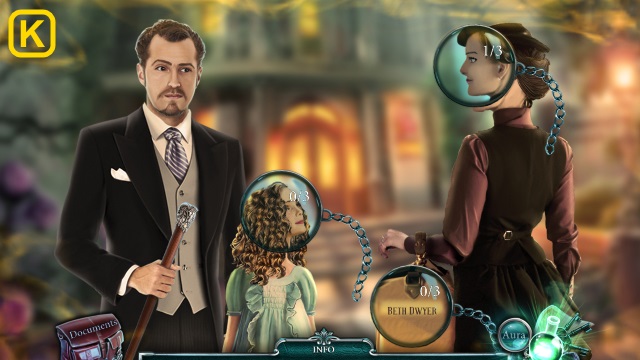
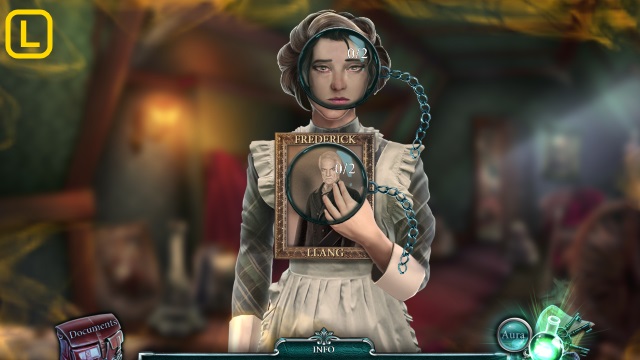
- Solution (K-L).
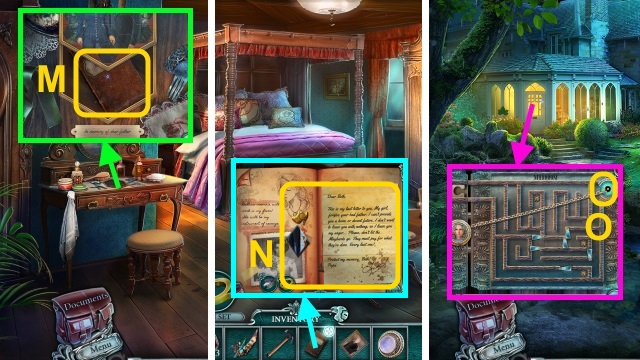
- Take BETH'S DIARY, LLANG'S PORTRAIT, and the BUTTON (M).
- Read BETH'S DIARY. Read the letters; take the PICTURE PART, and SHOE LOCK (N).
- Walk down.
- Place the BUTTON for a mini-game (O).
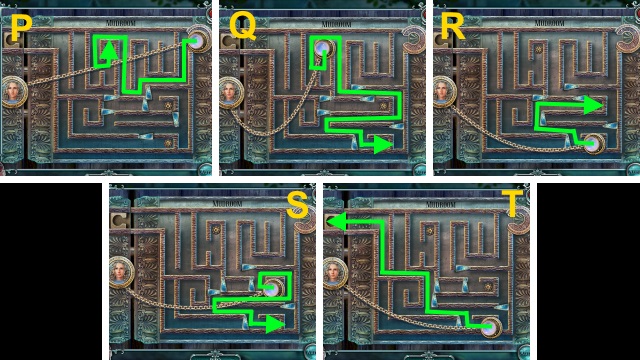
- Solution (P-T).
- Walk left.
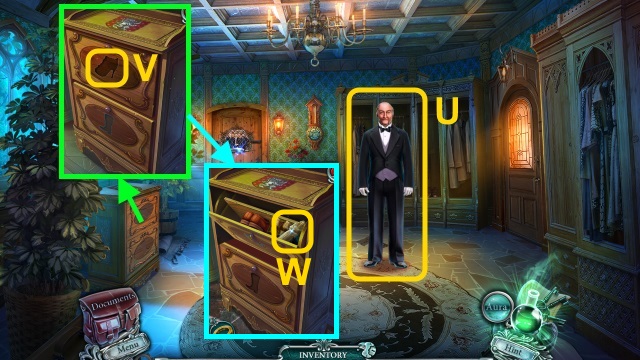
- Talk to the butler (U).
- Place the SHOE LOCK (V).
- Take the FIGURINE WITH FINGERPRINTS (W).
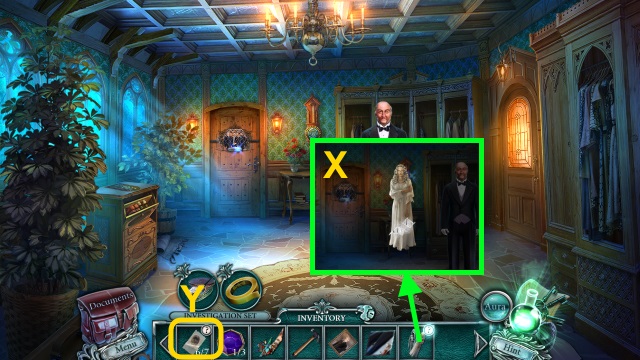
- Combine the FIGURINE WITH FINGERPRINTS, Powder with Brush, and Tape (X); take the FINGERPRINTS (6/7) and FIGURINES (1/2).
- Examine the FINGERPRINTS for a mini-game (Y).
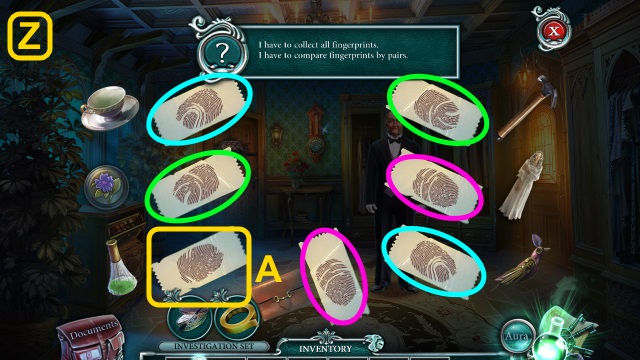
- Solution (Z).
- Take BETH'S FINGERPRINT (A).
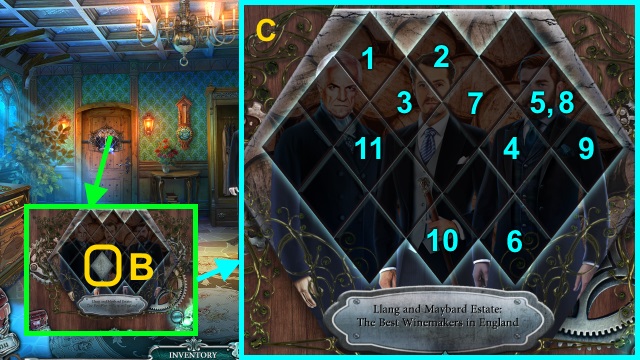
- Place the PICTURE PART for a mini-game (B).
- Solution (C).
- Walk forward.
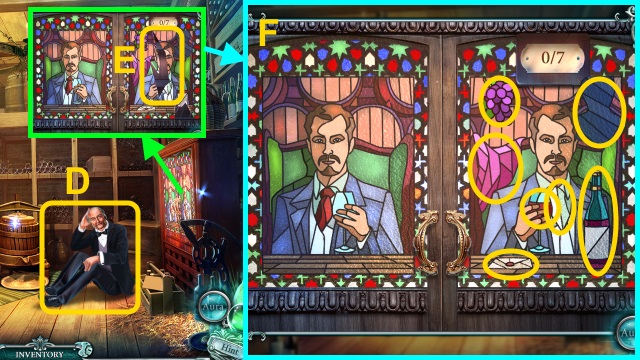
- Talk to the Butler (D).
- Place the STAINED GLASS SHARD for a mini-game (E).
- Solution (F).
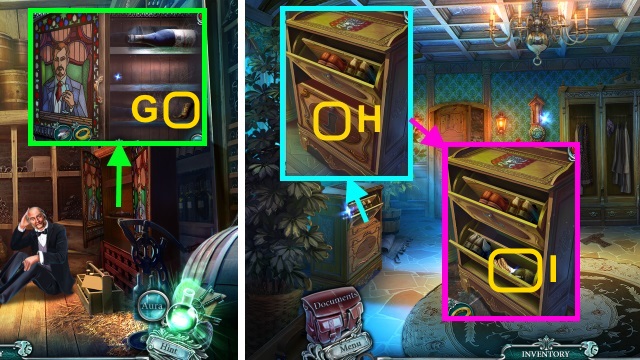
- Take the BOOT LOCK (G).
- Walk down.
- Place the BOOT LOCK (H).
- Take the FLASK WITH WATER and ROPE (I).
- Walk forward.
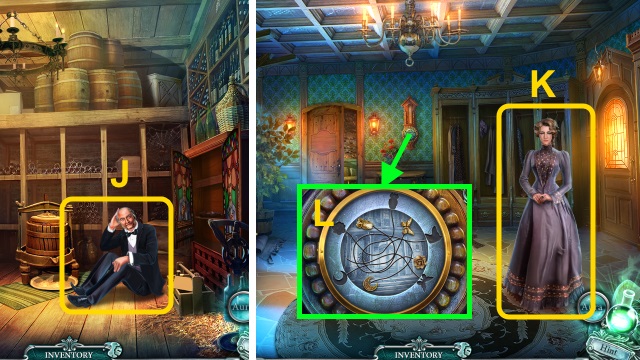
- Give the FLASK WITH WATER and ROPE (J); receive the CIRCLE PIECE.
- Walk down.
- Talk to Sophia (K).
- Place the CIRCLE PIECE for a mini-game (L).
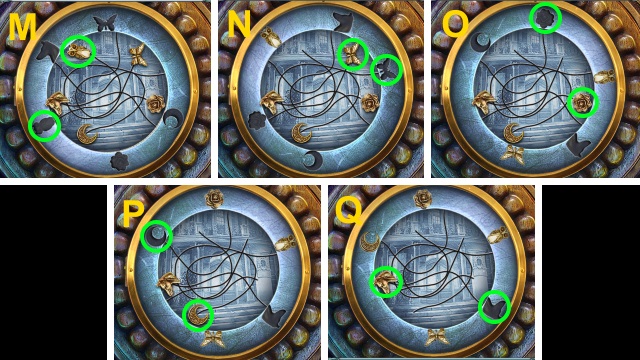
- Solution (M-Q).
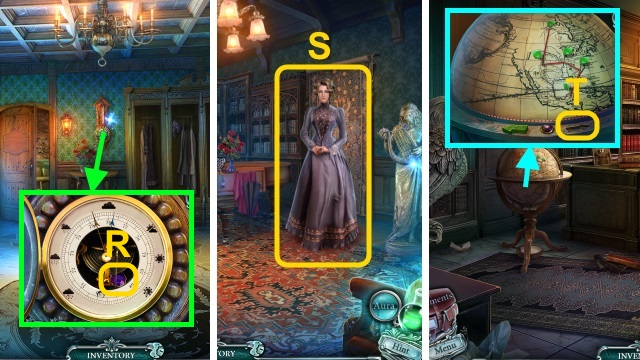
- Take the CRYSTAL (2/3) (R).
- Walk right.
- Talk to Sophia (S); give BETH'S FINGERPRINT, the MURDER WEAPON, and LLANG'S PORTRAIT.
- Receive the ARROW.
- Walk left.
- Place the ARROW for a mini-game (T).
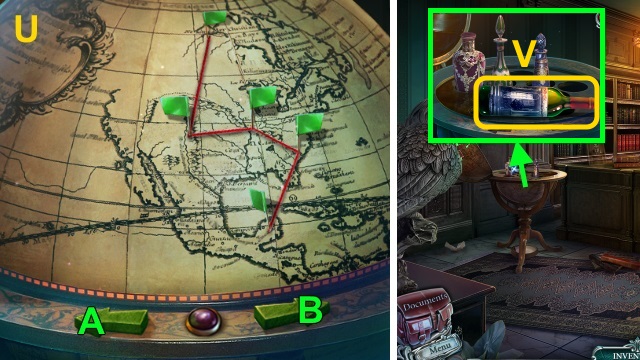
- Solution (U): B-A.
- Take the WINE BOTTLE (V).
- Walk down.
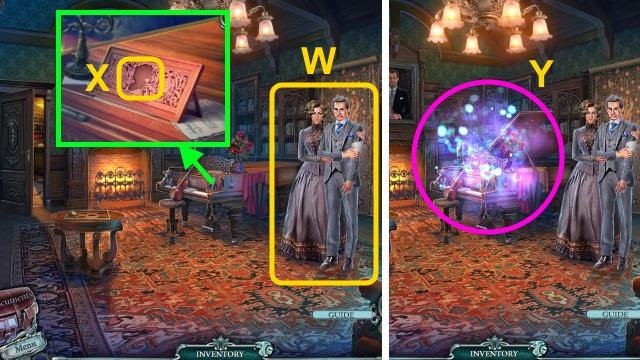
- Talk to Dr. Pace (W); receive the PIANO PART.
- Place the PIANO PART (X).
- Play the HOP; receive the LEVER (Y).
- Walk down, then left.

- Place the WINE BOTTLE for a mini-game (Z).
- Solution (A).
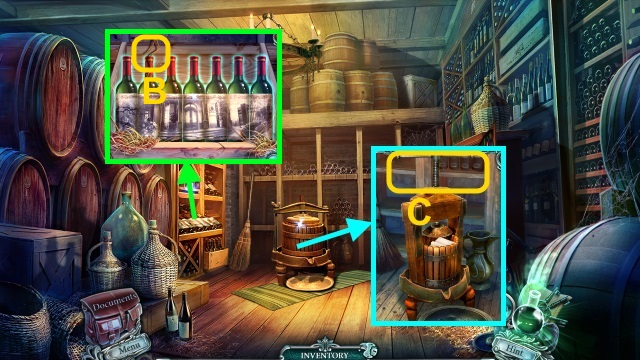
- Take the WIRE (B).
- Place the LEVER (C); use the Aura for a mini-game.
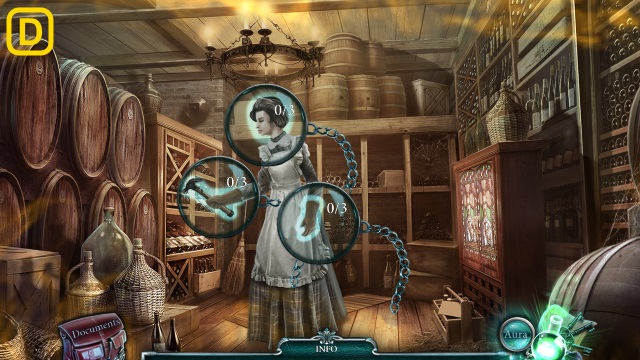
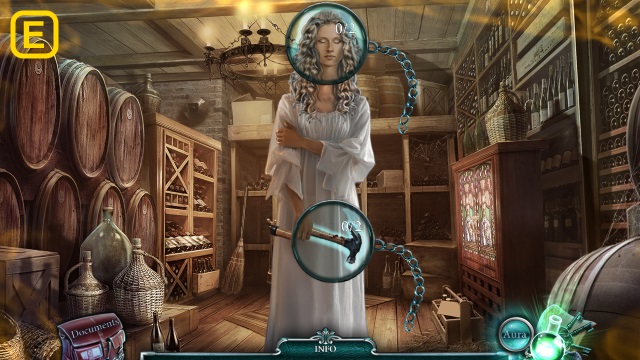
- Solution (D-E).
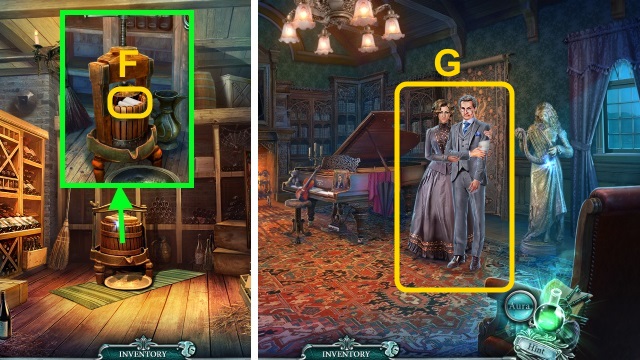
- Take the BANDAGE (F).
- Walk down, then right.
- Give the BANDAGE (G); receive the FIGURINES (2/2).
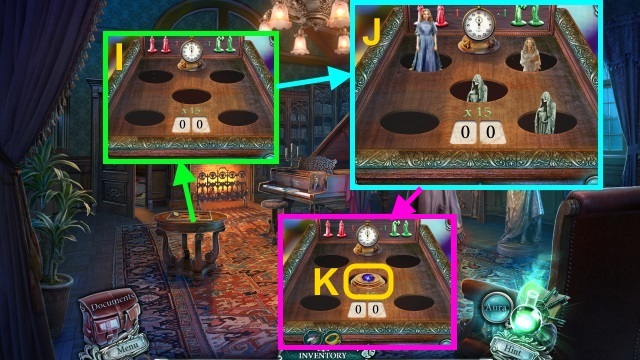
- Place the FIGURINES for a mini-game (I).
- Solution (J): hit the correct figurines 15x.
- Take the CRYSTAL (3/3) (K).
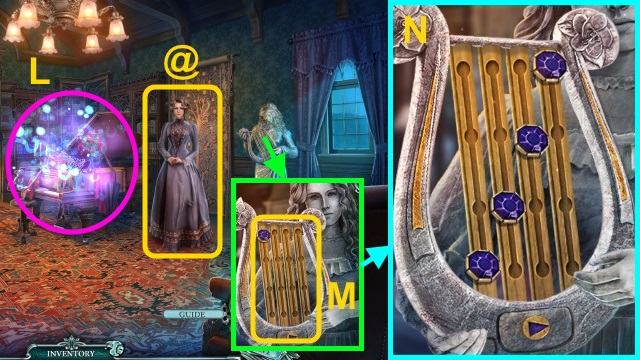
- Play the HOP; receive the BELT (L).
- Talk to Sophia (@)
- Place the CYRSTAL (3/3) for a mini-game (M).
- Solution (N).
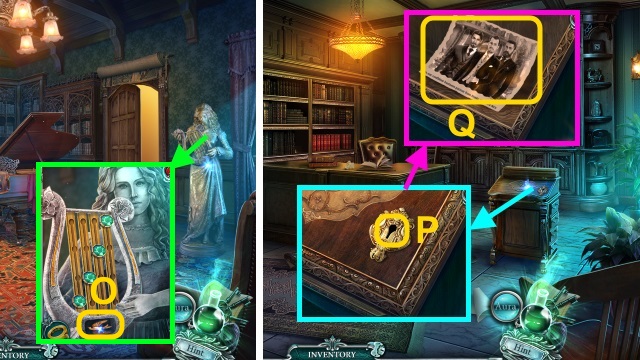
- Take the BIRD FIGURINE (1/2) (O).
- Walk left.
- Use the WIRE (P).
- Use the Aura for a mini-game (Q).
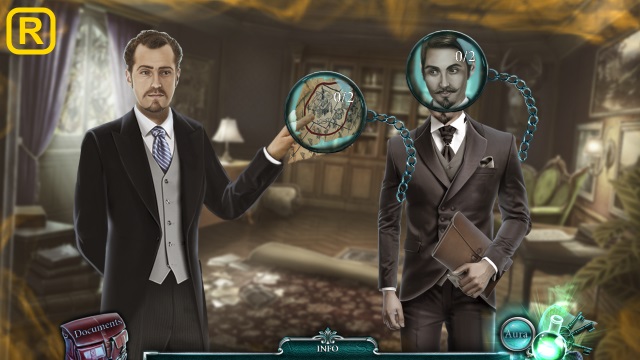
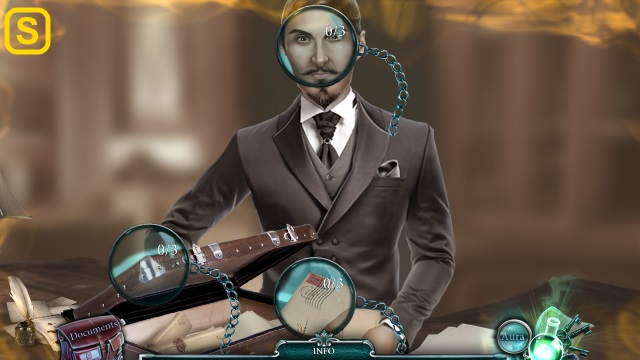
- Solution (R-S).
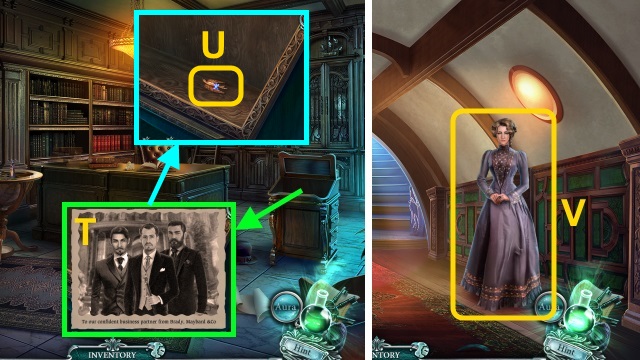
- Take the picture (T) and BIRD FIGURINE (2/2) (U).
- Walk down, then right.
- Talk to Sophia (V).
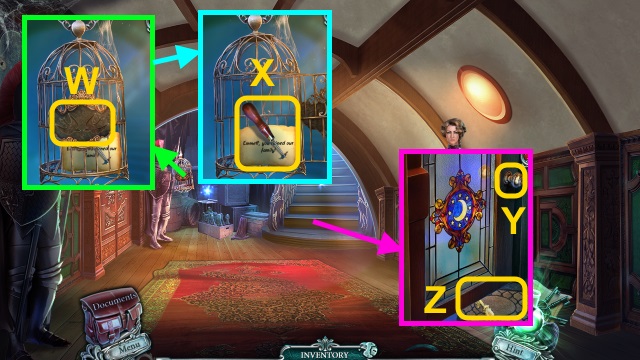
- Place the BIRD FIGURINE (2/2) (W); take the note and CROCHET HOOK (X).
- Use the CROCHET HOOK (Y). Pull the mat; take the KEY (Z). Use the KEY.
- Walk forward.
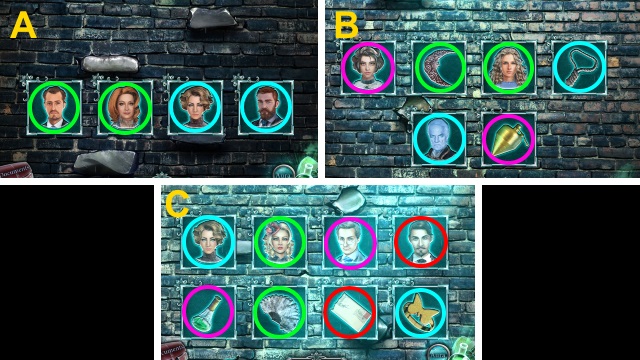
- Examine the scene for a mini-game; solution (A-C).
- Use the BELT (D).
- Congratulations! You have completed Cursed Cases: Murder at the Mayberd Estate.
Created at: 2016-08-07

