Walkthrough Menu
Game Basics and General Tips
- You may play this game in full screen or windowed mode by pressing “Alt + Enter”.
- When you create a new profile you are given the option to play in Relaxed or Timed mode.
- The hidden objects in some levels are randomized. The solution may vary.
- Items in green will sometimes trigger a dialog.
- Click “Next” to advance through dialog or “Skip” to avoid it all together.
- Hit Escape on your keyboard or click on “Pause” to pause the game and get to the Options menu.
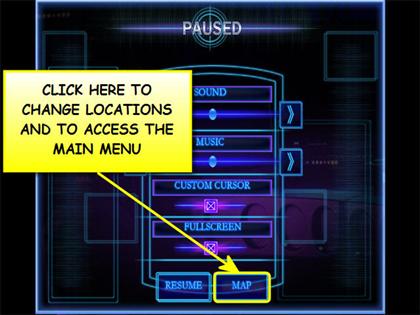
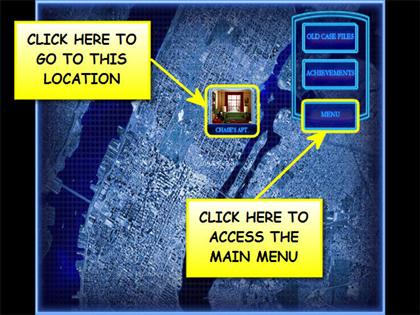
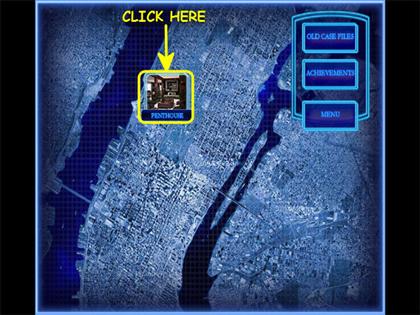
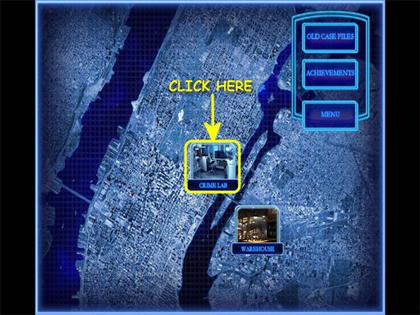
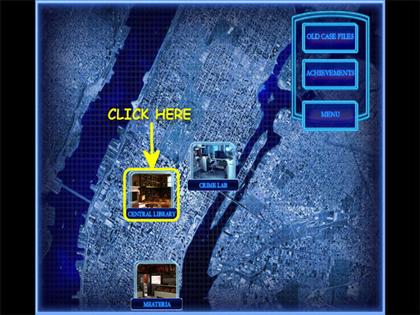
- Click on “Map” to change locations, access old case files, achievements or the main menu.
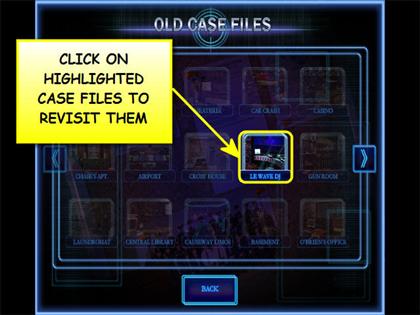
- You can replay solved sections of the game under Old Case Files.
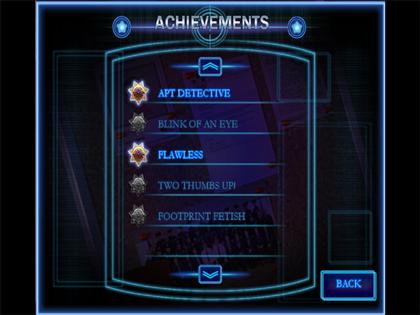
- Click on “Achievements” to access the trophies list.
- The magnifying glass is very helpful, use it often.
Chapter 1: Deception
- Click on Captain Cross.
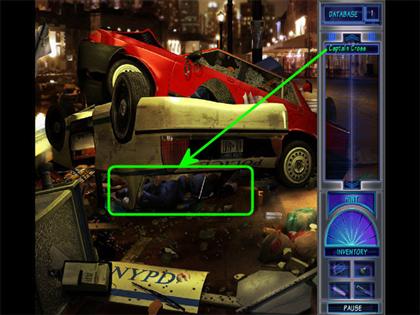
- Click on the Magnifying Glass to add it to your inventory. Use it to find very small objects.
- Click on the UV Filter to add it to your inventory. Use it to find hidden stains, blood, chemicals, etc.
- Click on the Duster to add it to your inventory. Use it around the crime scene to reveal prints.
- Click on the Flashlight to add it to your inventory. Use it to illuminate dark areas.
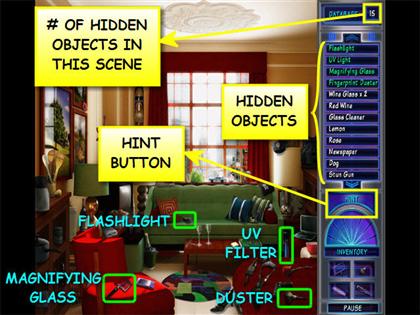
- Find all the hidden objects on the list.
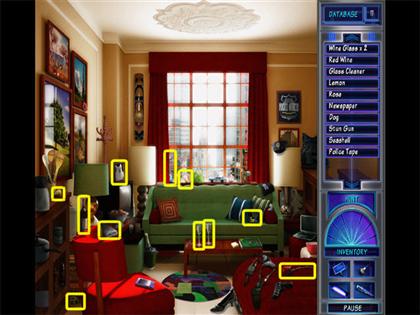
- Go to Penthouse.
- Click on the victims, the wallets and the business card.
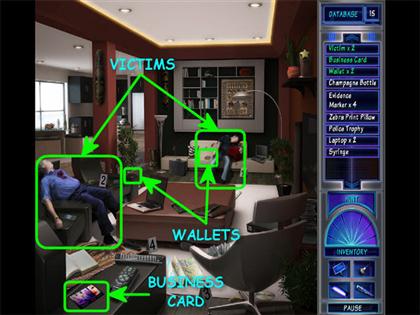
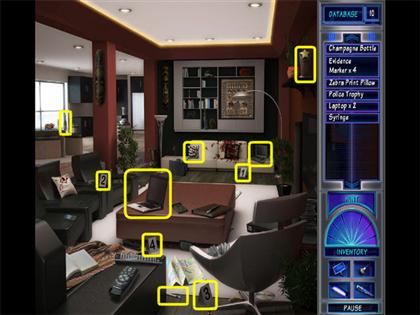
- Find all the hidden objects on the list.
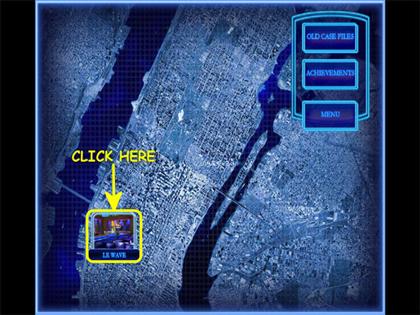
- Go to Le Wave.
- Click on the photo on the table.
- Find all the hidden objects on the list.
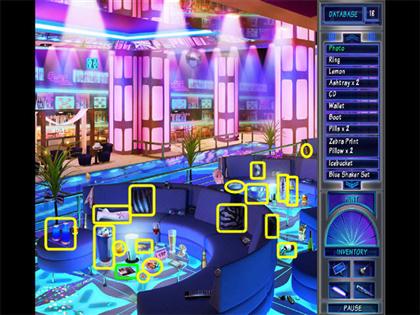
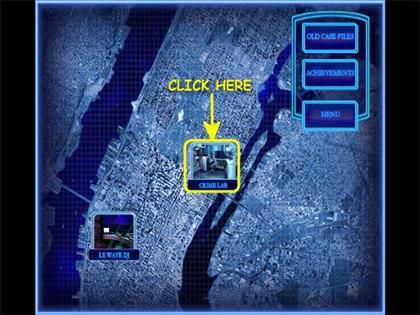
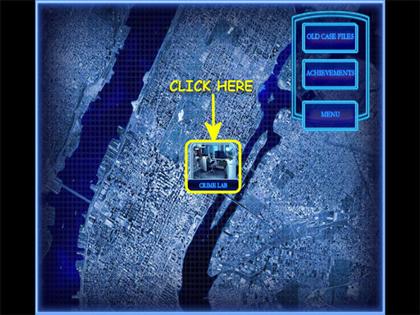
- Go to Crime Lab.
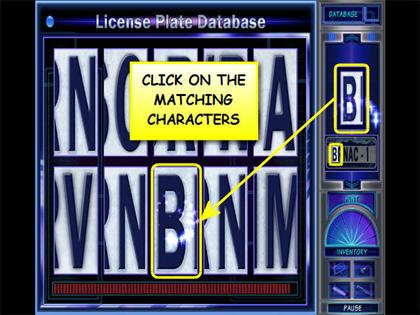
- Find the matching license plate in the database by clicking on the correct characters.
- The characters you need to match up show up on the right.
- You have to find the exact match before the blue bar runs out or you will have to start over.
- Some characters look alike but there are slight differences between them, examine them carefully.
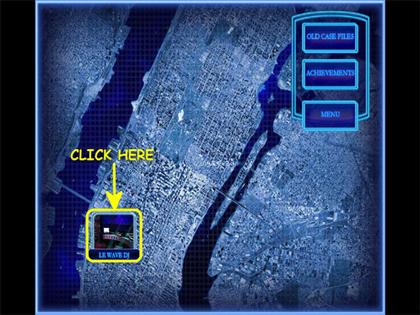
- Go to Le Wave DJ.
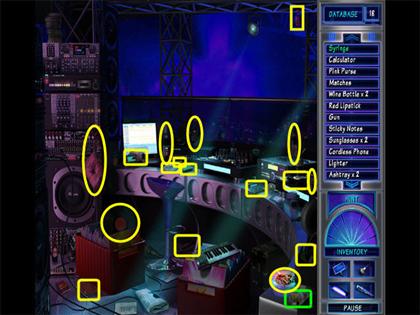
- Click on the syringe in the lower right corner.
- Find all the hidden objects on the list.
- Go to Chase’s apartment.
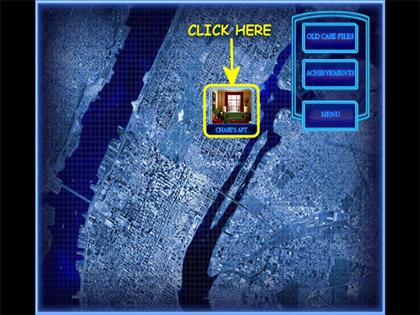
- Find all the hidden objects on the list.
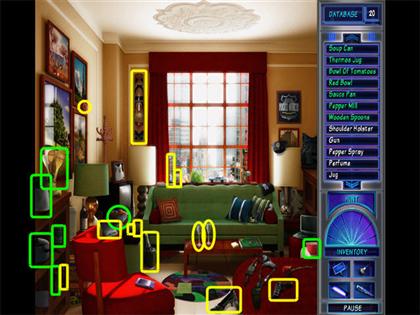
- Go to Dapper Drugs.
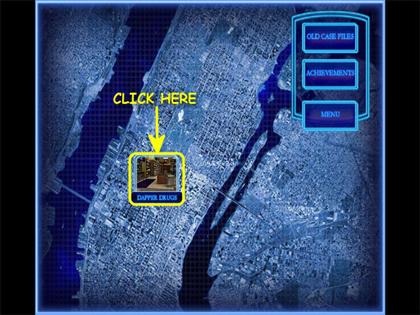
- Click on the drug receipt near the top left corner.
- Find all the hidden objects on the list.
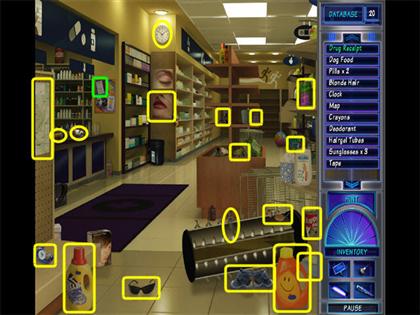
- Go to Penthouse.
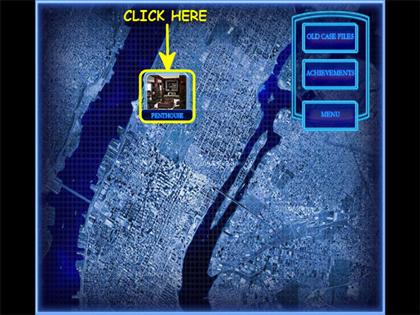
- Click on the business card in the lower center.
- Find all the hidden objects on the list.
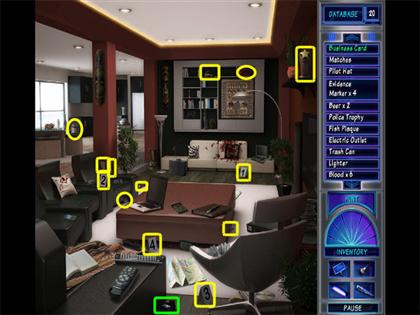
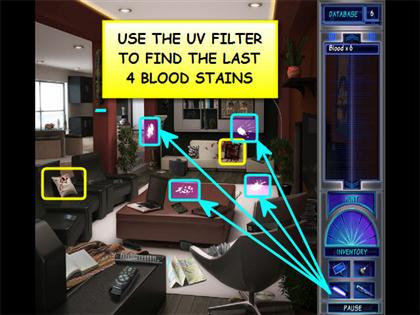
- Use the UV Filter to find the last four bloodstains.
- Go to Causeway Limos.
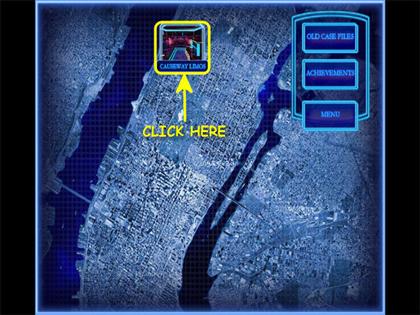
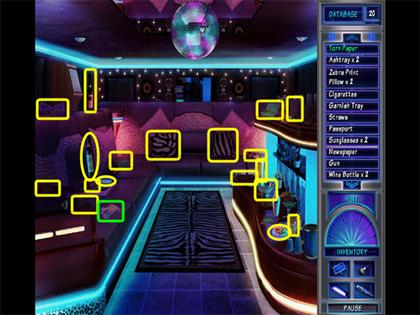
- Click on the torn paper circled in green.
- Find all the hidden objects on the list.
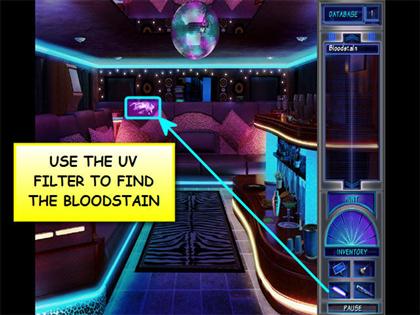
- Use the UV Filter to find the bloodstain.
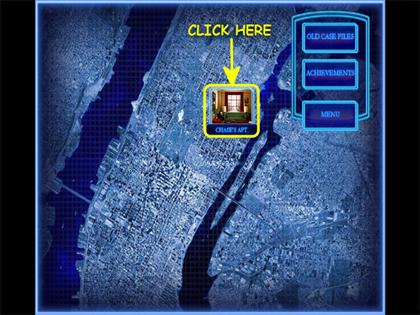
- Go to Chase’s apartment.
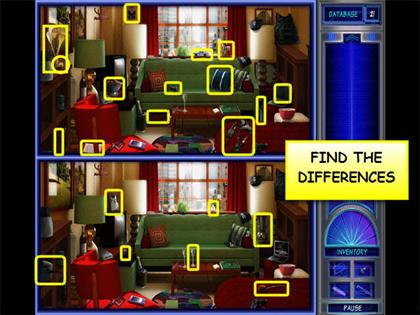
- Find the differences between the two scenes.
- You have two cursors, one per scene.
- When you click on a difference it will disappear from the scene.
- The Inventory items can’t be used here but you can always use the Hint button if needed.
- Go to Tugboat Pier.
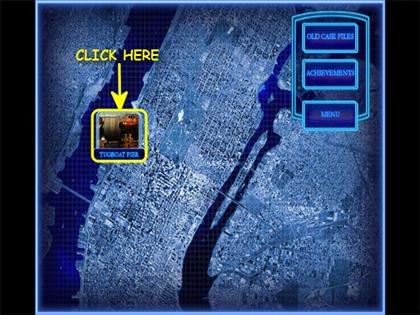
- Click on Captain Cross, the tape recorder and the burning ace card.
- Find all the hidden objects on the list.
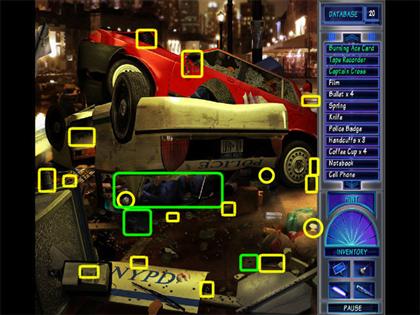
- Go to Crime Lab.
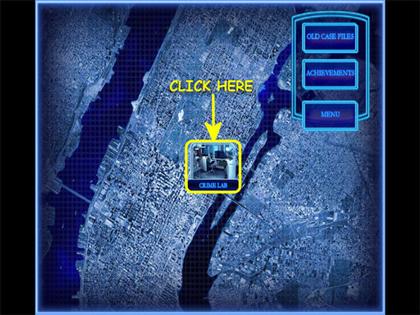
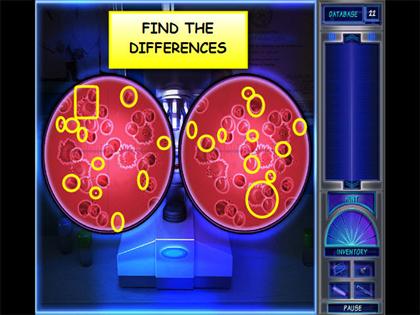
- Find the differences between the two samples.
- You have two cursors, one per sample.
- When you click on a difference it will disappear from the sample.
- The Inventory items can’t be used here but you can always use the Hint button if needed.
- Go to Gun Room.
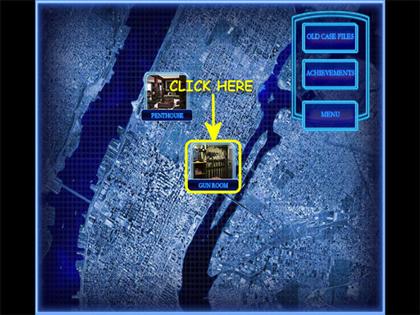
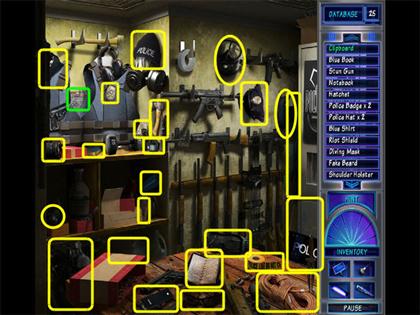
- Click on the clipboard near the top left corner.
- Find all the hidden objects on the list.
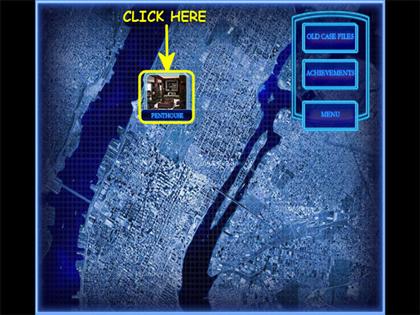
- Go to Penthouse.
- Find all the hidden objects on the list.
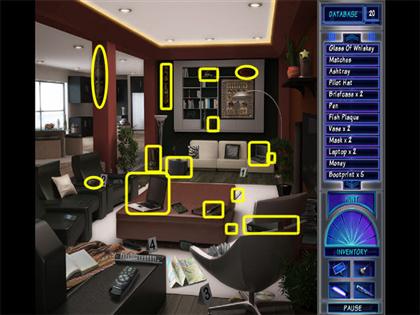
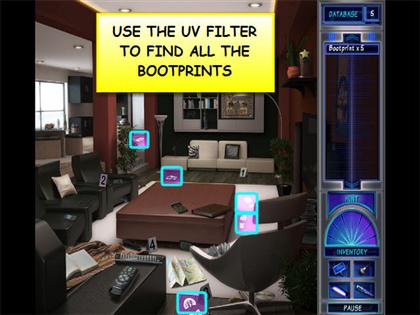
- Use the UV Filter to find all the bootprints.
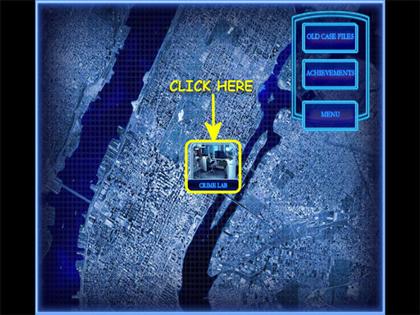
- Go to Crime Lab.
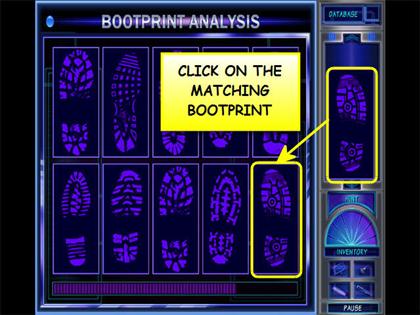
- Determine the type of boots by clicking on the matching prints.
- The boots you need to match up show up on the right.
- Look for the matching boot on the left.
- You have to find the exact match before the blue bar runs out or you will have to start over.
Chapter 2: Secrecy
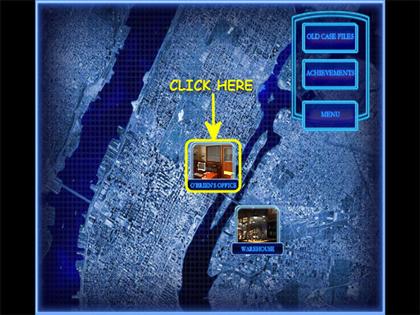
- Go to O’Brien’s office.
- Click on all 4 handwritings.
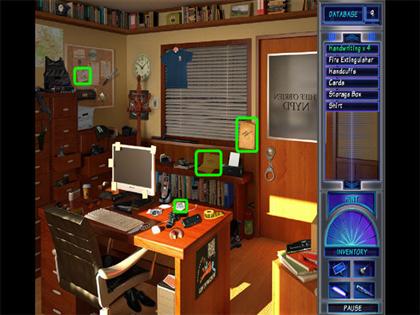
- Find the hidden objects but make sure you remember where you found them at.
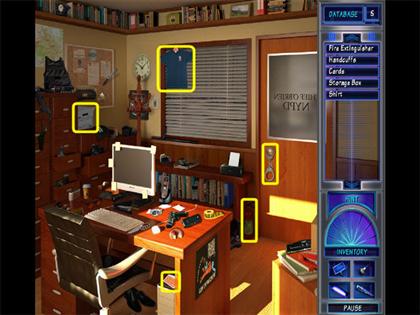
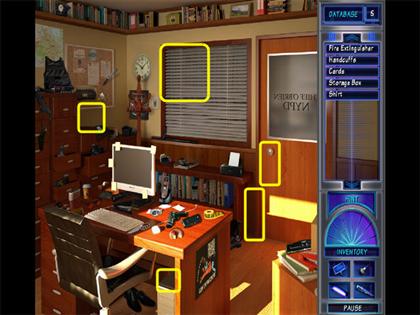
- Replace all the items that have been removed by clicking on their original locations before O’Brien returns to his office.
- Go to Crime Lab.
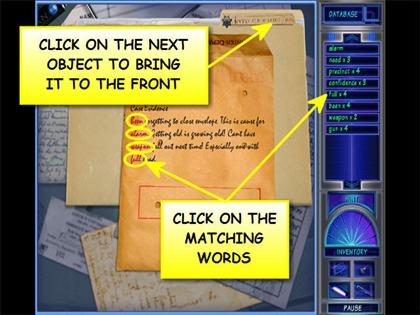
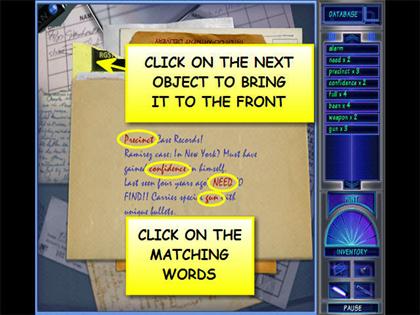
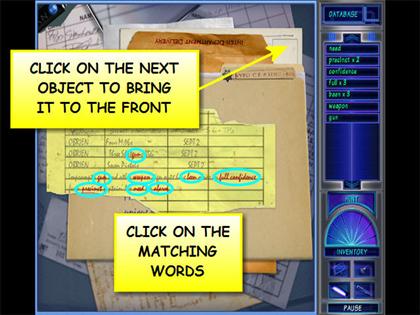
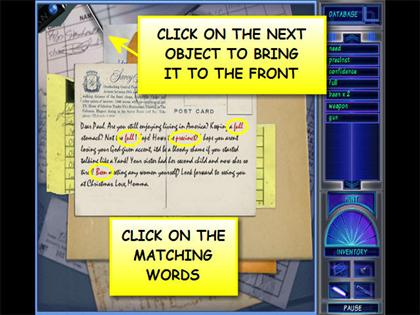
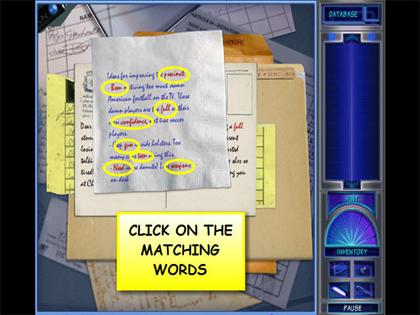
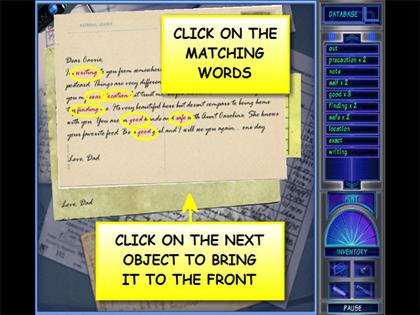
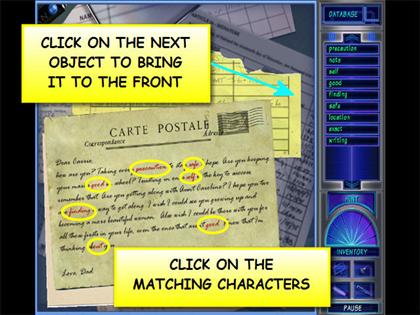
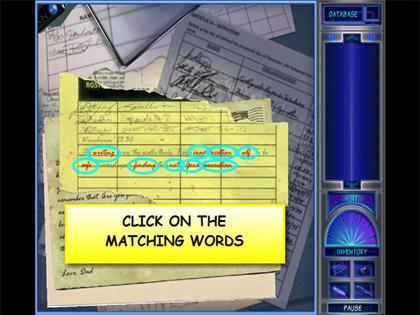
- Determine who wrote the note by finding the matching words from the handwriting samples.
- Click on the matching words.
- Click on another document to bring it to the front.
- If necessary you can drag the documents around.
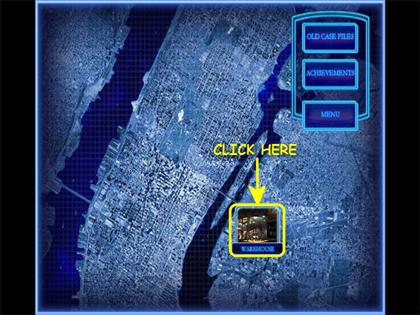
- Go to the warehouse.
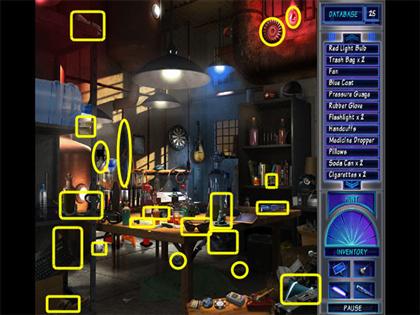
- Find all the hidden objects on the list.
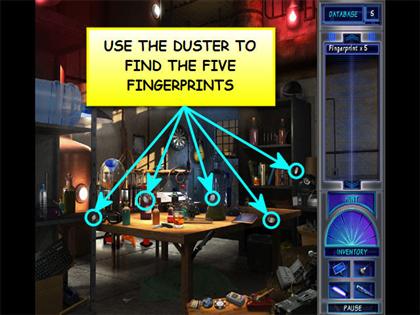
- Use the duster to find the five fingerprints.
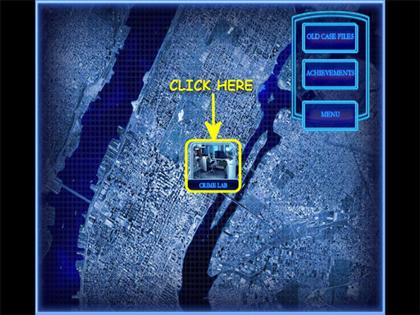
- Go to Crime Lab.
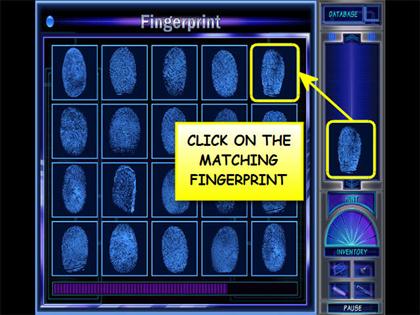
- Determine who the fingerprints belong to by clicking on the matching prints.
- The fingerprint you need to match up will be on the right.
- Look for the matching fingerprint on the left.
- You have to find the exact match before the blue bar runs out or you will have to start over.
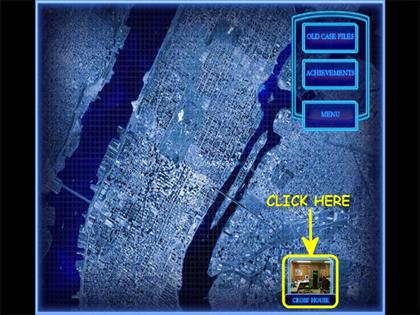
- Go to Cross’ House.
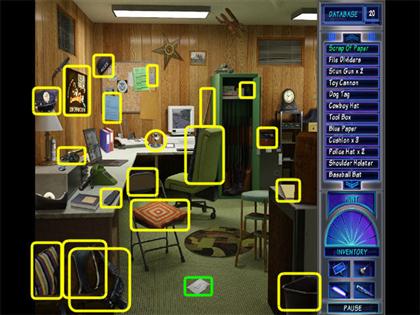
- Click on the scrap of paper in the lower center.
- Find all the hidden objects on the list.
- Go to Airport.
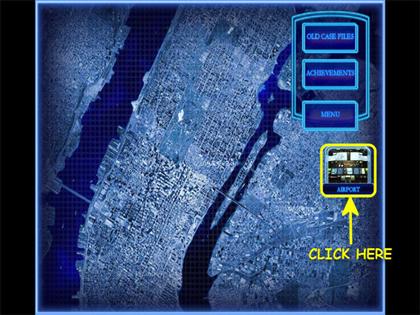
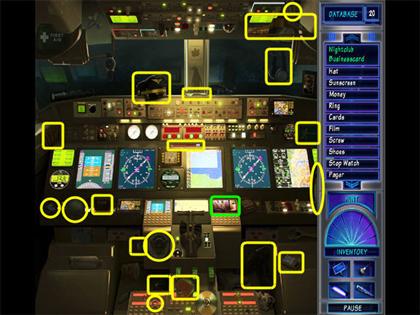
- Click on the nightclub business card near the center of the screen.
- Find all the hidden objects on the list.
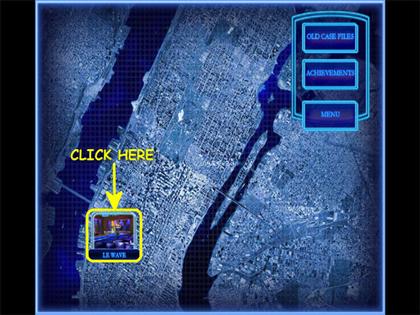
- Go to Le Wave.
- Find all the hidden objects on the list.
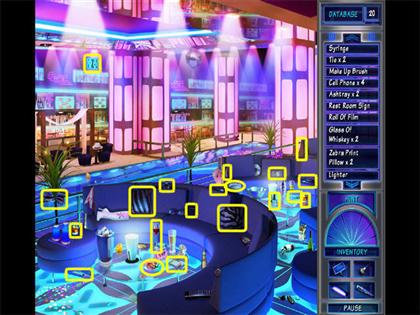
- Find 16 pieces of paper.
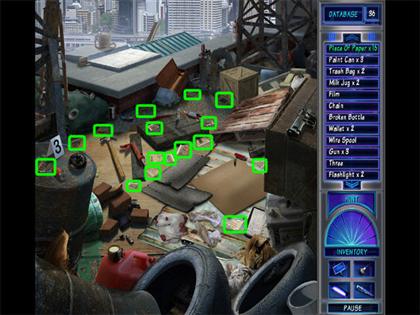
- Find all the hidden objects on the list.
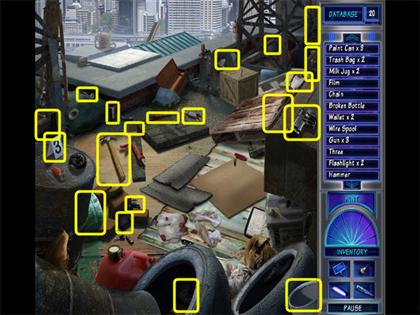
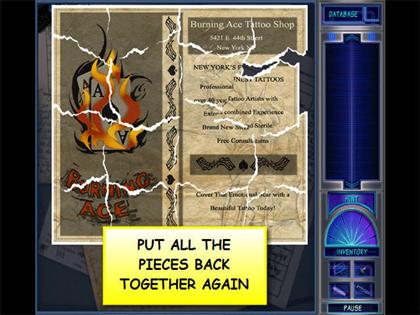
- Determine what was torn up by clicking and dragging all of the pieces back together again.
- When two or more correct pieces connect they can be dragged together.
- Look for corner pieces; they are easier to work with first.
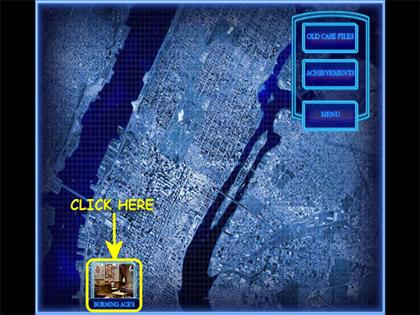
- Go to Burning Ace’s.
- Find all the hidden objects on the list.
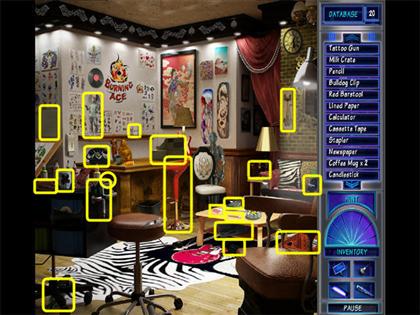
- You are taken to the basement.
- Use the flashlight to find all the hidden objects.
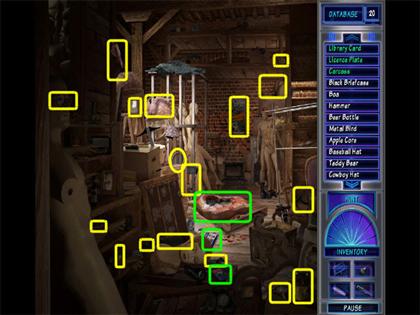
- Go to Central Library.
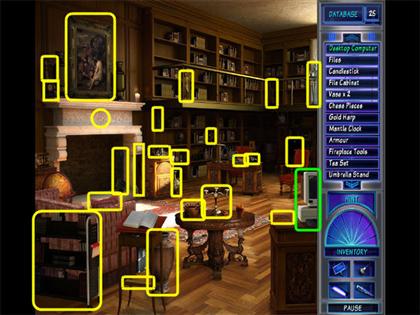
- Click on the desktop computer circled in green.
- Find all the hidden objects on the list.
- Go to Meateria.
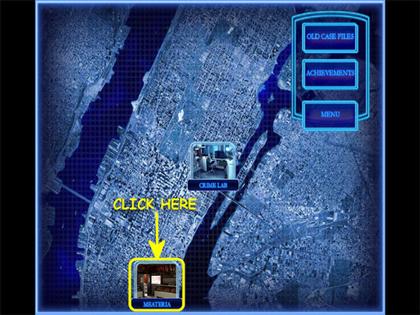
- Click on the hollowed out carcass.
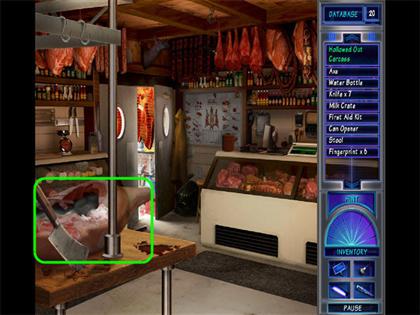
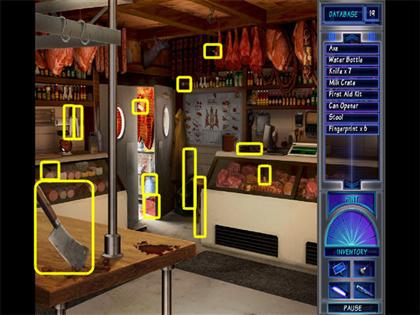
- Find all the hidden objects on the list.
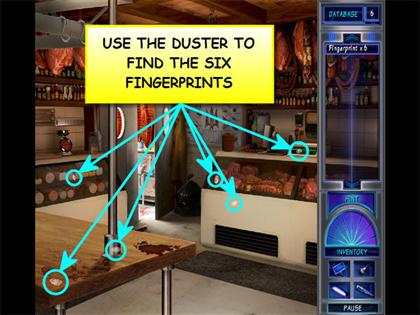
- Use the duster to find the six fingerprints.
- Go to Crime Lab.
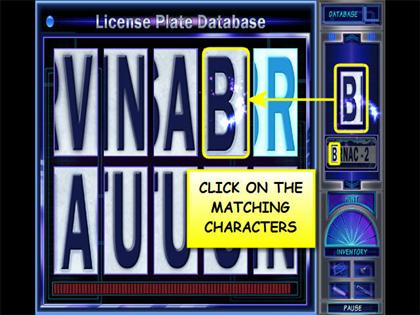
- Find the matching license plate in the database by clicking on the correct characters.
- The characters you need to match up show up on the right.
- You have to find the exact match before the blue bar runs out or you will have to start over.
- Some characters look alike but there are slight differences between them, examine them carefully.
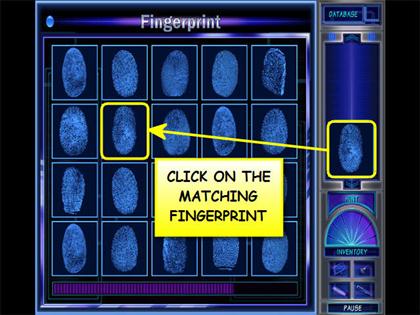
- Determine who the fingerprints belong to by clicking on the matching prints.
- The fingerprint you need to match up will be on the right.
- Look for the matching fingerprint on the left.
- You have to find the exact match before the blue bar runs out or you will have to start over.
- Go to Obrien’s office.
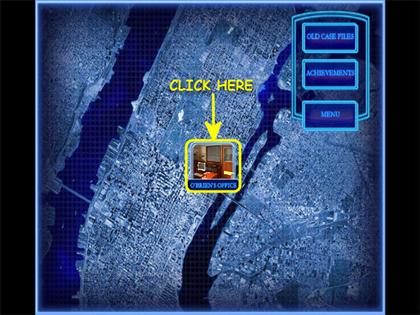
- Click on the photo near the middle of the office.
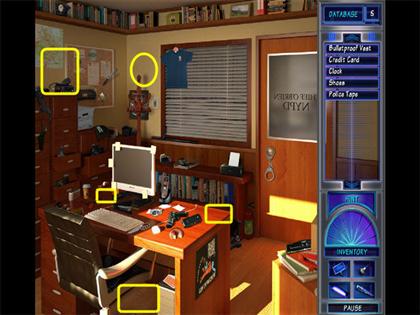
- Find the hidden objects but make sure you remember where you found them at.
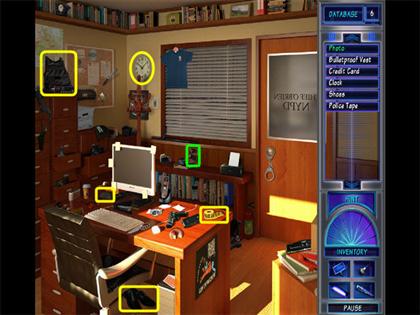
- Replace all the items that have been removed by clicking on their original locations before O’Brien returns to his office.
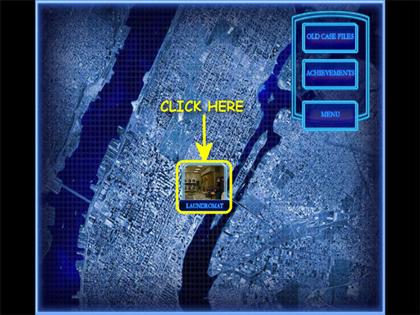
- Go to Laundromat.
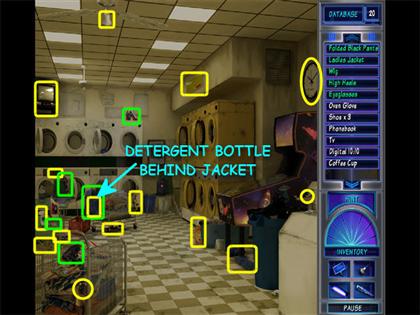
- Find all the hidden objects on the list.
Chapter 3: Redemption
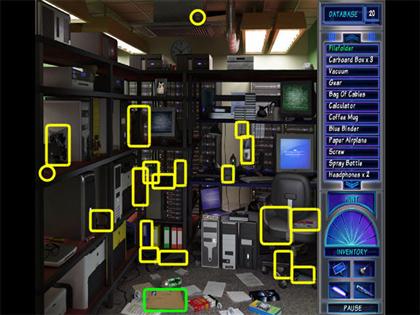
- Click on the file folder in the lower center.
- Find all the hidden objects on the list.
- Go to Tugboat Pier.
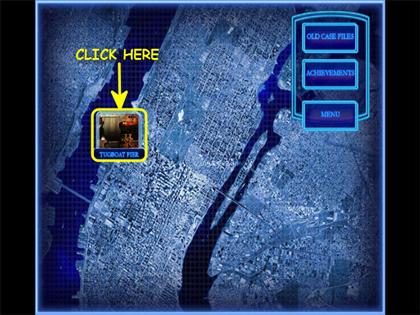
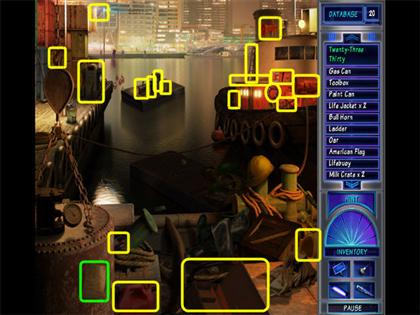
- Click on “Twenty-Three Thirty” in the bottom left, it is circled in green.
- Find all the hidden objects on the list.
- Go to Crime Lab.
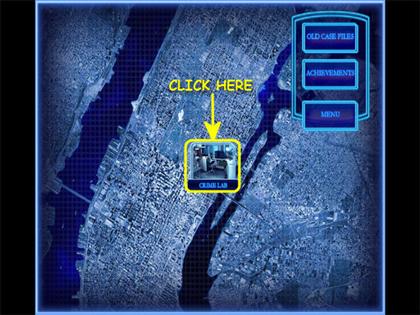
- Determine who wrote the note by finding the matching words from the handwriting samples.
- Click on the matching words.
- Click on another document to bring it to the front.
- If necessary you can drag the documents around.
- Go to Warehouse.
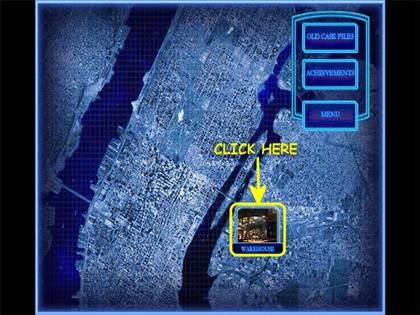
- Click on the carcass, the drug package and the two casino chips.
- Find all the hidden objects on the list.
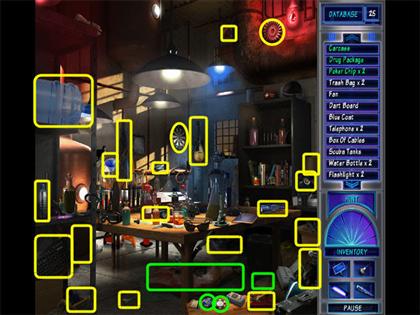
- Go to Casino Alley.
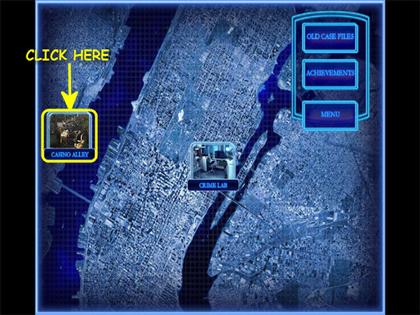
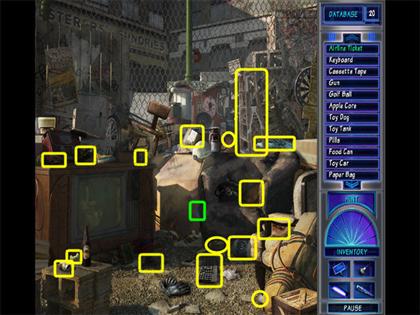
- Click on the airline ticket circled in green.
- Find all the hidden objects on the list.
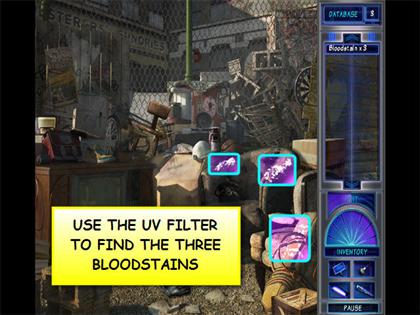
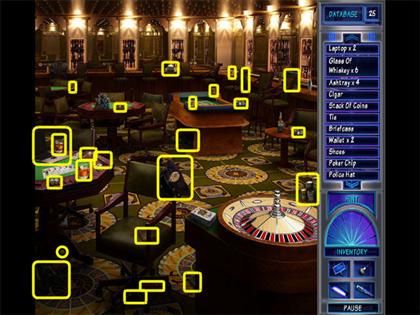
- Use the UV Filter to find the three bloodstains.
- Find all the hidden objects on the list.
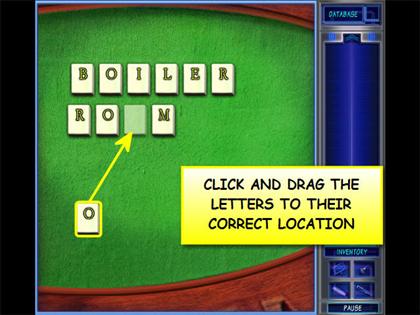
- Solve the anagram by clicking and dragging the letters to their correct locations.
- You can always move a letter to a different location if needed.
- The solution is Boiler Room.
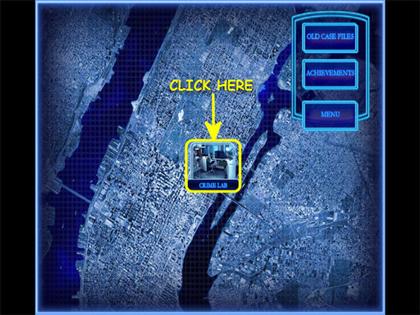
- Go to Crime Lab.
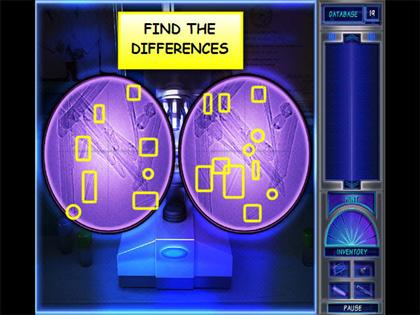
- Find the differences between the two samples.
- You have two cursors, one per sample.
- When you click on a difference it will disappear from the sample.
- The Inventory items can’t be used here but you can always use the Hint button if needed.
- Go to Boiler Room.
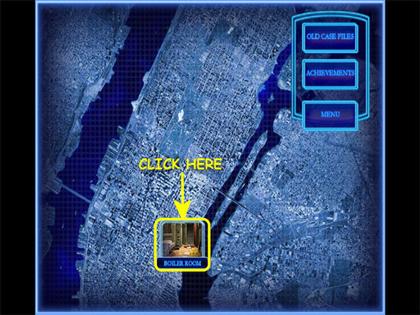
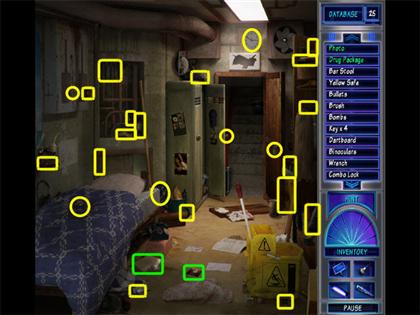
- Click on the photo and the drug package circled in green.
- Find all the hidden objects on the list.
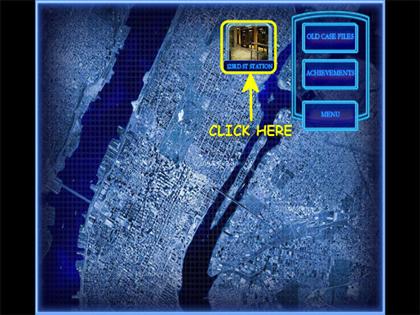
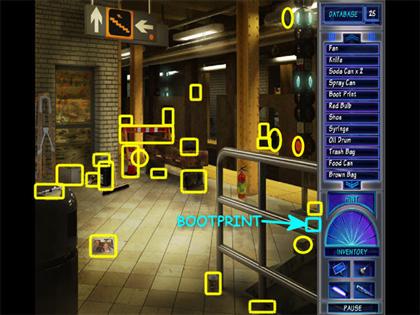
- Go to 123rd Station.
- Find all the hidden objects on the list.
- Go to Shop N’ Pawn.
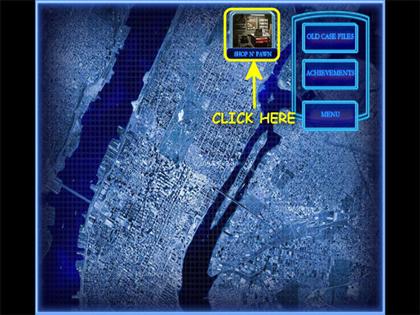
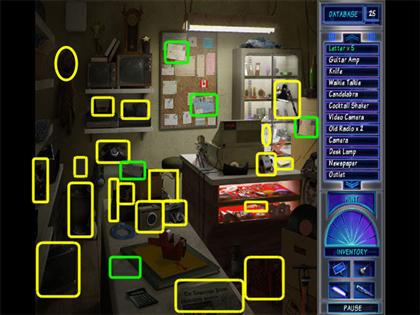
- Click on the five letters.
- Find all the hidden objects on the list.
 Congratulations! You have completed Masters of Mystery: Blood of Betrayal!
Created at: 2009-12-04

